Earring on Top of the Ear: Ultimate Care & Cleaning Guide
Discover expert tips to clean and maintain an earring on top of the ear. Learn about cartilage care, titanium grades, and preventing infection.

Understanding the Unique Environment of Top Ear Piercings
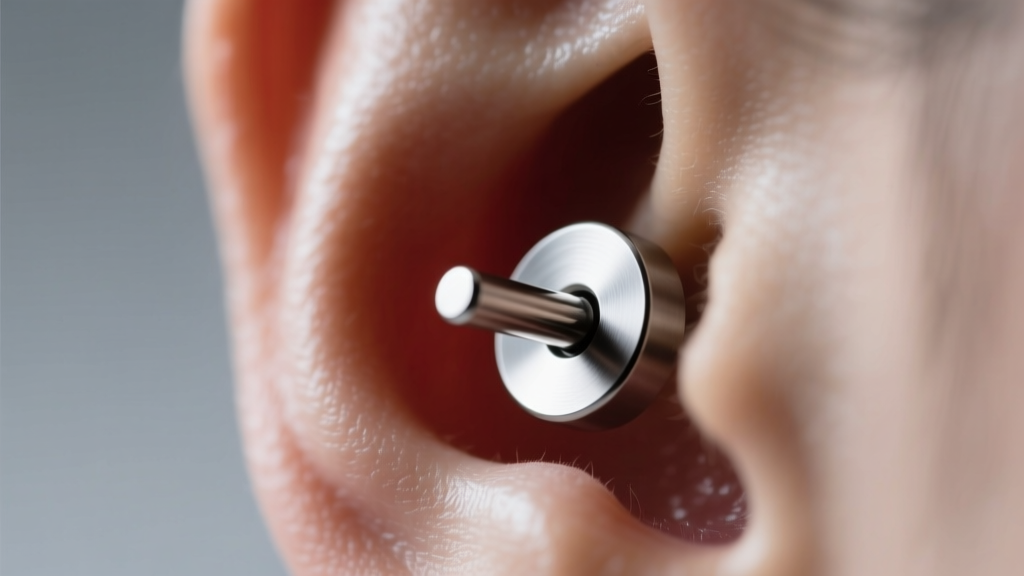
When you wear an earring on top of the ear—whether it is a helix, flat, rook, or a non-pierced ear cuff—you are dealing with a vastly different anatomical environment compared to the soft tissue of the earlobe. The upper ear is composed of dense cartilage, an avascular tissue that lacks its own direct blood supply. Instead, it relies on the perichondrium (the connective tissue surrounding the cartilage) for nutrients and immune response. Because of this limited blood flow, an earring on top of the ear heals slower, is more prone to irritation bumps (hypertrophic scarring), and requires a highly specific, disciplined maintenance routine to prevent long-term complications.
Maintaining jewelry in the upper cartilage isn't just about wiping away visible dirt; it is about managing the micro-environment of the fistula (the tunnel of healed skin). In this comprehensive guide, we will break down the exact material standards, cleaning protocols, and mechanical adjustments required to keep your top ear jewelry pristine and your tissue healthy.
Material Science: What Your Earring on Top Should Be Made Of
The first rule of top ear care is ensuring the metal sitting against your cartilage is biocompatible. The upper ear is highly reactive to porous metals and common allergens. If you are experiencing persistent redness, flaking, or weeping around your helix or flat piercing, the metal grade is often the primary culprit.
The Implant-Grade Titanium Standard
For any long-term earring on top of the ear, ASTM F136 implant-grade titanium is the gold standard. Unlike generic 'surgical steel' (a largely unregulated marketing term that often contains 8-12% nickel), F136 titanium contains zero nickel and features a mirror-polished surface finish that prevents bacteria and dead skin cells from adhering to the metal. According to the Association of Professional Piercers (APP), implant-grade titanium is entirely biocompatible and will not oxidize or tarnish when exposed to the natural oils, sweat, and shower products that accumulate in the upper ear crevices.
Alternatively, 14k or 18k solid gold (specifically alloyed for body jewelry, meaning it is nickel-free and palladium-silver based) is also highly stable. However, you must strictly avoid sterling silver for top ear piercings. Silver oxidizes rapidly when exposed to the sulfur compounds in human sebum, creating a dark tarnish that can permanently stain the fistula tract (a condition known as localized argyria) and cause chronic contact dermatitis.
The Step-by-Step Cleaning Protocol
Cleaning an earring on top of the ear requires a balance between removing debris and avoiding chemical trauma to the delicate perichondrium. Harsh chemicals destroy the newly formed epithelial cells inside the piercing channel, leading to a cycle of irritation and crusting.
1. The Sterile Saline Soak
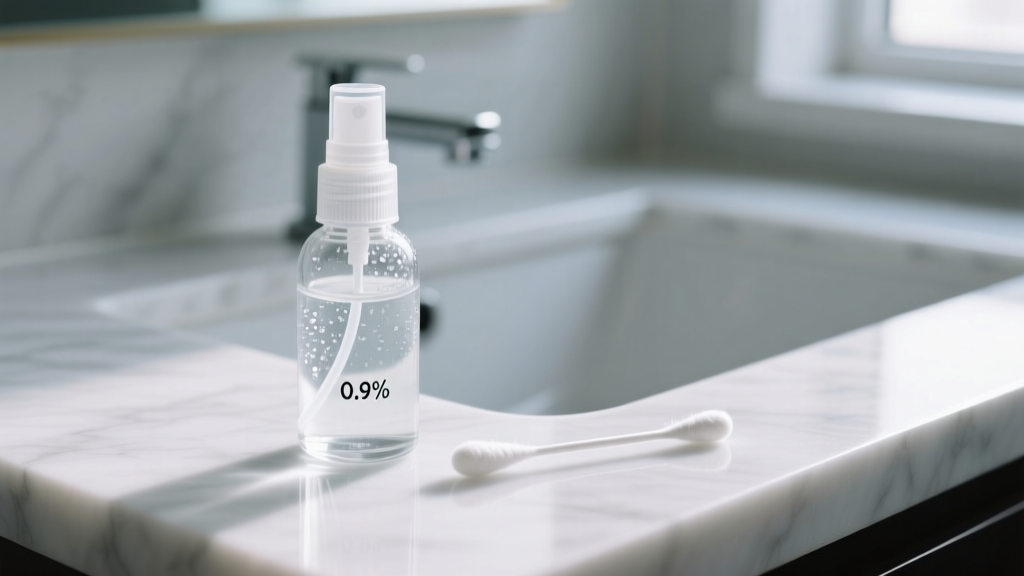
The only liquid recommended for daily cleaning is 0.9% sterile saline solution with no additives, preservatives, or fragrances. You can purchase this in pressurized aerosol cans (which deliver a gentle, targeted stream) or in sterile ampoules. Spray the saline directly onto the front and back of the earring on top of the ear, allowing it to soak for 30 to 60 seconds. This softens the lymphatic crusties (dried blood plasma and dead cells) without requiring aggressive physical scrubbing.
2. Gentle Debridement
Once the crust is softened, use a clean, non-woven gauze pad to gently wipe the area. Avoid cotton swabs or cotton balls, as they shed microscopic fibers that can become tangled around the jewelry post and embed themselves inside the fistula, triggering an immune response. If debris is trapped behind a flat-back labret, gently move the jewelry back and forth a fraction of a millimeter—never twist or rotate it forcefully.
3. The Drying Phase
Moisture trapping is a leading cause of irritation bumps on the top of the ear. After rinsing with saline or showering, you must thoroughly dry the area. Use a hairdryer on the 'cool' and 'low' setting to gently evaporate the moisture from behind the ear cuff or flat-back disc. Leaving the top ear damp creates an ideal breeding ground for opportunistic bacteria and yeast.
Troubleshooting Common Top Ear Issues
Even with meticulous care, the top ear is subjected to unique environmental stressors. Below is a diagnostic framework for the most common issues associated with an earring on top of the ear, along with actionable solutions.
| Symptom | Probable Cause | Actionable Solution |
|---|---|---|
| Hard, pink bump adjacent to the jewelry | Hypertrophic scarring from mechanical pressure or moisture. | Switch to a longer post temporarily to reduce pressure, use warm saline compresses, and stop sleeping on that side. |
| Dark gray/black ring around the hole | Argyria from wearing sterling silver or oxidized metals. | Immediately swap to ASTM F136 titanium. The discoloration may take months to fade as the skin naturally exfoliates. |
| Jewelry feels tight or 'swallowed' by the skin | Embedding due to swelling or a post that is too short (under 6mm). | Visit a professional piercer immediately to upsize to an 8mm or 10mm post to relieve tissue necrosis risk. |
| Persistent flaking and itching | Contact dermatitis from nickel allergy or harsh shampoo residue. | Verify metal grade (ensure no 316L steel), rinse the top ear thoroughly after washing hair, and apply a drop of pure jojoba oil to the exterior skin. |
Mechanical Stress: Sleeping and Jewelry Geometry
The physical design of your earring on top of the ear plays a massive role in its long-term maintenance. For pierced cartilage, flat-back labrets (either internally threaded or threadless tension-fit) are vastly superior to captive bead rings (CBRs) or seamless hoops. Hoops rotate constantly, dragging dried secretions and external bacteria directly through the fistula tract. Furthermore, the curvature of a hoop places uneven pressure on the piercing channel, which can cause the fistula to heal at an awkward angle, leading to chronic migration.

Sleeping on a top ear piercing is the most common cause of delayed healing and irritation bumps. The pressure of a standard pillow compresses the cartilage, restricting blood flow through the perichondrium and causing micro-tears in the healing tissue. To maintain the health of your earring on top, invest in a U-shaped travel pillow and sleep with your ear positioned in the hollow center. This completely eliminates mechanical friction and allows the tissue to breathe and repair overnight.
Maintenance for Non-Pierced Ear Cuffs
If your earring on top is a non-pierced ear cuff, the maintenance focus shifts from tissue health to metal preservation and tension management. Ear cuffs rely on mechanical tension to grip the helix ridge. Over time, the natural acidity of your skin oils, combined with the application and removal process, can cause the metal to fatigue or the tension to loosen, increasing the risk of losing the piece.
To maintain an ear cuff, remove it before showering or swimming. Chlorine and hard water minerals can dull the finish of gold vermeil or tarnish brass bases. Once a week, clean the inside of the cuff's band with a soft microfiber cloth and a mild, phosphate-free dish soap to remove sebum buildup. This ensures the cuff maintains its grip without slipping down the ear. If the cuff feels loose, gently squeeze the band inward by a millimeter, but avoid repeatedly bending the metal back and forth, which will cause work-hardening and eventual snapping.
What to Avoid: The Worst Cleaning Mistakes
In the pursuit of a perfectly clean earring on top of the ear, many people inadvertently cause severe tissue damage. The NHS guidelines on piercing aftercare and professional dermatologists universally warn against the use of household astringents. Never apply rubbing alcohol, hydrogen peroxide, witch hazel, or tea tree oil to your cartilage. These substances are highly cytotoxic; they do not just kill bacteria, they destroy the fragile fibroblasts and keratinocytes required to maintain the integrity of the fistula. Furthermore, tea tree oil is a known contact allergen that frequently triggers severe, blistering dermatitis on the thin skin of the upper ear.
By adhering to a minimalist, biocompatible approach—relying solely on sterile saline, implant-grade titanium, and mechanical protection—you ensure that your earring on top of the ear remains a beautiful, irritation-free staple in your jewelry collection for years to come.


