Custom Earrings: Polymer Clay Step-by-Step Masterclass
Learn how to craft custom earrings with polymer clay. This guide covers conditioning, baking, sanding, and assembling with hypoallergenic hardware.

The Renaissance of Handcrafted Clay Jewelry
In 2026, the jewelry market has seen a massive shift toward hyper-personalized, lightweight statement pieces, and polymer clay remains at the forefront of this movement. Unlike heavy metals or brittle ceramics, polymer clay offers an unmatched strength-to-weight ratio, making it the ultimate medium for crafting oversized dangles and architectural ear cuffs that won't stretch the earlobe. However, creating professional-grade earrings polymer clay enthusiasts can be proud of requires moving beyond basic craft-store tutorials. It demands a rigorous understanding of material science, precise thermal curing, and ergonomic hardware assembly. This masterclass will guide you through the exact protocols used by professional jewelry artisans to create durable, hypoallergenic, and retail-ready clay earrings.
Essential Tools and Material Grades
Before you begin cutting and shaping, you must select the correct clay body. Not all polymer clays are formulated for jewelry. Soft clays like Sculpey III are notoriously brittle after baking and will snap under the leverage of a heavy earring post. Instead, you need jewelry-grade formulations that cure with high flexural strength.
| Material / Tool | Specification | Purpose & Pricing |
|---|---|---|
| Fimo Professional | Firm Grade | Holds intricate mica shift details; ~$3.50 per 2oz block. |
| Sculpey Premo | Medium Grade | Excellent durability for everyday studs; ~$3.00 per 2oz block. |
| Cernit Number One | Translucent Grade | Best for faux glass or jade effects; ~$3.20 per 2oz block. |
| Pasta Machine | Atlas 150 or Craft Dedicate | Ensures uniform 1mm to 3mm sheet thickness. |
| Tissue Blade | Flexible & Rigid Steel | For translucent canes and clean edge cutting. |
| Oven Thermometer | Standalone Dial | Critical for verifying true baking temperature. |
According to Polymer Clay Web, investing in a dedicated toaster oven with a standalone thermometer is non-negotiable. Built-in oven dials can fluctuate by up to 25°F, which is the difference between a perfectly cured earring and a scorched, brittle failure.
Step 1: Conditioning for Structural Integrity
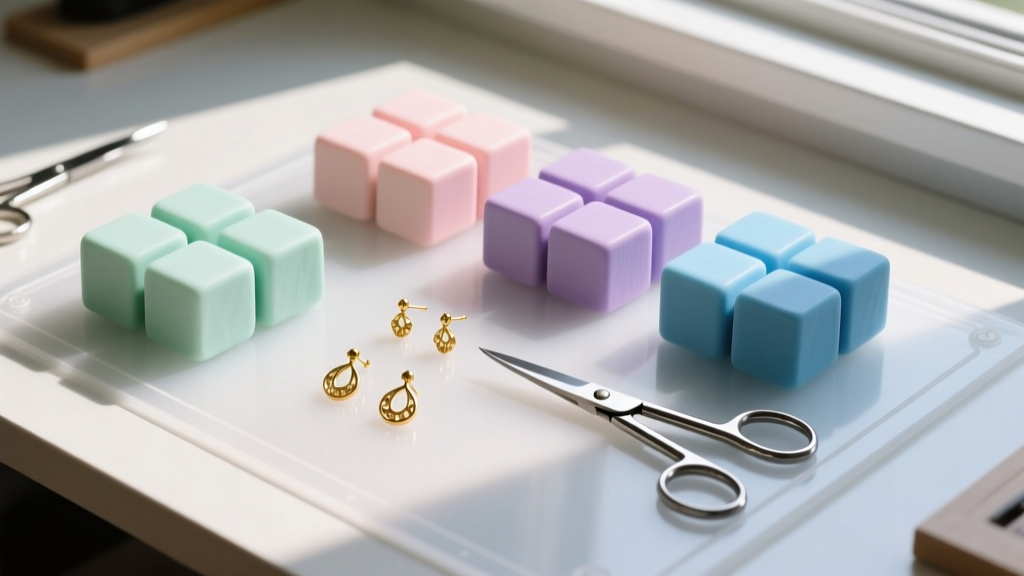
Polymer clay consists of PVC resin suspended in a plasticizer. When the clay sits on a shelf, the plasticizer settles, leaving the clay crumbly. Conditioning redistributes these oils and aligns the polymer chains, which is vital for preventing post-baking cracks. Run your clay through a pasta machine on the thickest setting, fold it in half, and run it through again. Repeat this process 15 to 20 times until the clay drapes over your finger without cracking. If you are mixing custom colors, use a dedicated craft blade to chop the blocks into 5mm cubes before conditioning to reduce the strain on your pasta machine's gears.
Step 2: Precision Rolling and Cutting
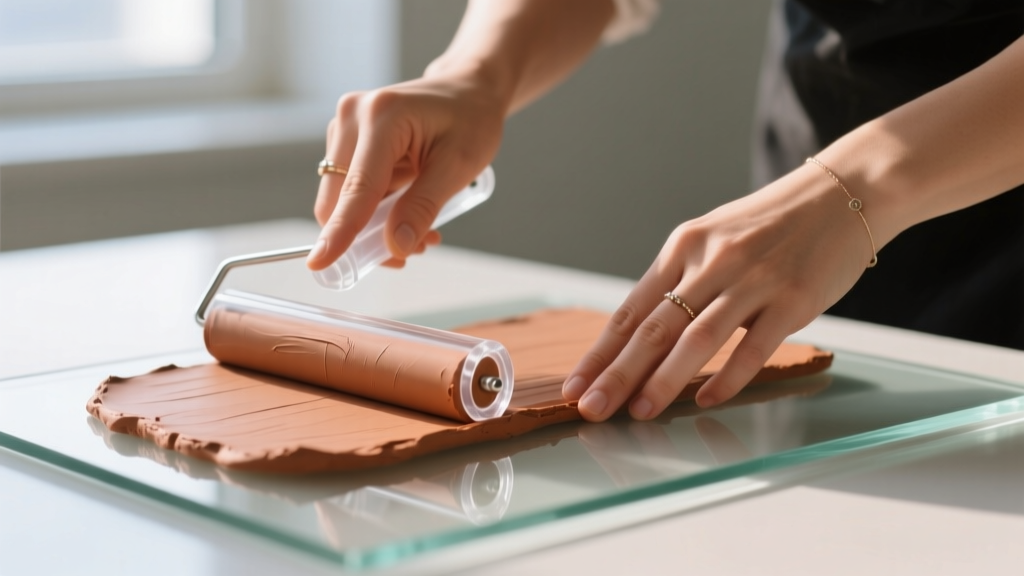
For standard stud and dangle earrings, a uniform thickness of 1.5mm to 2.0mm is the sweet spot. Anything thinner risks warping during the curing process, while anything heavier becomes cumbersome on the earlobe. Use acrylic roller guides or a pasta machine set to setting #4 to achieve exact calibration. When cutting your shapes, use sharp brass or stainless steel cookie cutters. Press straight down without twisting to avoid dragging the edges. If you are using a tissue blade to slice geometric shapes, chill the clay in the freezer for 10 minutes beforehand; this hardens the plasticizer temporarily and yields razor-sharp, distortion-free edges.
Step 3: Baking Protocols for Maximum Durability
Curing is where amateur pieces fail and professional pieces are born. Underbaked clay will snap when pressure is applied to the earring post, while overbaked clay will scorch and release toxic hydrogen chloride gas. Always follow the manufacturer's exact temperature guidelines, but verify the heat with an independent thermometer.
Pro-Tip: To prevent 'thermal shock' and scorching from the oven's top heating elements, always 'tent' your clay. Create a simple tent out of aluminum foil or use a dedicated stainless steel baking pan with a lid to diffuse the radiant heat, ensuring an even, matte cure.
For Sculpey Premo, bake at 275°F (135°C) for 30 minutes per 1/4 inch of thickness. Since most earrings are only 2mm thick, a 20-minute bake time is usually sufficient, but adding an extra 10 minutes at the correct temperature actually increases the cross-linking of the polymers, resulting in a stronger final product. Sculpey officially confirms that longer baking times at the correct temperature will not burn the clay, only strengthen it.
Step 4: Wet Sanding and Finishing
Once the earrings have cooled completely to room temperature (never handle hot polymer clay, as it can warp), it is time to refine the edges. Professional clay jewelry rarely has sharp, 90-degree edges, as these can catch on hair and clothing. Use wet/dry sandpaper, starting at 400 grit and working your way up to 800, 1200, and finally 2000 grit micro-mesh. Always sand under a trickle of water to prevent inhaling fine PVC dust and to keep the sandpaper from clogging. This progressive wet-sanding technique will yield a buttery, glass-smooth edge. If you desire a high-gloss finish, buff the sanded clay with a denim wheel on a rotary tool. For the popular 2026 hyper-matte aesthetic, simply seal the piece with a light coat of polyurethane varnish or leave it raw if using a high-quality clay like Fimo Professional.
Step 5: Hypoallergenic Assembly
The most beautiful clay earring will be returned if it causes contact dermatitis. Sourcing high-quality, hypoallergenic hardware is critical. Avoid cheap 'surgical steel' from unverified marketplaces, as it often contains nickel. Instead, invest in commercially pure titanium or niobium posts.
- 20-Gauge Titanium Posts: The industry standard for standard lobe piercings. They are lightweight, entirely nickel-free, and fit seamlessly into 2mm clay backs.
- 18-Gauge Niobium Ear Wires: Ideal for heavier dangle earrings, providing extra structural support without triggering metal allergies.
- Flat Pad vs. Cup Pad: Use flat pad posts for modern, geometric clay designs, and cup pads for rounded, cabochon-style studs.
To attach the hardware, skip the superglue. Use a two-part jeweler's epoxy like G-S Hypo Cement or a UV-curing resin. Apply a microscopic drop to the metal pad, press it firmly into the back of the clay, and allow it to cure for 24 hours. For maximum security, you can also embed the post directly into the raw clay before baking, though this requires precise alignment and risks scorching the metal pad if it touches the baking surface.
Troubleshooting Common Failures
Even experienced artisans encounter issues. Here is how to troubleshoot the most common polymer clay earring failures:
Plastisol Weeping: If your clay feels sticky or leaves oily residue on your hands, it is 'weeping' excess plasticizer. This is common in older blocks of Cernit or Kato Polyclay. To fix this, roll the clay out between two sheets of plain copy paper and leave it overnight. The paper will absorb the excess oils, restoring the clay's workability.
Post-Baking Brittleness: If your thin dangles snap easily, your oven is likely running too cold, resulting in an underbaked cure. Buy a $5 standalone oven thermometer, map your oven's hot and cold spots, and adjust your baking time accordingly.
Color Bleeding: When working with high-contrast colors (like stark white and deep navy), the plasticizers can carry the dye into the lighter clay. Always clean your pasta machine and tools with 99% isopropyl alcohol between color changes, and condition your lightest colors first.
Final Thoughts
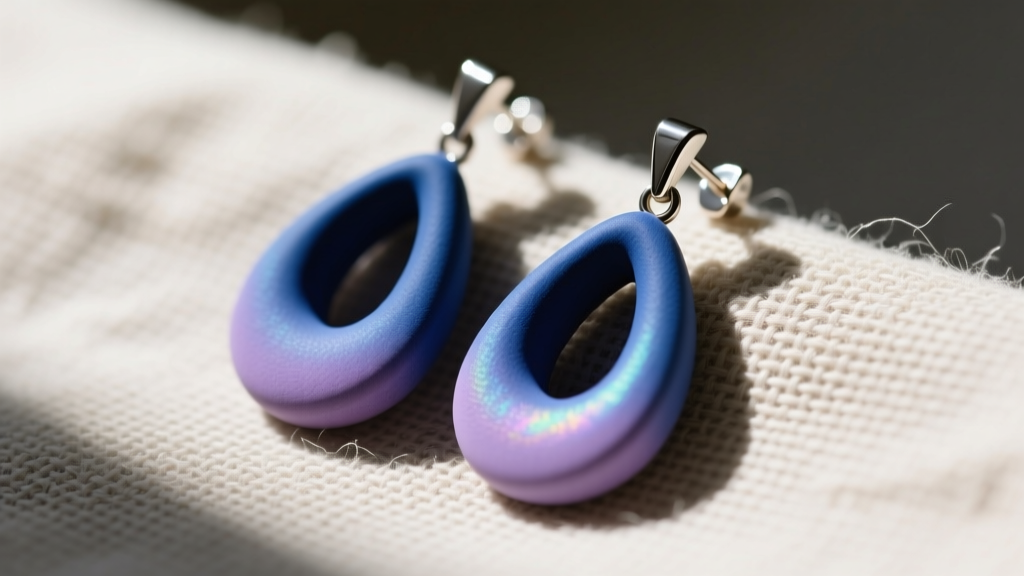
Mastering the art of polymer clay earrings is a journey of precision and patience. By respecting the material's chemical properties, strictly controlling your baking environment, and refusing to compromise on hypoallergenic hardware, you elevate your craft from a simple hobby to a professional jewelry line. Whether you are designing minimalist terrazzo studs or elaborate mica-shift dangles, these foundational techniques will ensure your creations are as durable and comfortable as they are beautiful.


