Troubleshooting Leverback Earrings Pearl Settings & Repairs
Learn how to fix loose clasps, re-glue half-drilled gems, and troubleshoot common mechanical failures in your favorite leverback earrings pearl designs.

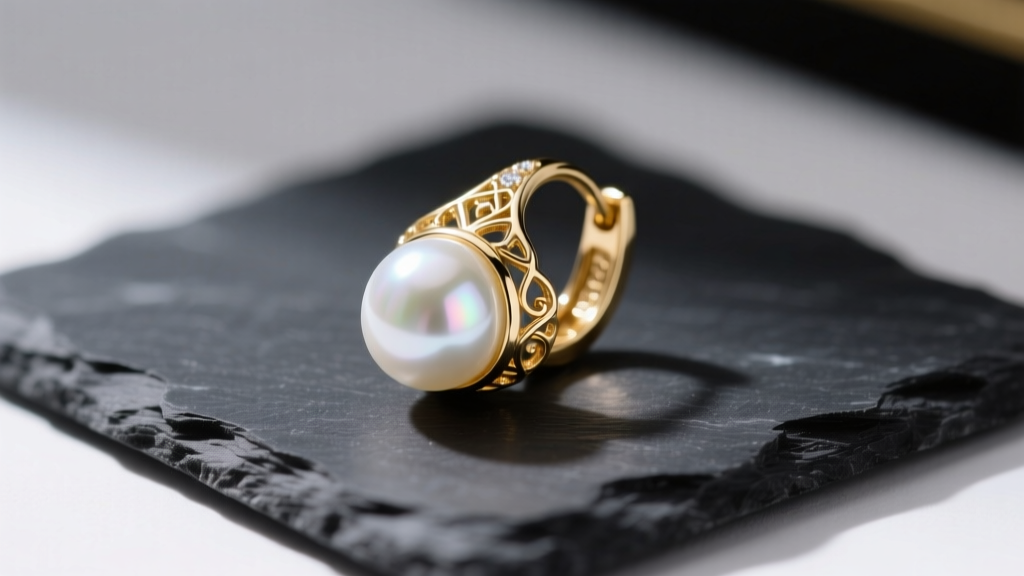
The Anatomy of a Leverback Pearl Earring Failure
Leverback earrings pearl settings represent a perfect marriage of mechanical security and organic elegance. The hinged leverback clasp provides superior retention compared to standard shepherd hooks, while the classic pearl drop offers timeless sophistication. However, this specific combination introduces unique structural vulnerabilities. When a pearl leverback earring fails, it is rarely a catastrophic metal break; instead, it is usually a slow degradation of either the clasp tension or the adhesive bond securing the pearl to its cup.
Understanding the exact failure mode is the first step in troubleshooting. The earring consists of two distinct systems: the mechanical hinge (comprising the ear wire, the hinge pin, and the catch loop) and the pearl setting (comprising the metal cup, the center peg, and the half-drilled pearl). Because pearls are organic gems sensitive to chemicals and heat, standard jewelry repair techniques—like soldering near the setting or using harsh ultrasonic cleaners—can permanently destroy the nacre. Therefore, troubleshooting requires a specialized, gentle approach that respects both the metallurgy of the clasp and the delicate nature of the pearl.
Troubleshooting the Leverback Clasp Mechanism
The most common complaint with leverback earrings is that the clasp no longer 'clicks' shut securely, causing the earring to slide off the earlobe unexpectedly. This happens because the curved ear wire gradually bends outward over time due to the friction of insertion and removal, losing its inward tension against the catch loop.
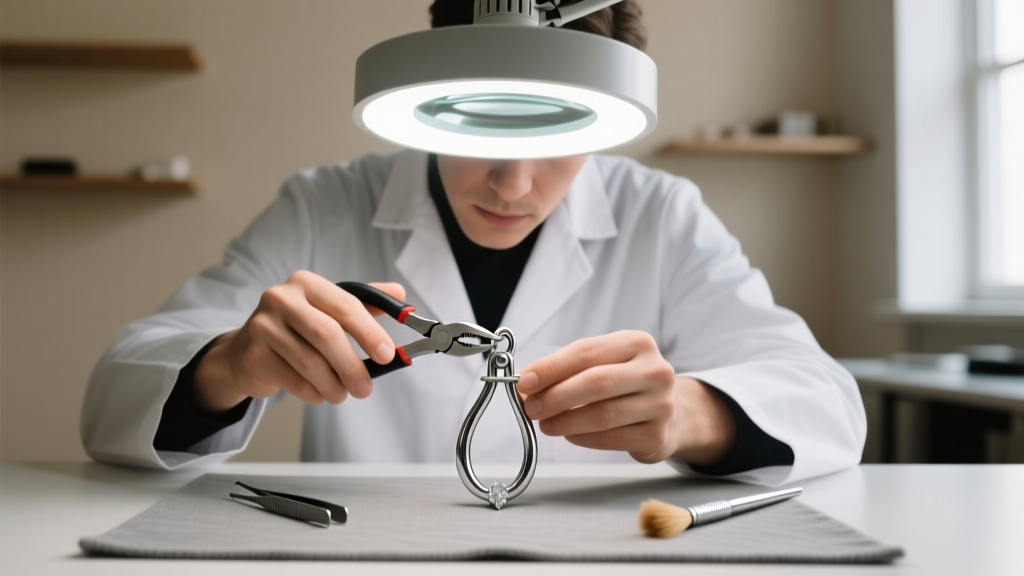
Restoring Clasp Tension Safely
To fix a loose leverback, you must gently restore the inward curve of the ear wire. Never use standard steel-jaw pliers, as they will mar the precious metal and create stress fractures. Instead, use nylon-jaw pliers or wrap the tips of your flat-nose pliers in masking tape. Grip the ear wire just above the hinge and apply a microscopic amount of inward pressure (no more than 1 to 2 degrees of bending). Test the closure; it should snap into the catch with an audible click and require a deliberate fingernail pull to release.
| Metal Type | Hardness (Vickers) | Tension Recovery | Failure Risk |
|---|---|---|---|
| Sterling Silver (925) | 60-70 | Moderate | High (Prone to work hardening and snapping if over-bent) |
| 14k Yellow Gold | 120-140 | High | Low (Excellent memory, retains shape well) |
| Platinum (950) | 130-150 | Very High | Very Low (Highly malleable, rarely snaps) |
According to jewelry fabrication guidelines from Rio Grande, sterling silver is highly susceptible to work hardening. If your silver leverback has been bent back and forth multiple times, the metal molecules become brittle. If you feel resistance or hear a faint creaking sound while adjusting the wire, stop immediately to prevent the wire from snapping at the hinge.
Solving Pearl Peg and Adhesive Failures
If the clasp is secure but the pearl itself spins loosely on its axis or has fallen off entirely, you are dealing with an adhesive failure. Most leverback earrings pearl drops utilize a 'half-drilled' pearl mounted onto a metal peg (typically 0.9mm to 1.2mm in diameter) protruding from a decorative cup.
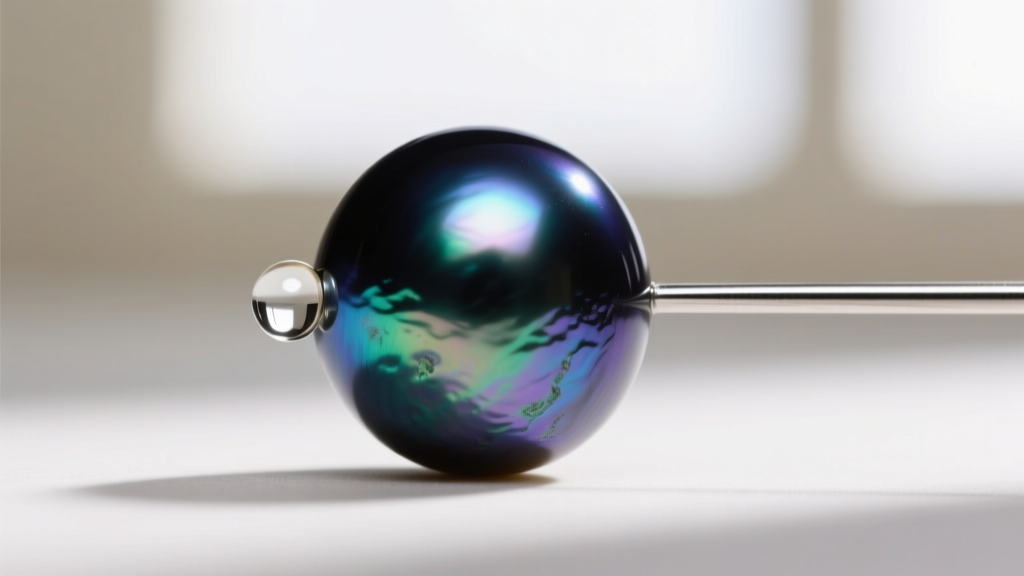
The Dangers of Cyanoacrylate (Super Glue)
The most frequent DIY mistake is using cyanoacrylate (commonly known as Super Glue) to reattach a pearl. Cyanoacrylate cures into a rigid, brittle plastic that cannot withstand the shear forces of a swinging pearl drop. Furthermore, it 'blooms'—releasing a white, foggy residue that will permanently etch and ruin the delicate nacre of your pearl.
Step-by-Step Pearl Re-Gluing Protocol
To properly re-set a half-drilled pearl, follow this professional protocol:
- Clean the Peg and Cup: Use a cotton swab lightly dampened with acetone to dissolve old glue on the metal peg and inside the cup. Crucial: Do not let acetone touch the pearl, as it can strip the nacre's natural luster and damage any organic dyes.
- Prepare the Pearl: Gently clear the drill hole using a wooden toothpick. Never use a metal needle, as it can scratch the inside of the drill hole and weaken the pearl's structural integrity.
- Select the Right Adhesive: Use a two-part jeweler's epoxy, such as Devcon 5-Minute Epoxy or G-S Hypo Cement for lighter pearls. Epoxy provides a flexible, shock-absorbing bond that moves with the pearl rather than shattering under impact.
- Apply and Set: Coat the metal peg thinly with mixed epoxy. Push the pearl down with a gentle twisting motion to ensure the adhesive coats the inside of the drill hole evenly. Wipe away any excess squeeze-out immediately with a dry microfiber cloth.
- Cure: Let the earring sit upright in a pearl ring cone or a piece of modeling clay for a full 24 hours. Do not wear it while the epoxy is in its initial cure phase, as body heat and sweat can compromise the bond.
Weight Distribution and Earlobe Sagging
A hidden issue specific to leverback earrings pearl designs involves weight distribution. Large pearls, such as 12mm South Sea or dense Tahitian pearls, can weigh upwards of 4 to 6 grams each. When suspended from a leverback, this concentrated weight pulls the earlobe downward and backward.
This downward pull changes the geometry of the ear wire while it is inside the piercing. The tension that normally keeps the wire hooked into the front catch is redirected, effectively prying the clasp open from the inside. If you experience this, the mechanical fix is not to bend the wire, but to support the earlobe. Using invisible earlobe support patches (small, sticky silicone shields worn on the back of the ear) distributes the weight of the heavy pearl across a wider surface area, maintaining the correct angle for the leverback clasp to remain securely locked.
Preventative Maintenance and Material Care
Preventing mechanical and adhesive failures requires an understanding of how environmental factors degrade both metal and nacre. The Gemological Institute of America (GIA) emphasizes that pearls are highly porous and vulnerable to everyday cosmetics.
- The 'Last On, First Off' Rule: Always put your pearl leverbacks on after applying hairspray, perfume, and lotions. The alcohol and aerosols in these products will degrade the epoxy bond over time and dull the pearl's orient.
- Hinge Lubrication: If the leverback hinge becomes stiff, do not use oil-based lubricants, which will attract dust and create an abrasive paste. Instead, use a microscopic drop of dry PTFE (Teflon) lubricant applied with a fine needle, working the hinge back and forth to distribute it.
- Storage: Never store pearl earrings in airtight plastic bags or safety deposit boxes without a damp cloth nearby. Pearls require ambient moisture; severe dehydration can cause the nacre to crack, which will inevitably lead to the pearl splitting around the drill hole and falling off the peg.
When to Seek a Professional Jeweler
While clasp tension adjustments and basic re-gluing can be handled at home, certain troubleshooting scenarios require a professional bench jeweler. If the hinge pin itself is worn down (causing the lever to wobble side-to-side), the entire top assembly must be laser-welded or replaced. Additionally, if the metal cup holding the pearl is bent or the peg is sheared off flush with the base, a jeweler will need to drill out the remnants and laser-weld a new 1.0mm sterling silver or gold peg into place. Attempting to drill precious metal settings without a flex-shaft and proper magnification will result in irreversible damage to the earring's mounting.


