How Long to Change Earrings After Piercing: A Complete Healing Guide
Discover exactly how long to change earrings after piercing. Learn lobe vs. cartilage healing timelines, safe metals, and expert cleaning tips.

The Biology of Piercing Healing: Why Rushing Causes Rejection
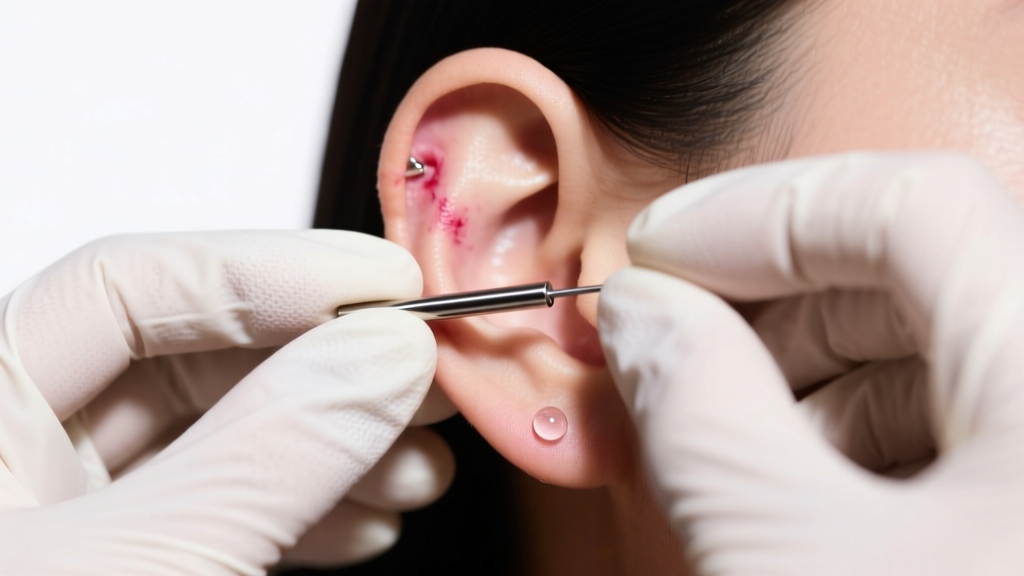
When asking how long to change earrings after piercing, the answer is never a simple number of days. It is a biological process dictated by the formation of a fistula—the permanent tube of scar tissue that lines your piercing channel. If you swap your jewelry before this tissue has fully matured and stratified, you risk micro-tearing the delicate new cells. This trauma triggers an immune response that frequently leads to hypertrophic scarring (those annoying piercing bumps), prolonged weeping, and in severe cases, total rejection of the jewelry.
According to the Association of Professional Piercers (APP), a piercing is essentially an open wound that requires a highly specific environment to heal. The initial jewelry you receive is carefully selected for its length, gauge, and material to accommodate the inflammatory phase of healing. Removing it prematurely disrupts this fragile ecosystem.
Exact Timelines: How Long to Change Earrings After Piercing by Placement
Healing timelines vary drastically depending on the vascularity of the pierced tissue. Earlobes, which are highly vascular and consist of soft tissue, heal significantly faster than cartilage placements, which rely on perichondrium (the connective tissue surrounding the cartilage) for blood supply.
| Piercing Placement | Initial Downsize / Swap | Full Fistula Maturation | Standard Starting Gauge |
|---|---|---|---|
| Standard Earlobe | 4 to 6 weeks | 3 to 4 months | 18G or 16G |
| Upper Lobe / Mid-Flat | 8 to 10 weeks | 6 to 8 months | 16G |
| Helix / Forward Helix | 8 to 12 weeks | 9 to 12 months | 16G |
| Conch | 10 to 14 weeks | 12 to 18 months | 16G or 14G |
| Tragus | 8 to 12 weeks | 9 to 12 months | 16G |
| Daith / Rook | 12 to 16 weeks | 12 to 18 months | 16G |
| Industrial (Scaffold) | 16 to 24 weeks | 12 to 24 months | 14G |
Note: The "Initial Swap" refers to the first time you visit your piercer to downsize the post length or change the decorative end. The "Full Maturation" is when the fistula is tough enough to withstand frequent jewelry changes and heavier styles like dangling earrings or thick hoops.
The "Downsize" Rule: When to Switch Post Lengths
Many people misunderstand the first jewelry change. Your initial flat-back labret or straight barbell is intentionally inserted with a longer post (often 8mm to 12mm) to accommodate the inevitable swelling that occurs in the first 14 days. Once the swelling subsides—usually around the 3-to-4-week mark for lobes and 6-to-8-week mark for cartilage—you must return to your piercer for a "downsize."
Leaving a long post in a healed, non-swollen piercing is a primary cause of healing complications. The excess metal catches on hair, towels, and clothing, acting as a lever that constantly shifts the angle of the jewelry inside the channel. This mechanical irritation causes the body to form granulomas and forces the piercing to heal at a crooked angle.
Safe Materials for Your First Earring Change
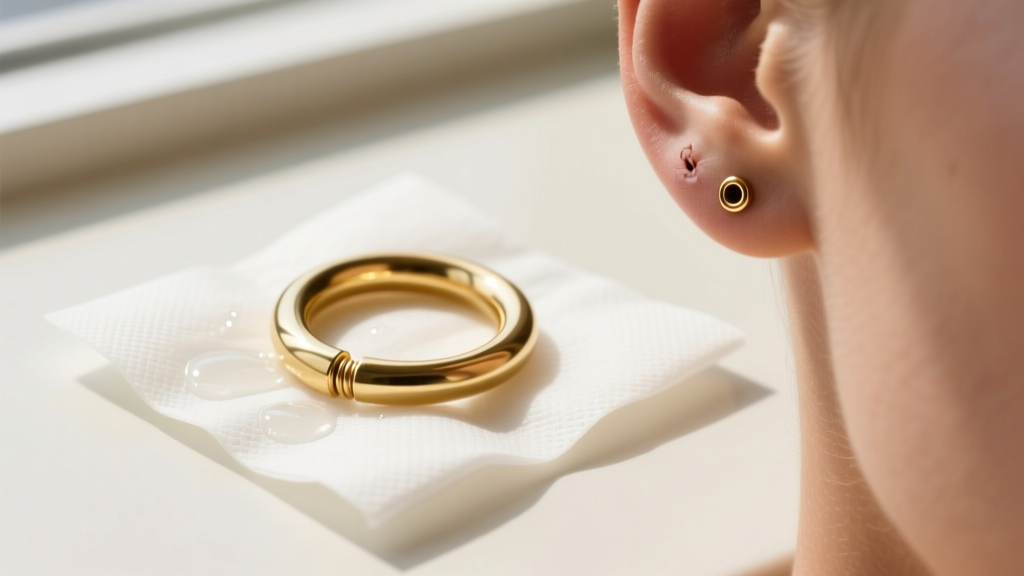
When you are finally ready to change your earrings, the material of the new jewelry is non-negotiable. The newly formed fistula is highly porous and reactive to heavy metals. The American Academy of Dermatology (AAD) strongly advises against cheap alloys that can cause contact dermatitis.
- ASTM F136 Implant-Grade Titanium: The absolute gold standard for fresh and healing piercings. It is completely nickel-free, highly polished, and biocompatible. Brands like NeoMetal and BVLA use this exclusively.
- Niobium: Another highly reactive-safe metal that can be anodized to various colors. It is slightly softer than titanium but excellent for sensitive healing channels.
- Solid 14k or 18k Gold (Nickel-Free): Only suitable if it is alloyed for body jewelry (e.g., palladium-white gold). Avoid yellow gold from standard mall jewelers, as it often contains copper and nickel that will oxidize in a healing wound.
- Avoid "Surgical Steel" (316L): Despite the medical-sounding name, 316L stainless steel contains up to 14% nickel. In a healing, moist environment, nickel leaches out and causes severe allergic reactions and delayed healing.
Threadless vs. Internally Threaded: The Mechanics of the Swap
Understanding your jewelry's construction is vital for a painless first change. Never use externally threaded jewelry (where the screw is on the post) in a healing piercing, as the sharp threads will shred the delicate fistula upon removal and insertion.
Threadless (Push-Pin) Jewelry
Threadless jewelry relies on tension. The decorative end has a slightly bent pin that snaps into the hollow post. To remove it, grip the front gem and the back disc firmly, then pull and twist slightly. To insert the new end, bend the pin about 10 to 15 degrees, push it halfway into the post, and snap it shut. The tension holds it securely.
Internally Threaded Jewelry
Here, the threading is inside the hollow post, and the decorative end has a smooth pin that screws into it. Use a pair of clean, powder-free nitrile gloves to get a proper grip. Hold the back disc completely still while unscrewing the front counter-clockwise. If it feels stuck, do not force it with pliers; return to your piercer to avoid crushing the jewelry or tearing the tissue.
Step-by-Step Cleaning Protocol for Changing Fresh Piercings
Hygiene is paramount when introducing new jewelry to a healing channel. Follow this clinical protocol to prevent introducing staph or strep bacteria into the fistula.
- Prepare Your Workspace: Clean your bathroom counter with an antibacterial wipe. Lay out a clean paper towel. Never do this over an open sink drain; use a silicone mat or a plugged basin.
- Sterilize the New Jewelry: Even if it came in a sterile package, wipe the new earring down with 70% isopropyl alcohol and let it air dry completely on the paper towel. Do not insert alcohol-soaked jewelry into the piercing.
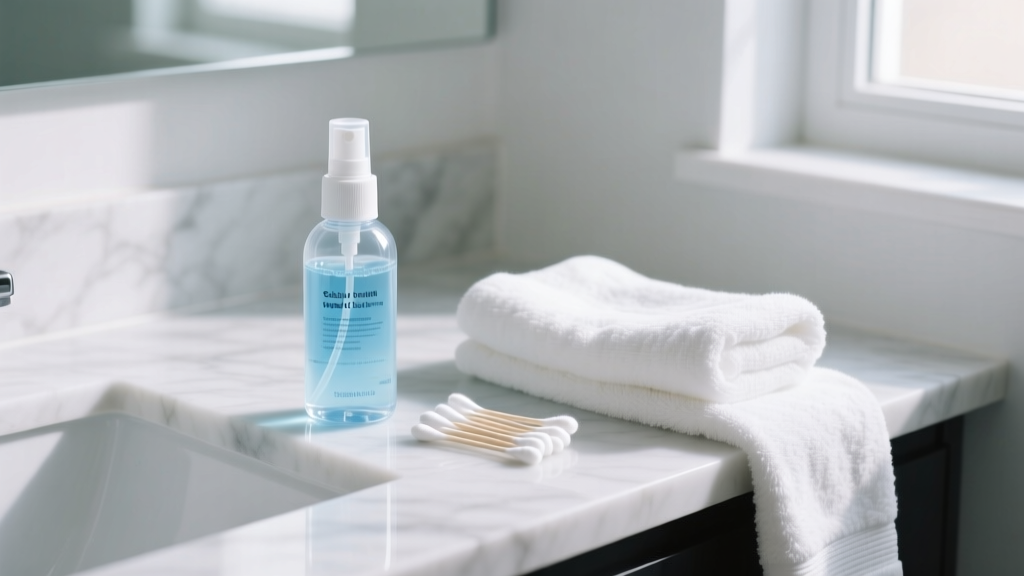
- Soften the Crusties: Spray the front and back of your current piercing with sterile 0.9% sodium chloride wound wash. Let it sit for two minutes to soften any dried lymph fluid (crusties) that may be gluing the jewelry to the skin.
- Execute the Swap: With freshly washed and dried hands, gently remove the old jewelry. Immediately insert the new jewelry to prevent the hole from shrinking. (Cartilage can shrink in a matter of minutes).
- Post-Swap Flush: Once the new earring is secured, liberally spray the area again with sterile saline to flush out any microscopic debris or dead skin cells that were pushed into the channel during the swap.
Troubleshooting: What to Do If the Hole Closes or Irritates
Even with perfect timing, the first earring change can present challenges. If you remove your starter stud and the hole immediately begins to close or feels too tight for the new post, do not force the jewelry through. Forcing a blunt post through a shrinking fistula will create a false passage, leading to severe swelling and bleeding.
Instead, keep a sterile, water-based lubricant (like jojoba oil or a dedicated piercing taper lubricant) on hand. If the jewelry won't slide in, visit a professional piercer immediately. They possess sterile steel insertion tapers—conical tools that gently and safely stretch the shrunken tissue back to its proper gauge without causing trauma.
Expert Insight: If your piercing begins to weep clear fluid or bleed slightly after your first earring change, revert to your strict twice-a-day sterile saline cleaning routine for the next 7 days. Treat the piercing as if it were brand new, and avoid sleeping on that side to prevent pressure-induced swelling.
Ultimately, knowing how long to change earrings after piercing is about respecting your body's natural biological clock. Patience during the first six months guarantees a lifetime of easy, painless jewelry swaps and a perfectly angled, healthy fistula.