How to Fix an Earring Infection: Fast Lobe & Cartilage Relief
Learn how to fix an earring infection with expert-approved cleaning routines, material swaps, and cartilage care tips to heal your piercings fast.

The Panic of a Swollen Piercing: Infection vs. Irritation
Waking up to a swollen, tender, and red ear piercing is a universal source of panic for jewelry lovers. When your earlobe or cartilage throbs with pain, your first instinct might be to rip the earring out and reach for the harshest chemicals in your medicine cabinet. However, understanding how to fix an earring infection requires a calm, clinical approach. Before you can treat the issue, you must accurately identify whether you are dealing with a true bacterial infection, an allergic reaction, or simple mechanical irritation. The biological response of your fistula (the tube of scar tissue that forms the piercing channel) varies wildly depending on the root cause, and applying the wrong treatment can actually trap bacteria or cause severe tissue damage.
According to the Association of Professional Piercers (APP), true infections in fully healed piercings are surprisingly rare. More often than not, what appears to be an infection is actually contact dermatitis or trauma-induced inflammation. Let us break down the clinical differences so you can apply the correct triage protocol.
Symptom Breakdown: What Is Actually Happening?
| Condition | Primary Symptoms | Discharge Type | Root Cause |
|---|---|---|---|
| Bacterial Infection | Intense throbbing, heat, spreading redness, fever (in severe cases). | Thick, opaque yellow or green pus; foul odor. | Pathogenic bacteria trapped in the fistula; poor hygiene. |
| Contact Dermatitis | Itchiness, localized redness, flaking skin, mild swelling. | Clear fluid or dry, crusty flakes. | Nickel allergy from "surgical steel" or low-karat gold alloys. |
| Mechanical Irritation | Tenderness to the touch, localized bump (hypertrophic scarring). | Whitish, sticky lymph fluid that dries into crusties. | Sleeping on the ear, snagging on hair, or posts that are too long. |
Step-by-Step Triage: How to Fix an Earring Infection at Home
If you have confirmed that your symptoms point toward a mild bacterial infection or severe irritation, your immediate goal is to reduce the bioburden (the amount of bacteria present) without destroying the delicate new cells trying to heal the fistula. Here is the exact protocol recommended by piercing professionals and dermatologists.
Step 1: Do NOT Remove the Jewelry
The most common mistake people make when trying to figure out how to fix an earring infection is taking the jewelry out. If you remove the earring while the tissue is inflamed and infected, the surface holes of the fistula can rapidly close. This traps the infection inside the tissue, potentially leading to an abscess that requires surgical lancing. Leave the jewelry in place to act as a drain for the pus and fluids.
Step 2: The 0.9% Sterile Saline Soak
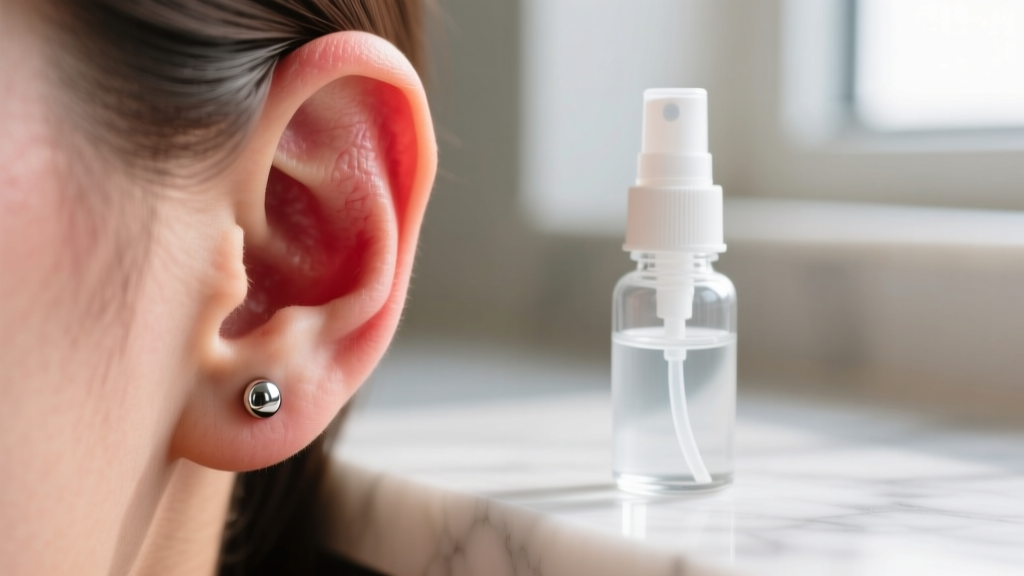
Ditch the homemade sea salt recipes. The exact ratio of salt to water is critical; a solution that is too salty will dehydrate the cells and delay healing, while one that is too weak will not effectively cleanse the wound. Purchase a canned, sterile 0.9% sodium chloride wound wash with no additives. Spray the solution directly onto the front and back of the piercing twice a day. Let it sit for 30 seconds to soften any lymph crusties, then gently wipe away debris.
Step 3: Warm Compresses for Drainage
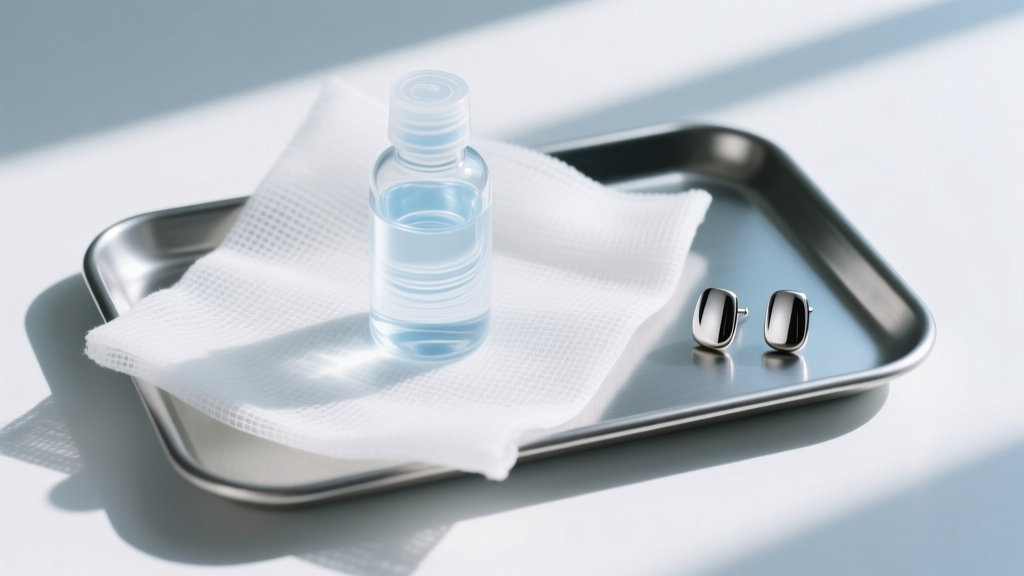
For localized swelling and trapped fluid, a warm compress encourages vasodilation (widening of the blood vessels), which increases white blood cell delivery to the area. Soak a clean, non-woven gauze pad in warm sterile saline and hold it against the ear for five minutes. This softens hardened discharge and promotes natural drainage.
The Cartilage Danger Zone: Understanding Perichondritis
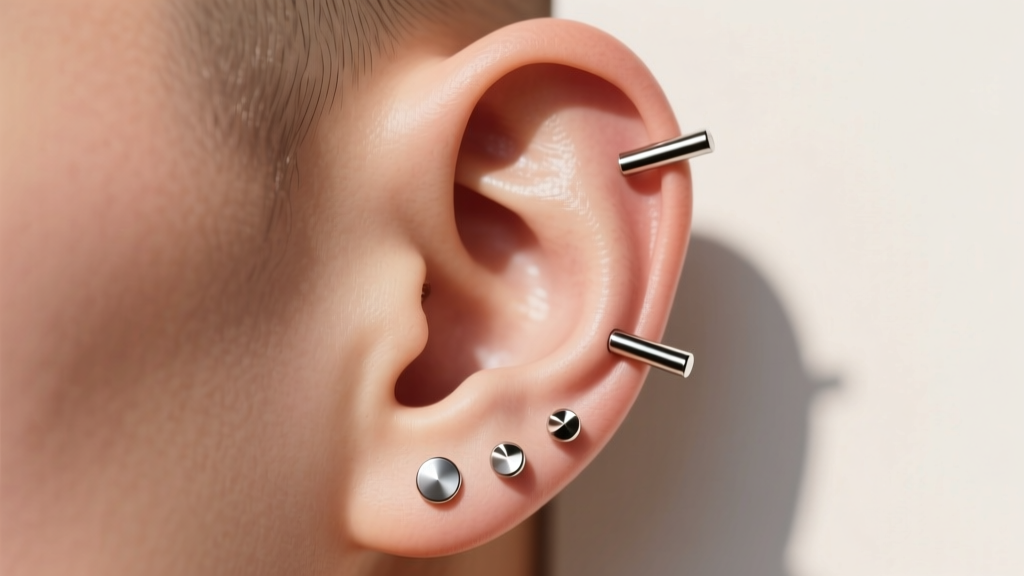
While a lobe infection is generally straightforward to manage due to the high vascularity (blood flow) of the tissue, cartilage piercings like the helix, tragus, or conch present a unique medical challenge. Cartilage is avascular, meaning it lacks its own direct blood supply. It relies on the surrounding skin and perichondrium (the connective tissue covering the cartilage) for nutrients and immune responses.
If bacteria infiltrate the cartilage channel, it can lead to perichondritis, a severe infection that can cause permanent structural deformity of the ear (often referred to as "cauliflower ear"). The Cleveland Clinic warns that if redness spreads beyond the immediate piercing site, or if you develop a fever, chills, or nausea, you must bypass home remedies and seek oral antibiotics from a physician immediately. Cartilage infections do not respond well to topical treatments alone because the bloodborne antibiotics are required to reach the avascular tissue.
Material Swaps: The Ultimate Preventative Fix
Once the acute swelling has subsided, you must address the environment inside the fistula to prevent recurrence. If you are wearing standard "surgical stainless steel," you are likely dealing with a low-grade nickel allergy masquerading as an infection. Surgical steel contains up to 10-14% nickel, which leaches into the skin when exposed to the moisture and salts of a healing wound.
The Implant-Grade Standard
To permanently resolve chronic irritation, upgrade your jewelry to Implant-Grade Titanium (ASTM F136) or Niobium. These materials are entirely nickel-free and biocompatible, meaning the human body does not recognize them as foreign invaders. Furthermore, ensure your jewelry has a mirror-finish polish. Microscopic scratches on cheap jewelry harbor bacteria and create friction that tears the fragile fistula lining.
- Standard Lobe Studs: Opt for 16g or 14g titanium flat-back labrets. The flat disc prevents the "butterfly back" friction that traps dead skin and bacteria behind the lobe.
- Hoops and Huggies: Avoid wearing hoops in newly irritated piercings. The circular shape moves constantly, dragging dried crusties and external bacteria back into the healing channel.
- Post Length Downsizing: If your earring post is long enough to accommodate initial swelling, it is too long for a healed ear. Excess post length causes the jewelry to tilt, creating uneven pressure that leads to irritation bumps. Visit a piercer to downsize to a snug-fit post.
The "Never Use" List for Piercing Aftercare
When researching how to fix an earring infection, you will inevitably encounter outdated, harmful home remedies. The modern dermatological and professional piercing consensus strictly forbids the following substances, as they destroy the macrophages (white blood cells) required for healing and disrupt the skin's natural acid mantle.
Warning: Never apply rubbing alcohol, hydrogen peroxide, tea tree oil, or antibiotic ointments like Neosporin to a piercing. Alcohol and peroxide cause chemical burns to the fistula. Tea tree oil is a known contact allergen that causes severe chemical burns on mucosal tissue. Ointments are petroleum-based, creating an airtight seal that traps anaerobic bacteria inside the wound while blocking the oxygen necessary for cellular repair.
Maintaining a Healthy Piercing Ecosystem
Fixing an earring infection is only half the battle; maintaining the long-term health of your piercings requires a gentle, consistent routine. Treat your piercings like the delicate tissue they are, not like dirty wounds that need to be scorched with chemicals. Wash your hands thoroughly with antimicrobial soap before ever touching your ears. Avoid sleeping on your earrings by using a travel neck pillow to keep your ear suspended in the center hole, eliminating pressure and friction. By combining biocompatible materials, sterile cleansing practices, and an understanding of your body's biological healing processes, you can ensure your ear styling remains both beautiful and perfectly healthy for years to come.


