How to Make Earring Hooks: Cost, Value & Material Guide
Learn how to make earring hooks at home with our budget assessment. Compare wire costs, tool investments, and metal values for DIY jewelry making.

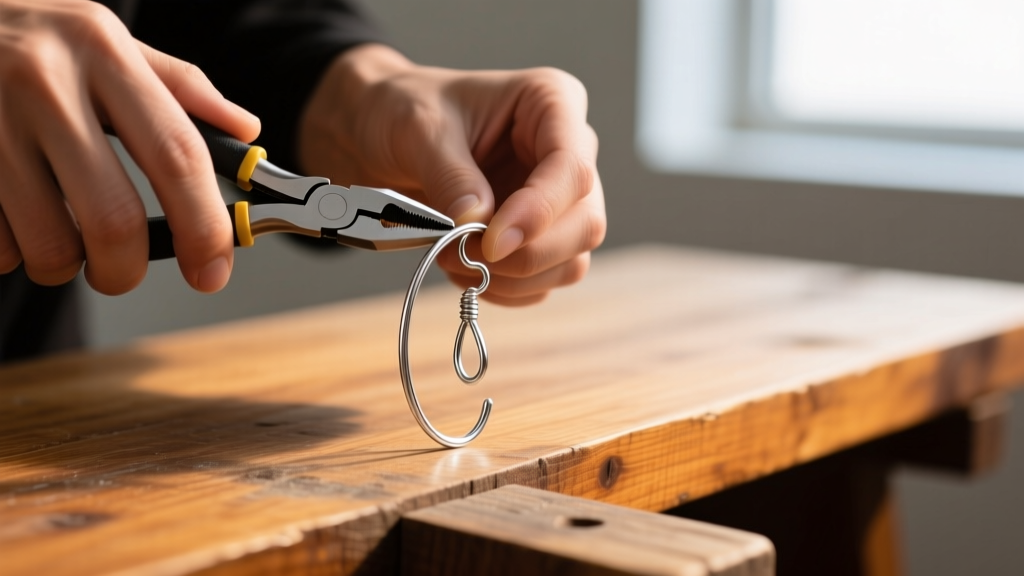
The True Cost of DIY: Making vs. Buying Earring Hooks
As precious metal prices continue to fluctuate in 2026, independent jewelry designers and hobbyists are constantly re-evaluating their supply chains. One of the most common findings used in jewelry making is the French earring hook (or fishhook). While buying wholesale sterling silver hooks from suppliers like Fire Mountain Gems typically costs between $0.40 and $0.85 per pair, learning how to make earring hooks yourself can drastically reduce your per-unit cost. However, the true budget assessment must factor in the initial tool investment, material waste, and the hidden cost of your time. This guide breaks down the exact economics, metallurgical requirements, and value propositions of crafting your own ear wires from scratch.
Essential Tools and Initial Investment
To make professional-grade earring hooks that do not damage the earlobe or break under tension, you cannot rely on a $15 hardware store plier set. Cheap tools feature misaligned jaws and soft steel that will mar your wire, leaving permanent tool marks that decrease the perceived value of your jewelry.
- Precision Flush Cutters ($60 - $90): Brands like Lindstrom or Tronex offer a flat cut on one side of the blade and a bevel on the other. This prevents the sharp 'V' pinch left by cheap cutters, saving you hours of filing.
- Round-Nose Pliers ($45 - $70): Essential for forming consistent, symmetrical loops. Look for smooth, untextured jaws to avoid scratching your wire.
- Nylon Jaw Pliers ($25 - $35): Used for work-hardening and straightening wire without marring the metal surface.
- Steel Bench Block & Rawhide Mallet ($30 - $50): Necessary for flattening and hardening the hook curve.
- Cup Burr & Rotary Tool ($40 - $100): A #1 or #2 cup burr attached to a Dremel or flex shaft is mandatory for rounding the wire ends so they glide through the fistula (piercing hole) without causing micro-tears.
Budget Verdict: Your initial tool investment will range from $200 to $350. If you are a hobbyist making one pair a month, buying pre-made hooks is more cost-effective. If you are a small business producing 50+ pairs a month, these tools will pay for themselves within the first quarter.
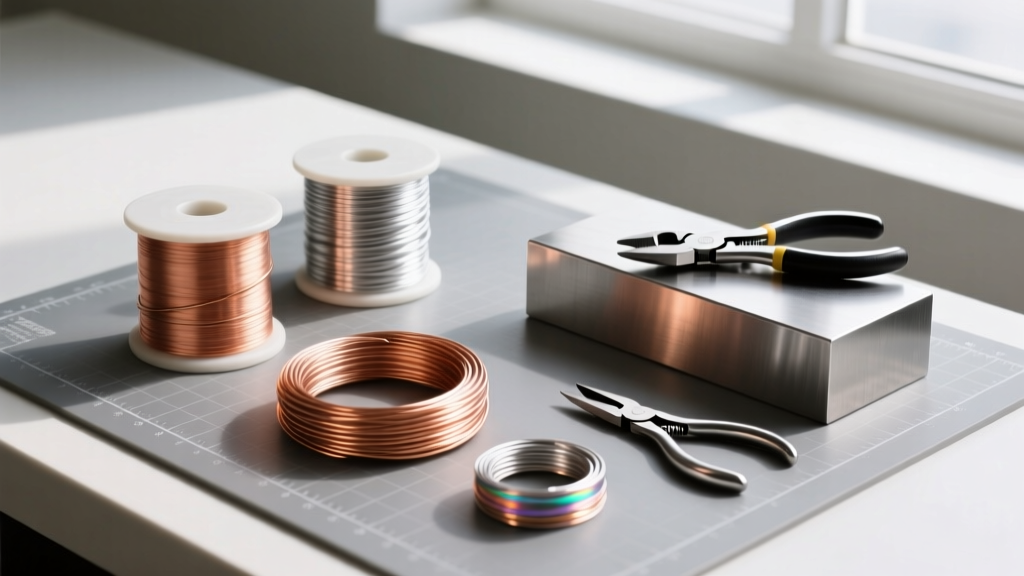
Wire Materials: Budget vs. Premium Value
The most critical mistake beginners make when learning how to make earring hooks is choosing the wrong wire temper and gauge. For standard earlobe piercings, 20-gauge (0.81mm) wire is the industry standard. It is thick enough to hold its shape but thin enough to pass comfortably through a healed piercing. You must also use half-hard temper wire. Dead-soft wire has been annealed and lacks the structural memory required to spring back into shape; it will stretch out and drop the earring within days of wear.
Below is a value assessment of the most common wire materials available from major suppliers like Rio Grande:
| Material | Avg. Cost (10ft Spool) | Cost Per Pair | Hypoallergenic Value | Budget Verdict |
|---|---|---|---|---|
| Copper / Brass | $4.00 - $6.00 | $0.05 | Poor (Oxidizes, causes green skin) | Practice only. Zero retail value for sensitive ears. |
| Sterling Silver (.925) | $18.00 - $25.00 | $0.25 | Good (Contains nickel-free copper alloy) | Excellent baseline value for standard retail jewelry. |
| Argentium Silver | $30.00 - $40.00 | $0.40 | Excellent (Highly tarnish-resistant) | Premium value. Saves time on polishing and maintenance. |
| Niobium | $22.00 - $28.00 | $0.28 | Superior (100% Nickel-free, anodizes) | Best value for sensitive ears and colorful designs. |
| Titanium (Grade 1) | $35.00 - $45.00 | $0.45 | Superior (Medical grade implant safe) | Niche value. Very difficult to cut and bend manually. |
Step-by-Step: How to Make Earring Hooks That Last
Creating a durable, comfortable ear wire requires precision and an understanding of metal fatigue. Follow this exact workflow to maximize the lifespan of your findings.
- Measure and Cut: Cut exactly 2.25 inches of 20-gauge half-hard wire using your precision flush cutters. Ensure the flat side of the cut faces the end of the wire.
- Form the Bottom Loop: Using the very tip of your round-nose pliers, grasp the wire and roll it backward to create a small, closed loop. This is where your earring dangle will attach.
- Create the Hook Curve: Switch to the thicker part of the round-nose pliers. Grasp the wire about an inch above the bottom loop and bend it over the plier jaw to form the main hook shape.
- Round the Ends: Use a cup burr on a rotary tool to gently round the sharp cut end of the hook. Dip the wire in water while burring to prevent overheating the metal, which can accidentally anneal (soften) it.
- Work-Harden: Place the formed hooks on a steel bench block and strike them gently 3 to 4 times with a rawhide mallet. Alternatively, tumble them in a rotary tumbler with stainless steel shot for 45 minutes. This aligns the metal crystals, increasing tensile strength and ensuring the hook retains its shape when pulled through the ear.

Calculating the ROI of Your DIY Earring Hooks
Let us look at the hard data for a small-batch jewelry business producing 100 pairs of earrings using sterling silver. A standard 10-foot spool of 20-gauge half-hard sterling silver wire yields approximately 53 pairs of hooks (assuming 2.25 inches per hook).
DIY Cost Breakdown (Sterling Silver):
Wire Cost: $22.00 / 53 pairs = $0.41 per pair.
Tool Amortization (over 1,000 pairs): $0.05 per pair.
Labor (3 minutes per pair at $15/hr): $0.75 per pair.
Total In-House Cost: $1.21 per pair.
While the material cost ($0.41) is lower than buying wholesale pre-made hooks ($0.65), the labor cost makes DIY more expensive for high-volume production. However, the brand value of hand-forged, custom-shaped, or hammered ear wires allows you to charge a 20% to 30% premium on your final earring retail price, easily offsetting the labor time.
Common Mistakes That Ruin Value
When assessing the budget of DIY jewelry making, you must account for material waste caused by beginner errors. Avoid these value-destroying mistakes:
- Using Dead-Soft Wire: It is cheaper and easier to bend, but the hooks will stretch out, leading to customer complaints and lost earrings. Always buy half-hard.
- Skipping the Cup Burr: Filing the end flat with a standard needle file leaves microscopic metal burrs. These act like tiny saws inside the earlobe, causing pain and infection. A cup burr is non-negotiable.
- Over-Work-Hardening: Striking sterling silver or brass too aggressively with a steel hammer (instead of rawhide) will cause the metal to become brittle and snap when the customer tries to put the earring on.
Final Verdict: Is Making Your Own Hooks Worth It?
Learning how to make earring hooks is a highly valuable skill for jewelry designers who want total control over their aesthetic and material integrity. From a strict budget perspective, if you are producing basic, mass-market designs, buying wholesale pre-made findings remains the most time-efficient and cost-effective route. However, if you are creating premium, artisan, or hypoallergenic jewelry lines, crafting your own hooks from high-value materials like Argentium silver or Niobium elevates your brand, justifies a higher retail price point, and ensures your customers receive a comfortable, durable, and truly custom piece of jewelry.


