How to Get Flat Back Earrings Off: The Ultimate Curated Ear Guide
Learn exactly how to get flat back earrings off safely. Expert guide on removing threadless and threaded labret studs for curated ear styles.

The Curated Ear Trend and the Flat Back Revolution
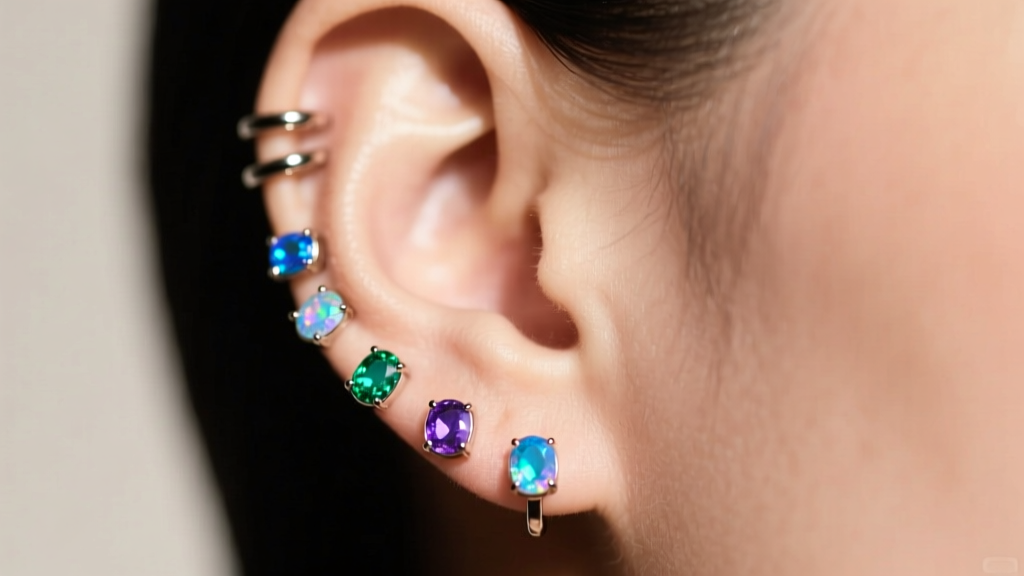
The modern curated ear relies heavily on the labret stud, colloquially known as the flat back earring. Whether you are sporting a constellation helix, a delicate conch stack, or a seamless lobe setup, flat backs provide an unmatched, snag-free silhouette that traditional butterfly-back studs simply cannot achieve. As jewelry trends in 2026 continue to favor intricate, high-end body jewelry from premium houses like BVLA, Junipurr, and NeoMetal, the mechanisms securing these pieces have become highly specialized. Yet, this upgrade in quality and comfort often leaves wearers puzzled when it is time for a change. Understanding exactly how to get flat back earrings off without damaging your piercing fistula or bending precious metals is a critical skill for any jewelry enthusiast.
Anatomy of a Flat Back: Threadless vs. Internally Threaded
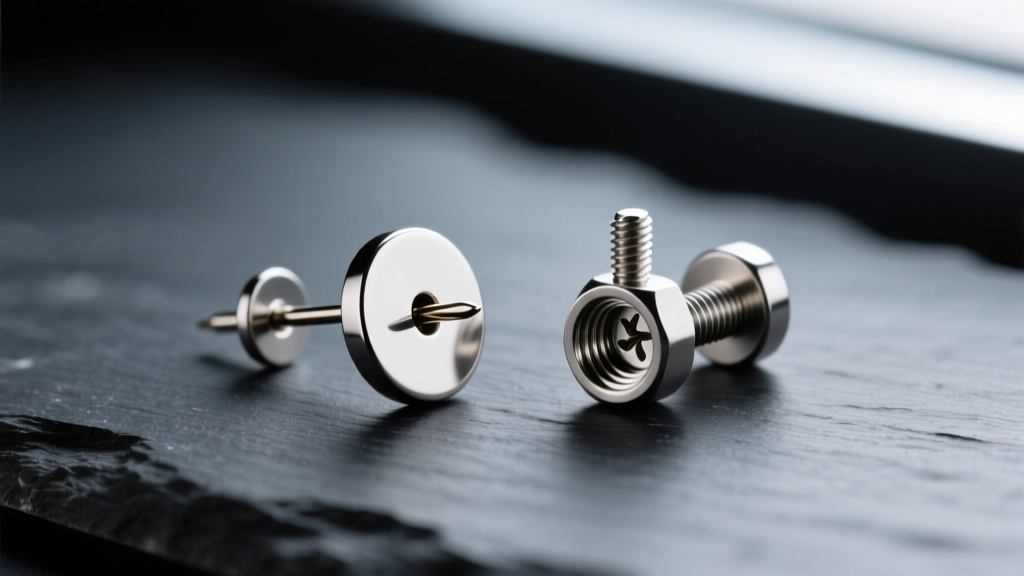
Before attempting removal, you must identify the engineering of your jewelry. The Association of Professional Piercers (APP) strictly recommends against externally threaded jewelry, meaning your flat back will be one of two types:
1. Threadless (Push-Pin) Jewelry
Pioneered by brands like NeoMetal, threadless jewelry relies on tension. The front pin is slightly bent before insertion, and the natural tension of the metal pressing against the inside of the hollow post holds the gem securely in place. There are no screws involved.
2. Internally Threaded Jewelry
Common in high-end 14k and 18k gold pieces, internally threaded jewelry features a screw mechanism. The threading is located on the pin of the front gem, which screws into a tapped hole inside the flat back post. This preserves the smooth surface of the post, preventing tissue damage during insertion.
Step-by-Step: How to Get Flat Back Earrings Off Safely
Removing flat backs requires a departure from the粗暴 twisting and pulling used for cheap friction-back earrings. Here is the professional protocol for both mechanisms.
Method 1: Removing Threadless (Tension-Fit) Earrings
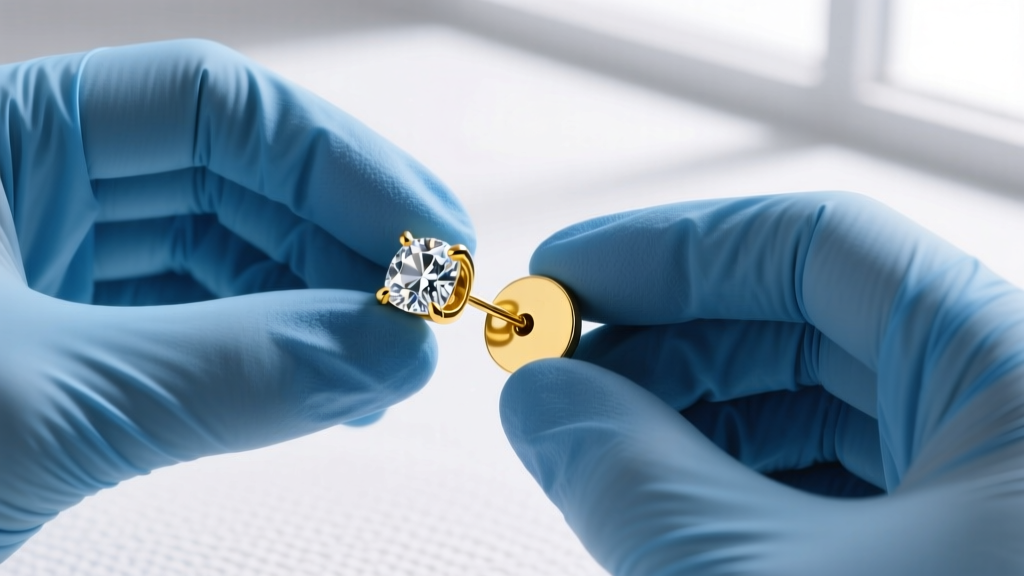
- Step 1: Prep your grip. Wash your hands thoroughly. If your fingers are slipping, put on a pair of clean, powder-free nitrile gloves. The added friction is a game-changer for gripping small gems.
- Step 2: Position your fingers. Place your thumb and index finger of one hand on the front gemstone or decorative end. Place the thumb and index finger of your other hand on the flat back disk behind your ear.
- Step 3: The Pull. Do not twist. Twisting a threadless pin will warp the metal and ruin the tension fit. Instead, pull the front and back straight apart with firm, steady pressure. A slight wiggling motion (like pulling a stubborn cork) can help break the seal.
Method 2: Removing Internally Threaded Earrings
- Step 1: Secure the back. Using your non-dominant hand, pinch the flat back disk firmly against the back of your earlobe or cartilage to prevent it from spinning.
- Step 2: Unscrew the front. With your dominant hand, grip the front gem and turn it counter-clockwise (lefty-loosey).
- Step 3: Extract. Once the threading releases, gently slide the post out of the fistula from the back to the front, following the natural angle of the piercing.
Troubleshooting Stuck Flat Backs: Real-World Failure Modes
If you are struggling to figure out how to get flat back earrings off, you are likely dealing with one of three common failure modes. Never use pliers or hemostats at home; metal tools will crush the gem settings, scratch the gold, and risk severe tissue tearing.
| Failure Mode | Root Cause | Expert Solution |
|---|---|---|
| Slipping Grip | Natural skin oils, lotion, or smooth gemstone surfaces preventing adequate torque. | Wear 4-mil nitrile medical gloves. Alternatively, wrap a small piece of textured shelf liner around the gem for grip. |
| Lymph / Sebum Cement | Dried piercing exudate and dead skin cells act as biological glue around the post and disk. | Soak the ear in warm sterile saline for 5 minutes. Gently massage the area to dissolve the buildup before attempting removal. |
| Cross-Threading | The front pin was forced into the post at an angle, stripping or jamming the internal threads. | Stop twisting. Apply a warm compress to relax the tissue. If it does not yield, visit a professional piercer who can use specialized rubber-tipped clamps to separate it. |
| Swelling Encapsulation | The post is too short (e.g., 5mm), causing the tissue to swell slightly over the edges of the flat back disk. | Do not force it. Apply a cold compress to reduce vascular swelling, then use the nitrile glove method to pull the disk away from the skin. |
Material and Gauge Considerations for Long-Term Wear
The ease of removal is heavily influenced by the material and gauge of your jewelry. According to BVLA's official jewelry care guidelines, maintaining the structural integrity of precious metals requires proper handling.
- Implant-Grade Titanium (ASTM F136): The gold standard for fresh piercings and sensitive ears. Titanium threadless pins hold a bend exceptionally well and can be re-bent multiple times without snapping. Standard cartilage gauges are 16G (1.2mm) and 14G (1.6mm).
- 14k / 18k Solid Gold: Gold is a softer metal. If you are using internally threaded gold jewelry, be acutely aware of cross-threading. Never force a gold pin into a post. Standard lengths for healed helices are usually 6mm (1/4") or 8mm (5/16"), while lobes often require 5mm or 6mm posts.
- Avoid Surgical Steel: Often mislabeled as "hypoallergenic," surgical steel contains nickel and has a higher surface porosity than titanium or gold, which can increase friction and make removal more difficult over time due to microscopic tissue adhesion.
Styling the Aftermath: Transitioning Your Curated Ear
Once you have successfully navigated how to get flat back earrings off, you have a blank canvas. The current trend in ear styling leans heavily toward mixed-metal curation. If you are removing a titanium piece, consider upgrading to a 14k yellow gold threadless end with a bezel-set sapphire for a pop of color that complements warm skin tones. Alternatively, swapping a standard flat back for a seamless clicker hoop in the helix can completely alter the geometry of your ear stack.
Pro-Tip for Jewelry Collectors: Always store your removed flat backs in a dedicated, compartmentalized jewelry box. Threadless pins are incredibly thin (often under 1mm) and can easily bend if tossed loosely into a drawer, while internally threaded posts can collect lint that ruins the screw mechanism.
Mastering the removal of your flat back earrings ensures that your curated ear remains a dynamic, evolving expression of your personal style, rather than a permanent fixture trapped by mechanical confusion. Treat your jewelry with the precision it demands, and your piercings will reward you with lifelong comfort and aesthetic brilliance.


