Third Earring Hole Troubleshooting: Spacing, Healing & Fixes
Solve third earring hole problems with expert advice on spacing, healing complications, jewelry sizing, and migration fixes for a perfect lobe stack.

The Anatomy of a Third Earring Hole: Why It’s Different
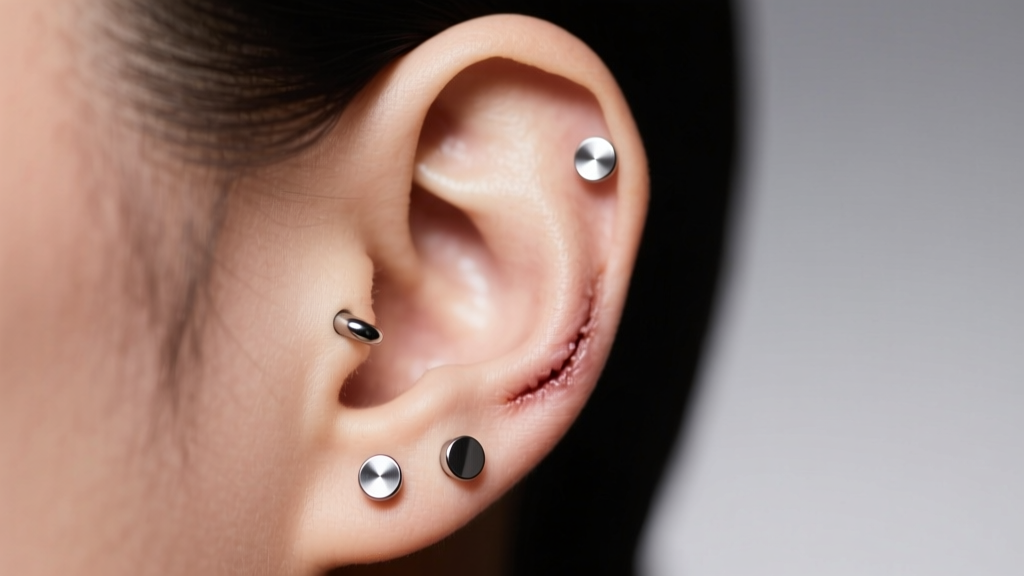
Adding a third earring hole to your lobe stack is a popular way to elevate your ear curation, but it introduces a unique set of anatomical and mechanical challenges. Unlike the first and second lobe piercings, which typically sit squarely in the soft, highly vascular lobule tissue, the third hole often borders the auricular sulcus—the crease where the soft lobe transitions into the firmer cartilage of the ear. This transition zone has a different blood supply and tissue density, meaning your third earring hole will likely require 8 to 12 weeks to heal, compared to the standard 6 weeks for a first lobe piercing.
Furthermore, the physical real estate of the human earlobe is surprisingly limited. The average earlobe measures only 15mm to 20mm from the bottom edge to the cartilage border. When you introduce a third piercing, you are working with millimeters of margin. This tight spacing is the root cause of the most common third earring hole problems: jewelry overlap, migration, and prolonged irritation. In this guide, we break down the exact troubleshooting steps to fix spacing issues, manage healing complications, and select the correct jewelry specifications for a flawless lobe stack.
Troubleshooting Spacing and Overlap Issues
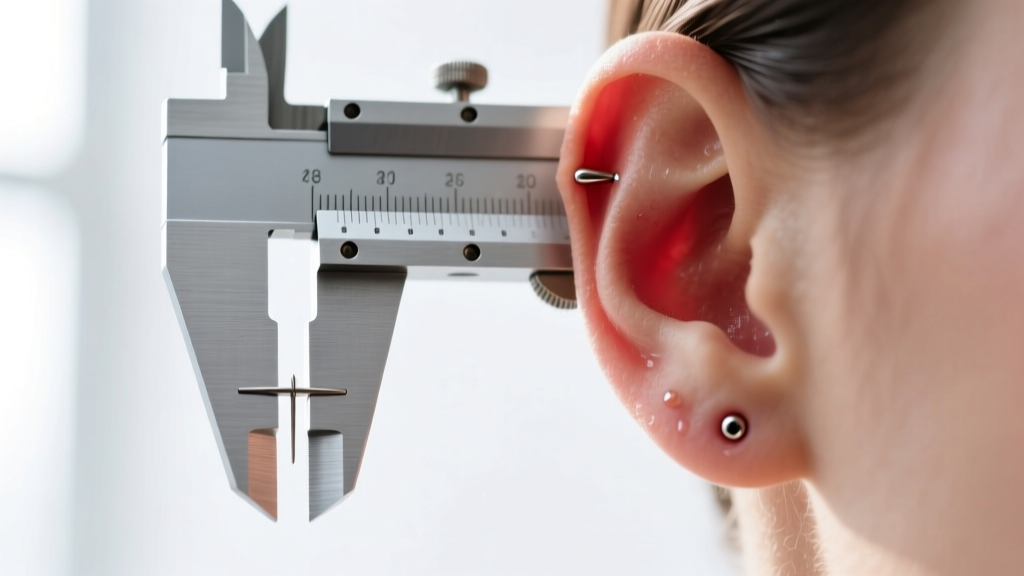
The most frequent complaint regarding a third earring hole is that the jewelry touches or overlaps with the second hole. This happens when the piercer does not account for the diameter of the jewelry you intend to wear, focusing only on the needle's entry point. According to guidelines from the Association of Professional Piercers (APP), proper spacing must be calculated center-to-center, not edge-to-edge.
If your second and third holes are less than 6mm (1/4 inch) apart center-to-center, standard 6mm or 8mm stud settings will inevitably collide. This constant friction causes micro-trauma, leading to hypertrophic scarring or irritation bumps. If you are already dealing with overlapping jewelry, you have three actionable solutions:
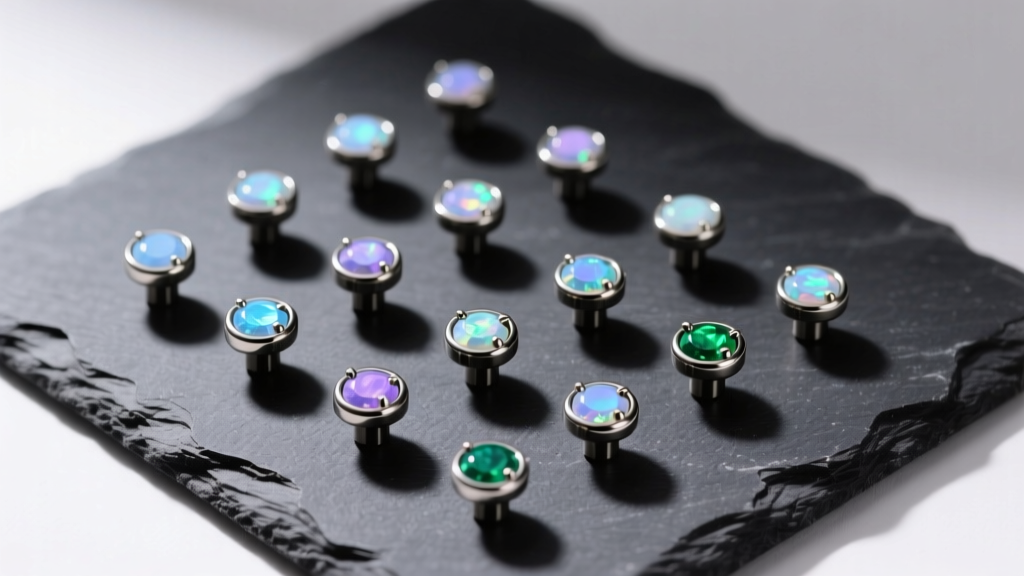
- Downsize the Jewelry Head: Swap standard 6mm studs for micro-settings. A 3mm or 4mm bezel-set gem in the third hole will sit flush and eliminate overlap.
- Mix Jewelry Styles: Wear a flat-back labret in the third hole and a tiny 5mm seamless hoop or huggie in the second hole. The different profiles allow them to sit side-by-side without the gemstone heads crashing into each other.
- The Repierce Strategy: If the holes are less than 4mm apart and constantly infected due to trapped moisture and friction, the most viable long-term fix is to let the third hole close completely, wait 6 months for the tissue to normalize, and have an APP-certified piercer re-pierce it with proper spatial mapping.
| Piercing Position | Ideal Center-to-Center Spacing | Max Jewelry Diameter | Recommended Gauge |
|---|---|---|---|
| First Lobe | N/A (Baseline) | 6mm - 8mm | 20g - 18g |
| Second Lobe | 6mm - 8mm (1/4" - 5/16") | 5mm - 6mm | 18g - 16g |
| Third Lobe | 5mm - 7mm (3/16" - 1/4") | 3mm - 5mm | 18g - 16g |
Healing Complications: Blowouts, Migration, and Rejection
Because the third earring hole sits near the cartilage boundary, the tissue is under more structural tension. If the piercing was performed with a piercing gun rather than a hollow needle, the blunt force trauma can cause immediate micro-tears in this dense tissue. This leads to a blowout, where the tissue inside the fistula (the piercing canal) is pushed out the back, resembling a small, fleshy donut.
The "Cheese-Cutter" Effect Explained
Migration in the third hole often presents as the "cheese-cutter" effect. This occurs when the angle of the piercing does not match the natural curvature of the earlobe. If the third hole is pierced perfectly straight back (perpendicular to the floor) but the lobe curves inward at that height, the earring post will sit at an awkward tilt. The tension from the earring backing will slowly pull the post downward, slicing through the thin bridge of skin between the second and third holes like a wire through cheese.
The Fix: If you notice the hole elongating vertically or the tissue bridge thinning, remove the jewelry immediately to prevent a complete tear. Once the tissue heals (which may leave a small notch), consult a professional piercer. They can assess the tissue density and potentially repierce the hole at a corrected angle that follows the natural slope of your specific ear anatomy.
Jewelry Selection for the Third Lobe Piercing
Choosing the correct jewelry is not just about aesthetics; it is a critical troubleshooting tool for healing and maintaining a third earring hole. The APP recommends only implant-grade materials for fresh or troubled piercings to prevent contact dermatitis and galvanic reactions.
For a third hole, you should exclusively use ASTM F-136 implant-grade titanium. Avoid surgical steel, which contains nickel and can cause low-grade allergic reactions that mimic infection. Furthermore, the style of the earring backing dictates the healing environment:
- Flat-Back Labrets: The gold standard for third holes. The flat disc rests flush against the back of the ear, eliminating the pressure points caused by butterfly backs. For initial swelling, an 18-gauge or 16-gauge post with a length of 8mm (5/16") is required. Once swelling subsides (usually weeks 3-4), you must downsize to a 6mm (1/4") or 5mm (3/16") post to prevent the earring from snagging and pulling on the delicate tissue bridge.
- Threadless or Internally Threaded Ends: Brands like BVLA, Neometal, and Maria Tash manufacture threadless push-pin ends. These eliminate the sharp external threads that can tear the healing fistula during jewelry changes.
- Avoid Hinged Hoops During Healing: Even seamless rings rotate constantly, dragging bacteria and crusties through the healing fistula. Wait a minimum of 12 weeks before introducing a lightweight, 10mm or 12mm huggie hoop to the third hole.
Step-by-Step Rescue Guide for an Angry Third Hole
If your third earring hole is currently red, swollen, or secreting clear lymph fluid, follow this strict troubleshooting protocol to save the piercing and restore the tissue barrier:
- Audit Your Aftercare: Stop using tea tree oil, alcohol, or harsh soaps. Switch to a sterile, isotonic saline wound wash (0.9% sodium chloride with no additives). Spray the front and back of the piercing twice daily.
- Check the Post Length: If the flat-back disc is pressing into the skin, the post is too short for your current swelling. Visit a piercer immediately to upsize the post length temporarily. If the post sticks out more than 2mm past the skin, it is too long and acts as a lever, catching on hair and pillows. Downsize immediately.
- Implement the LITHA Method: "Leave It The Hell Alone." Stop twisting the earring. Stop checking the back. Every time you move the jewelry, you tear the fragile epithelial cells lining the fistula.
- Manage Sleep Pressure: The third hole is highly susceptible to sleep irritation because it sits exactly where the ear folds against a standard pillow. Use a travel neck pillow, positioning your ear in the center hole to eliminate all lateral pressure while you sleep.
"The third lobe piercing is where anatomy meets precision. A millimeter of poor spatial planning or a subpar alloy can turn a beautiful curation into a chronic irritation cycle. Always prioritize implant-grade titanium and precise angle mapping over rushed procedures." — General Consensus, APP-Certified Piercing Guidelines
By respecting the unique anatomical constraints of the upper lobule and adhering to strict material and spacing guidelines, you can troubleshoot and resolve almost any issue plaguing your third earring hole, ensuring a comfortable, lifelong addition to your ear stack.