Why Does Earring Smell? Step-by-Step Odor Removal Guide
Discover why your earring smells and learn our expert step-by-step guide to deep clean jewelry, eliminate piercing odor, and prevent sebum buildup.

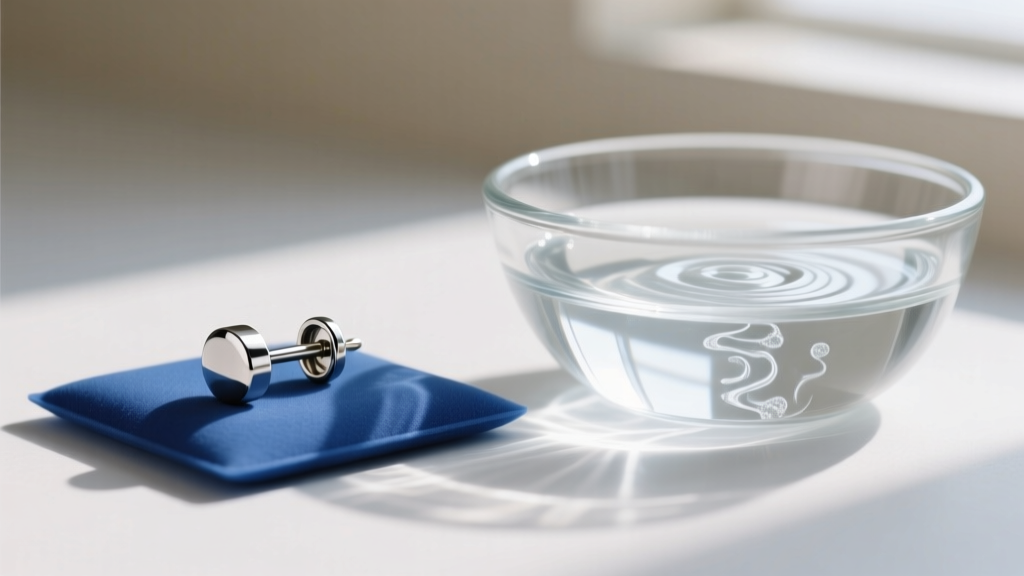
The Biological Cause: Why Does Earring Smell?
If you have ever removed a pair of stud earrings and been hit with a sharp, sour, or cheesy odor, you are not alone. In the piercing community, this phenomenon is colloquially known as "ear cheese." But to effectively eliminate the odor, we first need to understand the biological and chemical processes creating it. The smell is not actually the metal itself degrading; rather, it is a localized accumulation of biological matter trapped within the piercing fistula (the healed tube of skin).
Your skin naturally produces sebum, an oily substance secreted by sebaceous glands to lubricate and protect the skin. Sebum is composed of triglycerides, wax esters, and squalene. When sebum mixes with dead skin cells (keratinocytes) and natural sweat, it creates a thick, grayish-white paste. Because a piercing fistula is a dark, warm, and relatively enclosed environment, it acts as an incubator for naturally occurring skin bacteria, particularly Corynebacterium and Staphylococcus. As these bacteria break down the lipids in the sebum and the proteins in the dead skin cells, they release volatile organic compounds (VOCs), specifically isovaleric acid, which is responsible for the distinct, pungent odor.
Material Porosity and Reactivity: The Hidden Culprits
While biological buildup is the primary source of the odor, the material of your earring post plays a massive role in how quickly and intensely that smell develops. Microscopic scratches, porous surfaces, and reactive base metals provide ideal breeding grounds for bacteria and trap sebum deep within the metal's grain.
| Material | Porosity & Surface | Odor Risk Level | Best Use Case |
|---|---|---|---|
| Implant-Grade Titanium (ASTM F136) | Highly polished, non-porous, biocompatible | Very Low | Daily wear, sensitive lobes, fresh piercings |
| 14k / 18k Solid Gold (Nickel-Free) | Smooth, non-porous, inert | Low | Daily wear, luxury studs, cartilage |
| Surgical Steel (316L) | Polished but contains nickel; micro-pores | Moderate | Occasional wear, healed lobes without metal allergies |
| Sterling Silver (925) | Soft, prone to micro-scratches and tarnish | High | Special occasions only; avoid for 24/7 wear |
| Gold-Plated Brass / Copper | Plating wears off, exposing porous, reactive base | Very High | Clip-ons or ear cuffs only; never for pierced holes |
As the Association of Professional Piercers (APP) notes, using jewelry with microscopic imperfections or reactive alloys will continually irritate the fistula lining, causing the body to overproduce sebum and cellular debris as a defense mechanism, thereby worsening the odor.
Step-by-Step Guide: Deep Cleaning Your Earrings
To permanently banish the smell, you must strip the biological buildup from the jewelry without damaging the metal's finish. Follow this exact protocol for a deep clean.
Step 1: The Enzymatic Pre-Soak
Fill a small glass bowl with warm distilled water and add three drops of an unscented, enzyme-rich liquid castile soap (such as Dr. Bronner’s Unscented Baby). Submerge your earrings and let them soak for exactly 15 minutes. The enzymes will begin breaking down the lipid bonds in the hardened sebum, loosening it from the earring post and backing.
Step 2: The Ultrasonic Cavitation Bath
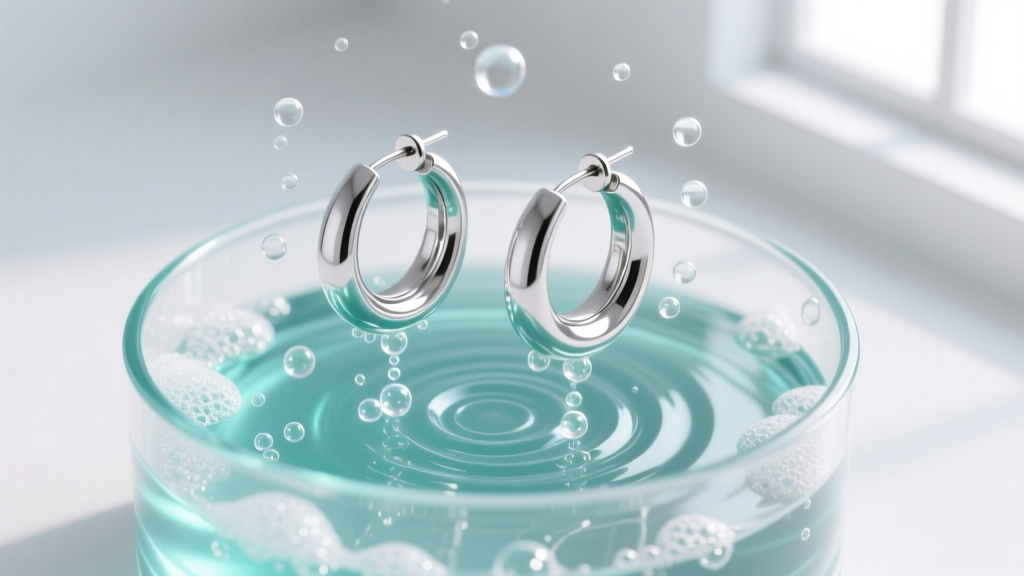
For intricate designs, textured posts, or diamond settings where a toothbrush cannot reach, use a 40kHz ultrasonic jewelry cleaner. The high-frequency sound waves create microscopic vacuum bubbles that implode against the metal (cavitation), blasting away trapped keratin and sebum from microscopic crevices. Run the cycle for 3 minutes. Warning: Never use ultrasonic cleaners for porous gemstones like pearls, opals, or emeralds, as the vibrations can fracture them.
Step 3: The Isopropyl Sanitization
Remove the earrings, rinse them under warm distilled water, and pat them dry with a lint-free microfiber cloth. Finally, saturate a cotton pad with 70% or 91% isopropyl alcohol and vigorously wipe the earring post and the part of the backing that touches the skin. This kills any remaining surface bacteria and evaporates quickly, leaving the metal completely sterile and odor-free.
Step-by-Step Guide: Deodorizing the Piercing Fistula
Cleaning the jewelry is only half the battle. If the skin tube (fistula) itself harbors trapped dead skin and bacteria, the smell will return the moment you reinsert the earring. Here is how to safely clean the piercing hole without damaging the delicate epithelial tissue.
- The Saline Flush: Spray a sterile, isotonic saline solution (0.9% sodium chloride with no additives) directly into the piercing hole. Tilt your head to let it run through the fistula, flushing out loose debris.
- The Flossing Technique: For stretched earlobes or stubborn fistulas, take a piece of clean, unwaxed piercing floss or standard dental floss, tie it in a loop, and gently thread it through the piercing hole. Pull it back and forth like a shoeshine rag to physically scrape out the hardened sebum rings lining the skin tube.
- The Crucial Drying Phase: Bacteria thrive in moisture. After cleaning, use a hairdryer on the "cool" setting to completely dry the front and back of your earlobes. Never leave the fistula damp.
Expert Warning: Never pour rubbing alcohol or hydrogen peroxide directly into your piercing hole. According to the Cleveland Clinic, these harsh astringents destroy the newly formed, delicate skin cells inside the fistula, causing chemical burns, excessive dryness, and a rebound effect where the body produces even more sebum to compensate.
Preventative Maintenance: Your New Weekly Routine
To ensure your earrings remain odor-free, you must transition from reactive cleaning to proactive maintenance. Implement this schedule based on your jewelry type and skin chemistry.
Daily Habits
- Always remove your earrings before showering. Shampoo and conditioner residue easily lodges behind the earlobe and accelerates bacterial growth.
- If you exercise, remove your earrings or wipe the back of your lobes with a saline-soaked gauze pad immediately afterward to remove sweat.
- Never sleep in butterfly-back earrings. The sharp posts and tight backings restrict airflow, creating a highly anaerobic environment that guarantees odor buildup.
Weekly Maintenance
Once a week, take your earrings out for a minimum of two hours. Clean the jewelry with the isopropyl method outlined above, and swab the front and back of your earlobes with a mild, fragrance-free glycerin soap. Allow the fistula to "breathe" and dry completely before reinserting your jewelry. If you have highly reactive skin, consider switching your daily wear to implant-grade titanium or 14k solid gold flat-back labrets, which eliminate the sharp posts and butterfly backings that trap debris.
Troubleshooting: Normal Odor vs. Active Infection
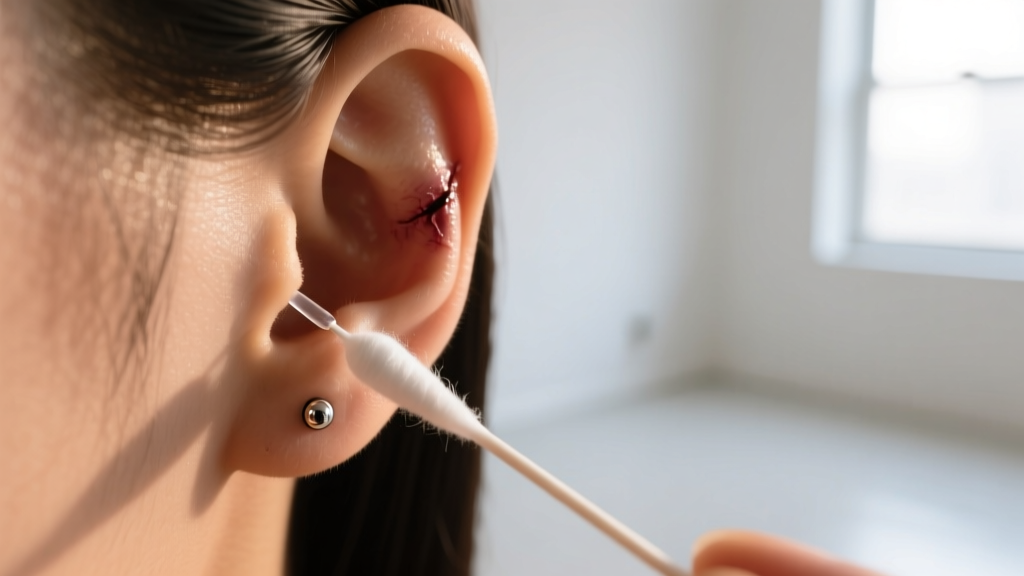
It is vital to differentiate between standard sebum buildup (which smells bad but is harmless) and a localized bacterial infection that requires medical intervention. Use this diagnostic checklist to assess your piercing:
- Normal Sebum Buildup: The odor is sour or cheesy. The discharge is a dry, grayish-white paste. The skin around the piercing is flesh-toned, painless, and cool to the touch. Action: Deep clean the jewelry and fistula.
- Active Infection: The odor is sharp, metallic, or putrid. The discharge is liquid, yellow, green, or bloody (pus). The earlobe is swollen, radiating heat, highly tender, and visibly red or purple. Action: Do not remove the earring (this can trap the infection inside and form an abscess). Consult a physician immediately for a topical or oral antibiotic prescription.
By understanding the biology of your skin, upgrading to non-porous, biocompatible metals, and adhering to a strict enzymatic and ultrasonic cleaning routine, you can permanently eliminate piercing odor and maintain a healthy, comfortable piercing environment for years to come.


