How to Make Adjustable Cord Necklace: Budget & Value Guide
Learn how to make adjustable cord necklace designs on a budget. Compare material costs, avoid cheap alloys, and master the sliding knot technique.

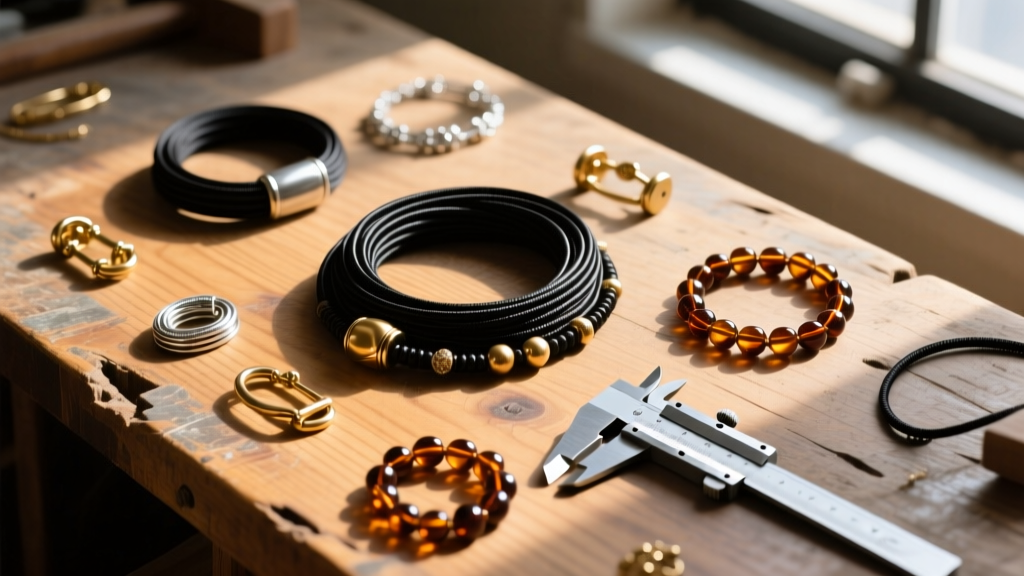
The appeal of the adjustable cord necklace lies in its versatility, minimalist aesthetic, and universal fit. However, the jewelry market is flooded with mass-produced pieces that prioritize razor-thin profit margins over material integrity. If you are looking to build a high-quality jewelry collection or start a small-scale artisan business, understanding how to make adjustable cord necklace pieces from scratch offers unparalleled control over both budget and long-term value.
As a jewelry maker, I have tested dozens of cord types, adhesives, and metal findings to determine exactly where your money goes furthest. This guide breaks down the true cost of DIY versus retail, identifies the material grades that prevent premature failure, and provides a structural blueprint for crafting a sliding-knot necklace that will outlast fast-fashion alternatives by years.
The True Cost of DIY vs. Retail Adjustable Necklaces
When assessing value, we must look beyond the initial price tag and consider the cost-per-wear and material lifespan. Fast-fashion retailers often mark up cheap base-metal and cotton-cord necklaces by 400% or more. By sourcing raw materials from reputable jewelry suppliers like Fire Mountain Gems, you can achieve artisan-level quality for pennies on the dollar.
| Category | Material Quality | Estimated Cost | Lifespan & Value Assessment |
|---|---|---|---|
| Fast Fashion Retail | Cotton cord, Zamak (zinc alloy) clasps | $15.00 - $25.00 | 3-6 months. Cord frays; alloy turns skin green and snaps. |
| Artisan Retail | Waxed polyester, 316L steel or solid brass | $45.00 - $85.00 | 5+ years. High markup, but excellent material durability. |
| DIY Budget Build | Waxed polyester, 316L steel, glass/agate bead | $0.85 - $1.50 | 5+ years. Maximum value; requires 15 mins of labor. |
Material Breakdown: Where to Spend and Where to Save
Knowing how to make adjustable cord necklace designs that hold their value requires a strict approach to material selection. You should never compromise on the cord or the metal findings, but you can easily save money on focal beads and packaging.
Cord Materials: The Foundation of Value
The most common mistake beginners make is using 100% cotton or hemp cord. While natural fibers look earthy, they are hydrophilic—they absorb sweat, oils, and water, leading to rot, stretching, and eventual snapping at the knot stress points.
The Value Pick: Waxed Polyester (often sold under the brand name Linhasita).
- Gauge: 0.8mm to 1.0mm is the sweet spot. Thinner cords (0.5mm) slice into the neck and lack the surface area for a secure sliding knot. Thicker cords (1.5mm+) are too stiff to pull tight smoothly.
- Cost: Approximately $4.00 for a 50-meter spool (roughly $0.02 per necklace).
- Why it works: The synthetic wax coating makes the cord hydrophobic and gives it just enough "bite" to hold a macramé knot in place without slipping open during wear.
Findings and Clasps: Avoiding the "Green Skin" Tax
Never use "Tibetan Silver" or generic base-metal lobster clasps for a piece meant to be worn against the skin. These are typically Zamak (a zinc alloy) plated with a microscopically thin layer of silver or rhodium. Once the plating wears off at the friction points, the zinc oxidizes, turning the wearer's skin green and causing the clasp to become brittle and snap.
According to metallurgical guidelines from wholesale supplier Halstead, nickel allergies and base-metal corrosion are the top reasons for customer returns in handmade jewelry.
The Value Pick: 316L Surgical Stainless Steel or Solid Brass.
- Specification: Look for 18-gauge, 5mm outer-diameter (OD) jump rings and 12mm steel lobster clasps.
- Cost: $0.15 to $0.30 per clasp set when bought in lots of 50.
- Why it works: 316L steel contains molybdenum, which prevents pitting and corrosion from human sweat. It will not tarnish, ensuring the necklace retains its premium look indefinitely.
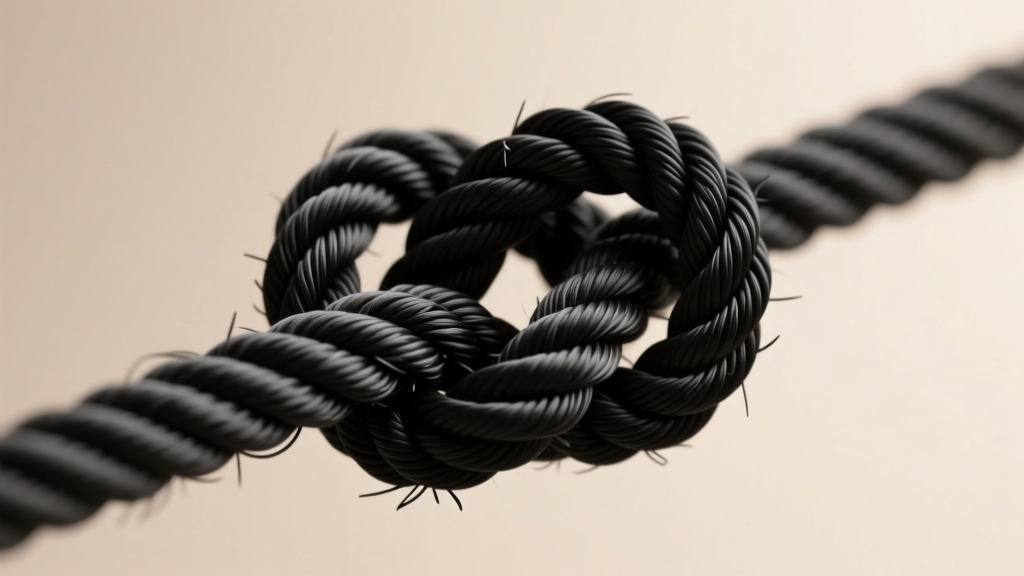
Step-by-Step: How to Make Adjustable Cord Necklace (Macramé Sliding Knot)
While coil knots (wrapping thread around the cord) are popular on video tutorials, they catch on hair and clothing. The sliding square knot is vastly superior for a professional, low-profile finish. For a visual reference on knot mechanics, The Spruce Crafts offers excellent foundational macramé guides, but here is the exact structural method for jewelry-grade tension.
Tools You Actually Need (And Budget Alternatives)
- Thread Zapper ($25): Melts synthetic cord cleanly. Budget Alternative: A standard BIC lighter ($2), though you must be careful not to scorch the wax.
- G-S Hypo Cement ($6): A flexible, precision-tip jewelry adhesive. Do not use Super Glue (cyanoacrylate), which dries brittle and will crack when the knot slides.
- Flush Cutters ($12): For clean cuts that don't fray the cord ends before melting.
The Sliding Square Knot Technique
- Prep the Cord: Cut a 40-inch length of 0.8mm waxed polyester. Thread your focal bead onto the center and fold the cord in half so the two ends run parallel.
- The Anchor: Take a separate 12-inch scrap piece of the same cord. Place it horizontally underneath the two parallel main cords, about 2 inches below the bead.
- The First Half-Knot: Take the right scrap end, cross it over the main cords, and tuck it under the left scrap end. Take the left scrap end, go under the main cords, and pull it up through the right loop. Pull tight.
- The Second Half-Knot: Reverse the process. Left over, under the right. Right under, up through the left loop. Pull tight. This creates one complete, flat square knot.
- Repeat: Tie 4 to 6 square knots. This creates a flat, flexible barrel that will slide along the main cords when pulled, but lock in place when resting on the collarbone.
- Finishing: Trim the scrap cord ends flush. Apply a micro-drop of G-S Hypo Cement to the cut ends and press them flat against the knot. Let cure for 10 minutes.
Value Assessment: Maximizing the Lifespan of Your DIY Piece
Knowing how to make adjustable cord necklace pieces is only half the battle; engineering them to survive daily wear is where true value is realized. Here are the most common failure modes in DIY cord necklaces and how to engineer them out of your design.
- Failure Mode 1: Cord Snapping at the Clasp. If you simply tie the cord to a jump ring and crimp it, the metal will eventually saw through the polyester fibers.
The Fix: Use a 2mm sterling silver or steel "wire guardian" (French wire) at the loop. This creates a protective metal shield where the cord meets the clasp, increasing the tensile lifespan by over 300%. - Failure Mode 2: The Sliding Knot Loosens Over Time. Body oils can sometimes lubricate the waxed cord, causing the square knot to slip open.
The Fix: Before tying your final square knot, lightly scuff the main parallel cords with 400-grit sandpaper. This removes a microscopic layer of wax, creating permanent friction that keeps the knot locked in place without hindering manual adjustment. - Failure Mode 3: Melted Ends Pulling Through the Bead. If the focal bead's drill hole is larger than 2mm, a standard melted bulb will eventually pull through.
The Fix: Thread a 3mm steel or brass "daisy spacer" bead onto the cord before melting the end. The melted polyester will fuse over the metal spacer, creating an anchor that is physically impossible to pull through the focal bead.
Final Verdict: Is the DIY Route Worth Your Time?
From a strict budget and value assessment perspective, learning how to make adjustable cord necklace designs in-house is one of the highest-ROI skills a jewelry enthusiast or independent creator can develop. By investing roughly $60 upfront in premium 316L steel findings, a spool of Linhasita waxed polyester, and precision cutters, you secure the materials to produce over 100 necklaces at a unit cost of under $1.00.
More importantly, you bypass the planned obsolescence inherent in retail fashion jewelry. By utilizing hydrophobic synthetic cords, corrosion-resistant molybdenum-alloyed steel, and flexible cyanoacrylate-free adhesives, your DIY adjustable necklaces will not just save you money—they will outlast and outperform pieces costing ten times their raw material value.


