How to Make a Slip Knot Necklace: Adjustable Styling Guide
Learn how to make a slip knot necklace with our expert guide. Explore cord materials, friction mechanics, and 2026 adjustable jewelry trends.

The Resurgence of the Adjustable Slip Knot
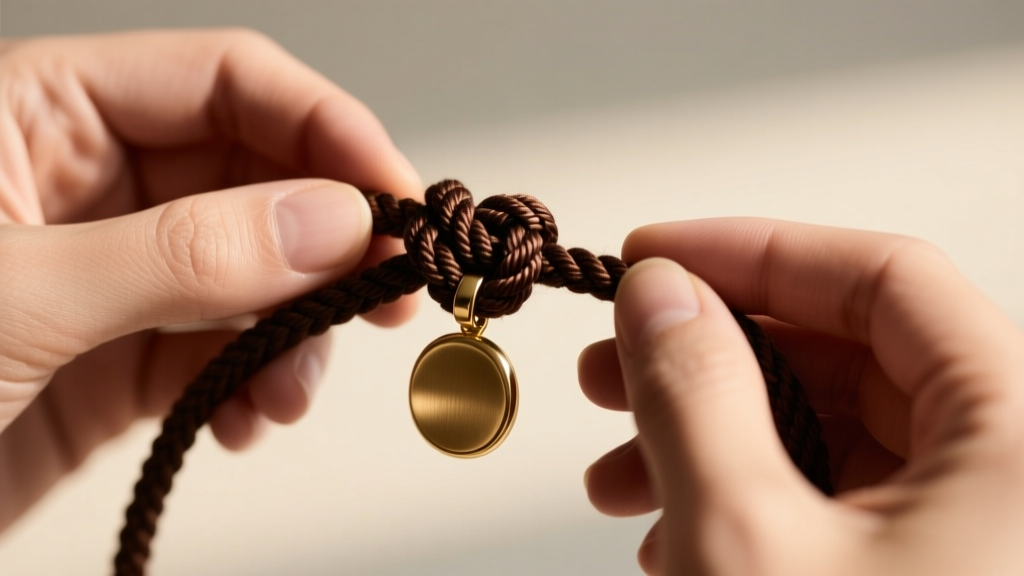
In the evolving landscape of contemporary jewelry, the traditional metal lobster clasp is increasingly being swapped for a more fluid, adaptable alternative. Learning how to make a slip knot necklace is no longer just a beginner's DIY craft project; it has become a fundamental technique for high-end artisan jewelers and minimalist designers alike. As we navigate the 2026 jewelry trends, the 'utilitarian luxury' movement has propelled adjustable sliding knots into the spotlight. This mechanism offers a gender-neutral, one-size-fits-all approach that aligns perfectly with the modern consumer's desire for versatile, sustainable, and comfortable everyday wear.
However, creating a slip knot that holds its tension throughout the day without fraying or slipping requires a deep understanding of material friction, cord gauges, and precise macrame techniques. This guide moves beyond basic tutorials to provide professional-grade insights into crafting durable, stylish adjustable necklaces.
Material Selection: The Physics of Friction
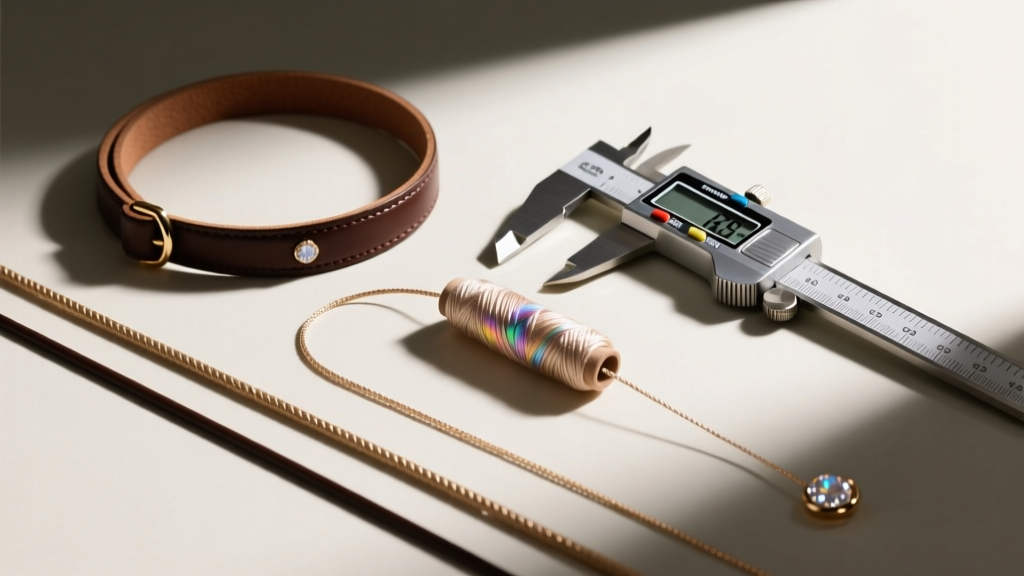
The success of an adjustable slip knot necklace relies entirely on the coefficient of friction between the cord fibers. A knot that is too loose will slide open under the weight of a pendant, while a knot that is too tight will be impossible for the wearer to adjust. According to the Fire Mountain Gems Jewelry Making Encyclopedia, selecting the correct cord material and millimeter thickness is the most critical step in the design process.
Cord Material Comparison Chart
| Cord Material | Ideal Gauge (mm) | Friction Level | Durability & Best Use |
|---|---|---|---|
| Waxed Cotton | 1.0mm - 1.5mm | High | Excellent grip, water-resistant. Best for heavy pendants and daily wear. |
| Micro-Macrame Nylon | 0.5mm - 0.8mm | Medium-High | Very strong, melts cleanly for finishing. Ideal for intricate sliding knots. |
| Genuine Leather | 1.5mm - 2.0mm | Medium | Prone to stretching over time. Best for lightweight, rustic, or surf-style pendants. |
| Silk Thread | 1.0mm - 2.0mm | Low | Too smooth for reliable slip knots. Avoid for adjustable closures unless heavily waxed. |
Step-by-Step: How to Make a Slip Knot Necklace
While many refer to it as a 'slip knot,' the professional jewelry standard is the macrame sliding square knot. This knot wraps around the two main cord ends, allowing them to slide past each other while maintaining enough tension to hold a pendant's weight. Here is the expert methodology for tying it.
Step 1: Measuring and Prepping the Cord
For a standard necklace that adjusts from 16 inches (choker length) to 28 inches (opera length), you will need a main cord measuring approximately 60 inches. You will also need a separate 'knotting cord' measuring about 10 inches. We recommend using 1.0mm waxed cotton or Chinese knotting cord for the knotting cord, as its micro-texture provides superior grip. Always seal the very tips of your cord with a quick burst from a butane lighter or a dab of cyanoacrylate (super glue) to prevent fraying while you work.
Step 2: Tying the Sliding Square Knot
- Position the Cords: Lay your main 60-inch cord flat. Cross the two ends over each other to form a loop where you want the back of the neck to sit.
- Anchor the Knotting Cord: Place your 10-inch knotting cord horizontally underneath the two overlapping main cords, centering it.
- The First Half-Knot: Take the right side of the knotting cord, pass it over the main cords, and tuck it under the left side of the knotting cord. Pull tight.
- The Second Half-Knot: Take the left side of the knotting cord, pass it over the main cords, and tuck it under the right side. Pull tight.
- Repeat: Alternate these steps for a total of 6 to 8 square knots. Fewer knots will slip; more knots will create a bulky, rigid closure that refuses to slide.
Step 3: Sealing and Finishing the Ends
Once your sliding knot is complete, trim the excess knotting cord, leaving about 2mm of tail. Apply a microscopic drop of E6000 jewelry adhesive or a specialized cyanoacrylate gel to the cut ends. Unlike liquid super glue, which can wick into the cotton and make the sliding mechanism stiff and brittle, gel adhesives stay localized. Melt the very ends of the main cords and press them flat with a pair of flat-nose pliers to create 'stoppers' that prevent the sliding knot from coming off the necklace entirely.
Hardware Integration: Bail Sizing vs. Cord Thickness
A common failure point in DIY adjustable necklaces is ignoring the relationship between the cord gauge and the pendant bail. If you are using a 1.5mm waxed cotton cord that folds in half at the front of the necklace, the total thickness passing through the pendant bail is 3.0mm. Therefore, your pendant bail must have an inner diameter (ID) of at least 4.0mm to allow the cord to move freely and drape naturally. Forcing a thick cord through a tight metal bail creates friction that ruins the drape of the necklace and accelerates cord degradation.

Troubleshooting Common Knot Failures
Even experienced jewelers encounter tension issues. Here is how to troubleshoot the most common problems when learning how to make a slip knot necklace:
- The Knot Slides Open on Its Own: Your cord is too smooth, or your knotting cord is too thin. Switch to a heavily waxed cord or increase the number of square knots from 6 to 10 to increase surface friction.
- The Knot is Too Tight to Adjust: You are pulling the knotting cord too tightly during the tying process. The sliding knot should be 'snug' but not 'strangled.' Alternatively, your knotting cord is too thick; never use a knotting cord that is thicker than your main cord.
- The Cord is Fraying at the Bail: This is caused by sharp edges inside a cast metal bail. Use a diamond-coated bead reamer to smooth the interior of the bail, or line the bail with a small piece of heat-shrink tubing for a protective, invisible barrier.
2026 Trend Analysis: Styling the Adjustable Pendant
From a styling perspective, the adjustable slip knot necklace is the ultimate tool for the 2026 'layered personalization' trend. Because the length can be altered in seconds, wearers can easily transition a single piece from a high, tight choker over a turtleneck in the morning to a long, relaxed pendant over a linen button-down in the evening.
Designers are currently leaning into the 'raw and refined' aesthetic, pairing rugged, dark brown waxed cotton slip knots with high-polish recycled silver or raw, uncut gemstone pendants. This juxtaposition highlights the organic nature of the knot while letting the premium materials shine. Furthermore, the absence of metal clasps makes these necklaces highly appealing to the growing market of consumers with contact dermatitis or nickel allergies, as the metal components can be entirely isolated to the front pendant.
Conclusion
Mastering how to make a slip knot necklace bridges the gap between functional craftsmanship and modern, adaptable fashion. By respecting the physics of cord friction, choosing the correct millimeter gauges, and executing a precise macrame sliding square knot, you can create durable, high-quality jewelry that meets the demands of contemporary styling. Whether you are an independent designer looking to expand your 2026 collection or a jewelry enthusiast crafting a personalized gift, the adjustable slip knot remains an indispensable technique in the modern jeweler's repertoire.


