DIY Shark Tooth Necklace: Fix Drilling, Wrapping & Cord Issues
Learn how to craft a DIY shark tooth necklace without cracking the enamel. Expert troubleshooting for drilling, wire wrapping, and cord selection.

The Anatomy of a Shark Tooth: Why They Break During Crafting
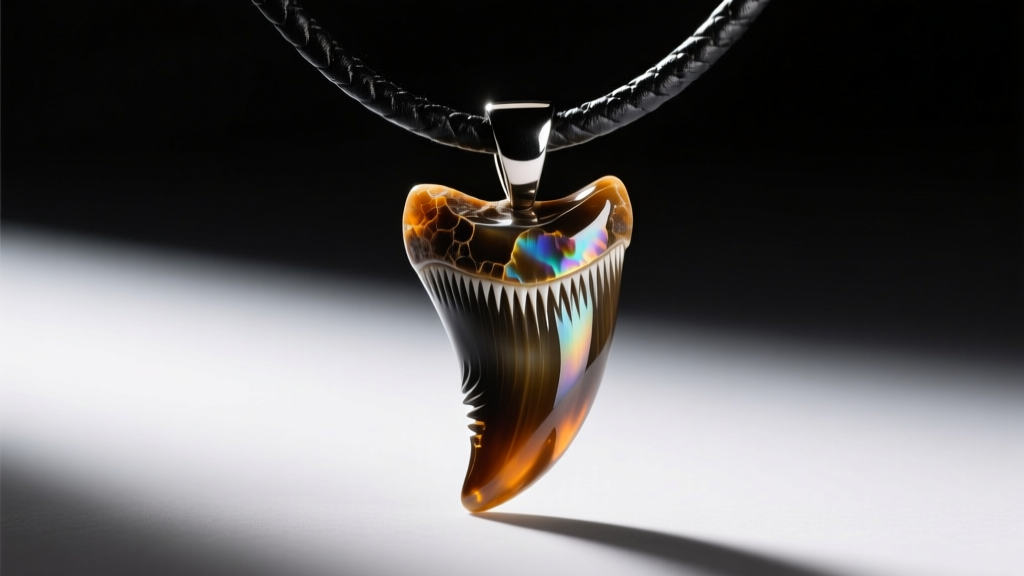
Crafting a DIY shark tooth necklace is a rewarding project, but it is fraught with structural pitfalls. Unlike agates or quartz, shark teeth are composite biological structures. According to the Florida Museum of Natural History, a shark tooth consists of a hard, brittle outer layer of enameloid (Mohs hardness of roughly 5) and a softer, porous inner core of dentin, all anchored by a calcified root. When jewelers attempt to drill or wrap these teeth without understanding this anatomy, the enameloid shatters, or the root crumbles. The most common failure point in a DIY shark tooth necklace is applying lateral pressure to the crown. To avoid catastrophic fractures, you must direct all mechanical stress to the thickest part of the root, avoiding the serrated edges entirely.
Troubleshooting the Drill: Preventing Enamel Fractures
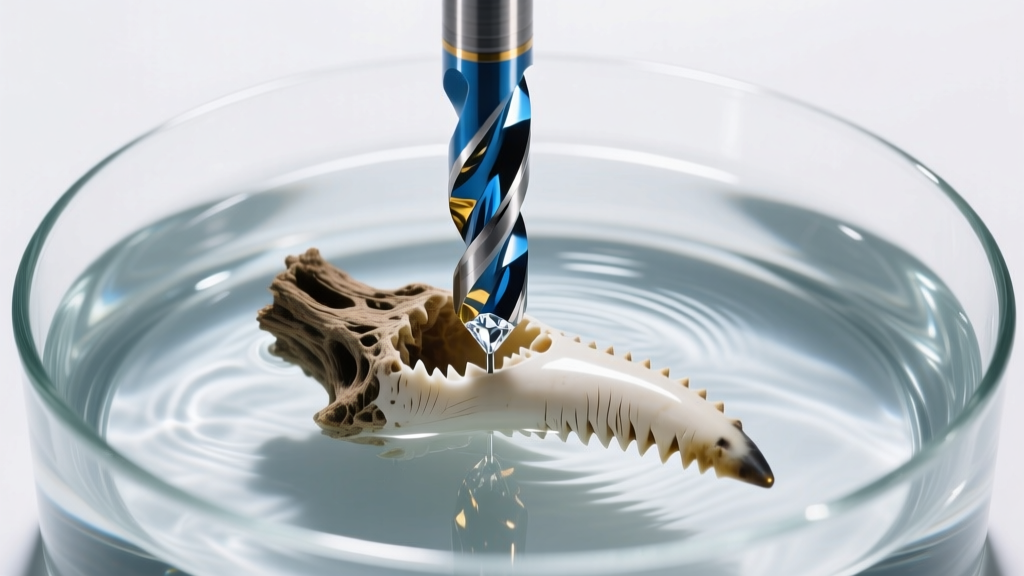
If your drill bit is skidding across the smooth surface or causing micro-fractures in the enamel, you are likely using the wrong bit or excessive RPMs. Standard high-speed steel (HSS) or carbide twist bits are designed to cut and pull, which will rip chunks out of the dentin and crack the enameloid shell. Instead, you must use a diamond-coated core bit.
Tool and Speed Matrix for Shark Teeth
| Tooth Section | Recommended Bit | Optimal RPM | Lubrication |
|---|---|---|---|
| Upper Root (Bail Hole) | 1.5mm Diamond Core Bit | 2,000 - 4,000 RPM | Submerged in water |
| Lower Root (Decorative) | 0.8mm Diamond Twist Bit | 3,000 - 5,000 RPM | Continuous drip feed |
| Crown / Enameloid | DO NOT DRILL | N/A | N/A |
Expert Troubleshooting Tip: Heat is the enemy of fossilized and modern teeth. Friction from drilling can boil the water trapped inside the porous dentin, creating internal steam pressure that blows the tooth apart from the inside. Always drill in a shallow glass bath of water, keeping the tooth and the bit completely submerged.
If your bit continues to wander before it penetrates the surface, use a 0.5mm diamond sphere burr to carve a tiny 'starter divot' at a 90-degree angle. This gives the core bit a track to sit in, eliminating the skidding that scratches the enamel.
Wire Wrapping Slipping? Securing the Smooth Crown
A frequent complaint among beginners is that their wire-wrapped bail slowly slides up the taper of the tooth, eventually slipping off the smooth crown. This happens because enameloid offers zero friction. Relying on tension alone against a smooth, tapered surface is a guaranteed failure mode.
The 'Lock-and-Cage' Technique
To secure a shark tooth without drilling a hole through the crown, you must utilize the natural geometry of the root. According to metallurgical guidelines from Rio Grande, wire temper dictates its structural memory. For a secure cage wrap, use a combination of 18-gauge half-hard sterling silver for the structural frame and 22-gauge dead-soft wire for the weaving.
- Step 1: Create a U-shaped frame with 18g half-hard wire that cups the bottom of the root.
- Step 2: Bend the two tails of the frame upward, tightly hugging the transition line where the porous root meets the smooth enamel crown. This transition ridge acts as a natural physical stopper.
- Step 3: Use 22g dead-soft wire to weave horizontally across the front and back of the frame, locking the structure beneath the crown's widest point.
- Step 4: Bring the 18g tails together at the top to form a sturdy bail, wrapping them tightly around a mandrel.
By anchoring the wire strictly below the enamel line, the tooth's own anatomy prevents the wrap from sliding upward, eliminating the need for toxic jewelry adhesives like E6000, which can degrade over time when exposed to body heat and sweat.
Cord Failure: Why Your Necklace Snaps (And How to Fix It)
The 'Pendulum Snap' is a notorious issue with heavy pendants like Megalodon or large Great White teeth. As the heavy tooth swings during walking, it generates kinetic force that concentrates entirely on the clasp and the cord's contact point with the bail. If you are using standard cotton, hemp, or thin leather, the sharp inner edge of a drilled root hole or a rough wire wrap will saw through the cord in a matter of weeks.
Cord Material Comparison for Heavy Pendants
| Material | Tensile Strength | Wear Profile vs. Shark Tooth | Best Use Case |
|---|---|---|---|
| Waxed Polyester (0.8mm) | High | Resists fraying, but can be cut by sharp root edges | Macrame wraps, adjustable sliding knots |
| Kangaroo Leather (2mm) | Very High | Highly durable, but degrades if exposed to saltwater/sweat | Heavy fossil teeth, rustic aesthetics |
| Stainless Steel Snake Chain | Extreme | Immune to cutting, but can kink if bent sharply | Modern, polished teeth, formal wear |
| Tiger Tail (49-strand, 0.024in) | High | Requires crimp beads; nylon coating can wear off over time | Beaded necklace integration |
The Fix: If you insist on using leather or waxed cotton, you must line the inside of your drilled root hole or the wire bail with a micro-tube of sterling silver or a small jump ring. This creates a metal-on-metal or metal-on-smooth-tube interface, preventing the abrasive dentin from acting like a saw blade against your cord. Furthermore, always use a soldered jump ring to connect your bail to the chain; open jump rings will inevitably pull apart under the dynamic swinging weight of a large shark tooth.
Ethical Sourcing and Material Identification
Before you begin your DIY project, you must verify the origin of your tooth. The global trade of modern shark parts is heavily regulated under CITES (Convention on International Trade in Endangered Species) and various national laws. Teeth from protected species, such as the Great White or certain hammerheads, are illegal to buy, sell, or possess in many jurisdictions without extensive permitting.
For jewelry making, fossilized teeth are the superior and legally safe choice. Fossilized teeth, such as those from the Otodus megalodon or Carcharocles species, have undergone a process of permineralization where organic dentin is replaced by minerals like quartz or apatite. This makes them significantly harder and more stable for drilling than modern, desiccated teeth, which are prone to splitting along the grain of the dentin tubules. When purchasing, look for teeth sourced from verified phosphate mines in regions like South Carolina or Morocco, and avoid 'repaired' teeth where the root and crown have been glued back together, as these will shatter under the vibration of a rotary tool.
Final Polish and Sealing
Once your bail is secured and your heavy-duty cord is threaded, the final troubleshooting step is sealing the porous root. Modern or poorly fossilized teeth can absorb skin oils, sweat, and environmental moisture, leading to dark, unsightly stains on the root over time. Apply a micro-thin layer of Renaissance Wax or a specialized jewelry sealant (like Paraloid B-72 dissolved in acetone) strictly to the exposed root and dentin. Avoid getting wax on the enameloid crown, as it will dull the natural gloss. Buff the crown gently with a microfiber cloth to restore its glass-like finish, ensuring your DIY shark tooth necklace remains pristine and structurally sound for years of wear.


