How to Fix Necklace Chain Breaks: Expert DIY Repair Guide
Learn how to fix necklace chain breaks at home. Expert tips on repairing gold, silver, and steel links, plus essential tools and maintenance care.

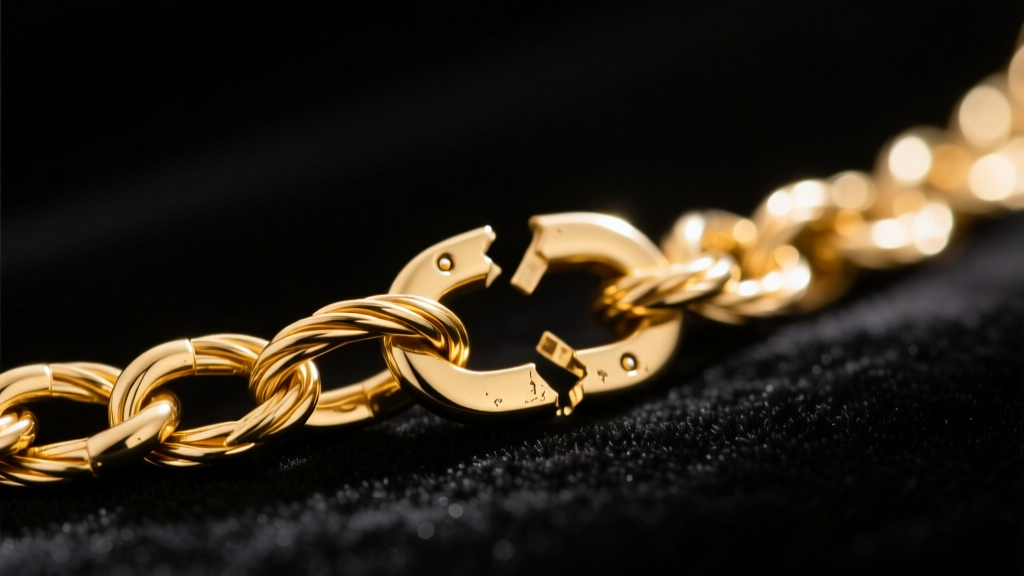
The Anatomy of a Broken Chain: Why Links Fail
There are few things more frustrating than reaching for your favorite pendant only to find the chain has snapped. Before you attempt to fix necklace chain links, it is crucial to understand why they break in the first place. Chain failure is rarely random; it is usually the result of mechanical stress, chemical degradation, or inherent design vulnerabilities. According to the Gemological Institute of America (GIA), everyday exposure to cosmetics, lotions, and chlorine can weaken the crystalline structure of lower-karat gold alloys and sterling silver over time, leading to microscopic fractures that eventually snap under minimal tension.
Different chain styles distribute weight and tension differently. A delicate 14k gold cable chain might pull apart at the jump ring near the clasp due to repetitive lateral friction, while a heavier sterling silver rope chain is more likely to untwist and snap at the soldered seams when caught on clothing. Understanding your chain's specific architecture is the first step in executing a successful repair.
Common Failure Points by Chain Type
| Chain Style | Weakest Link / Point | Primary Cause of Failure | DIY Fixable? | Est. Pro Repair Cost |
|---|---|---|---|---|
| Cable / Link | Jump ring near clasp | Lateral pulling, snagging | Yes (Jump ring replacement) | $25 - $45 |
| Box Chain | Interlocking hinges | Crushing, bending, tension | No (Requires laser welding) | $60 - $95 |
| Rope Chain | Soldered twist seams | Untwisting, heavy pendants | No (Requires torch/laser) | $50 - $120 |
| Figaro / Curb | Elongated links | Stretching, metal fatigue | Partial (Reshaping only) | $35 - $75 |
| Herringbone | Flat woven rows | Kinking, sleeping in jewelry | No (Often unrepairable) | $80+ (if possible) |
Essential Tools to Fix Necklace Chain Links at Home
If the break occurs at the clasp or a simple open jump ring, you can perform a highly effective repair at home. However, using the wrong tools will mar the metal, scratch precious finishes, and weaken the repair. To properly fix necklace chain connections, you need precision instruments designed specifically for jewelry making.
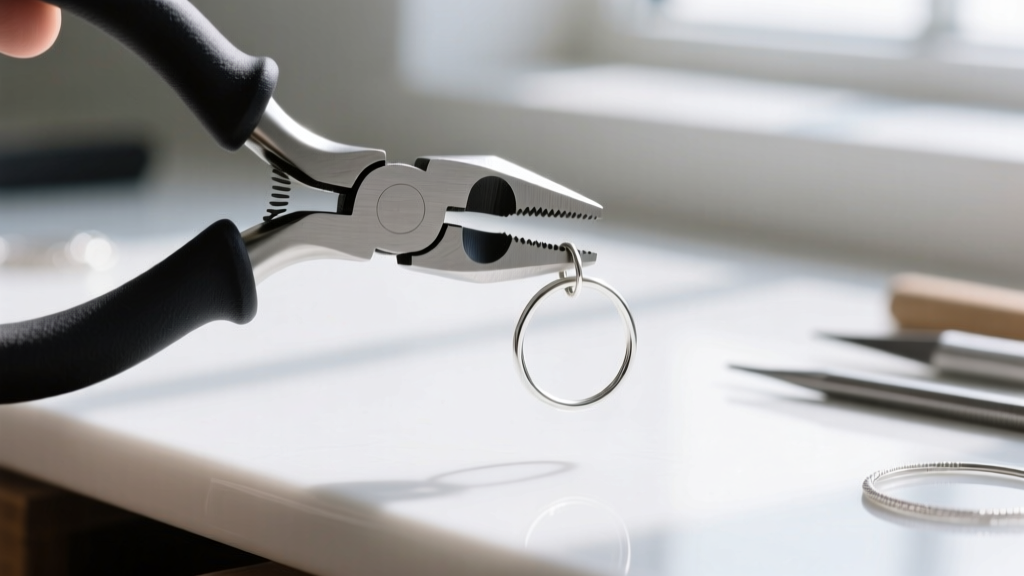
- Nylon-Jaw Flat-Nose Pliers: Standard steel pliers will scratch 18k gold and sterling silver. Nylon-jaw pliers (like those from Wubbers or Beadalon) provide a firm grip without marring the metal surface.
- Chain-Nose Pliers (2 pairs): Used for lateral twisting of jump rings. Look for a 4.5-inch or 5-inch length with a smooth, flat inner jaw.
- Precision Jump Rings: You must match the wire gauge and outer diameter (OD) of the original chain. For a standard 1.2mm cable chain, you will need a 3.0mm OD jump ring in 20-gauge or 22-gauge wire. Using a thicker gauge will prevent the clasp from sliding freely; using a thinner gauge will result in another break.
- Magnifying Visor or Loupe: A 3x to 5x magnification is essential for aligning microscopic link ends and ensuring the jump ring gap is completely flush before closing.
- Jeweler's Epoxy (Optional): For base metals or costume jewelry that cannot be soldered, a two-part clear jeweler's epoxy can secure the jump ring gap, though this is not recommended for fine metals.
Step-by-Step: How to Fix a Necklace Chain Clasp and Jump Ring
The most common break happens right where the lobster clasp meets the chain. Here is the professional method to reattach it securely.
- Remove the Damaged Ring: Using your two pairs of chain-nose pliers, grip the broken or stretched jump ring on either side of the cut. Gently twist one side toward you and the other away from you. Never pull the ring apart laterally like a C-shape, as this permanently distorts the circle and weakens the metal's temper.
- Thread the Components: Slide the new, correctly gauged jump ring through the last intact link of the chain and the loop of the lobster clasp.
- Close the Gap: Reverse the twisting motion to bring the two ends of the jump ring back together. Apply slight inward pressure so the ends overlap by a fraction of a millimeter, then release so they settle perfectly flush.
- Verify the Seam: Run your fingernail over the seam. If you feel a 'click' or catch, the ring is not flush. Use the nylon-jaw pliers to gently squeeze the ring into a perfect circle, then re-check the seam under your magnifying loupe.
Soldering vs. Laser Welding: When to Call a Professional
If the chain has snapped in the middle of a link, or if you are dealing with a complex weave like a rope or box chain, DIY pliers will not suffice. You need metallurgical fusion. According to jewelry supply experts at Rio Grande, traditional torch soldering uses varying grades of solder (hard, medium, and easy) that melt at slightly lower temperatures than the base metal. While effective for thick sterling silver curb chains, torch soldering carries a high risk of melting delicate links or destroying heat-sensitive gemstones set nearby.
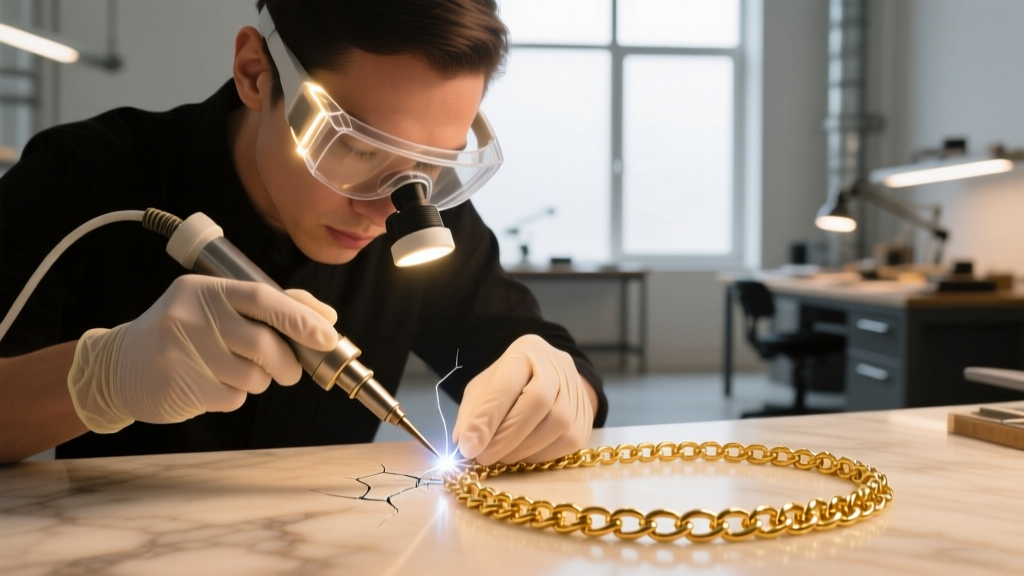
In 2026, laser welding is the gold standard for fine chain repair. A laser welder uses concentrated pulses of light to melt the exact metal of the chain link itself, fusing it back together without the need for foreign solder alloys. This results in a nearly invisible seam that retains the exact karat purity and color of the original chain. Laser welding is also the only safe way to repair platinum chains, titanium necklaces, or chains featuring heat-treated stones like emeralds or opals. Expect to pay between $60 and $120 for a professional laser weld, depending on the chain's thickness and the complexity of the weave.
Post-Repair Care: Cleaning and Preventative Maintenance
Once you fix necklace chain links, proper maintenance is required to prevent future fatigue. Dirt, dead skin cells, and cosmetic buildup act as an abrasive paste between moving links, accelerating wear and tear.
Expert Warning: Never place hollow chains, oxidized silver, or chains featuring porous gemstones (pearls, turquoise, lapis lazuli) in an ultrasonic cleaner. The high-frequency vibrations can shatter the stones or cause hollow links to collapse. Stick to manual cleaning for these pieces.
The Proper Cleaning Protocol
For solid 14k/18k gold and plain sterling silver chains, an ultrasonic cleaner filled with a mild, ammonia-free jewelry solution is highly effective. Run the machine for exactly 3 to 5 minutes. Rinse thoroughly under lukewarm distilled water to prevent hard water spotting, and dry immediately with a lint-free microfiber cloth. For everyday maintenance, gently wipe the chain down with a treated silver or gold polishing cloth after every wear to remove acidic skin oils that cause tarnishing and corrosion.
Storage to Prevent Micro-Knots
Tangles lead to pulling, and pulling leads to breaks. Store your necklaces individually in soft flannel pouches or hang them from a multi-tiered jewelry arbor. If you travel, thread the chain through a plastic drinking straw and clasp it; this physically prevents the chain from knotting inside your luggage, preserving the structural integrity of the links for years to come.


