How to Fix a Necklace Chain: The Ultimate Gift Rescue Guide
Learn how to fix a necklace chain just in time for your milestone event. Expert repair techniques, soldering tips, and occasion-matching advice.

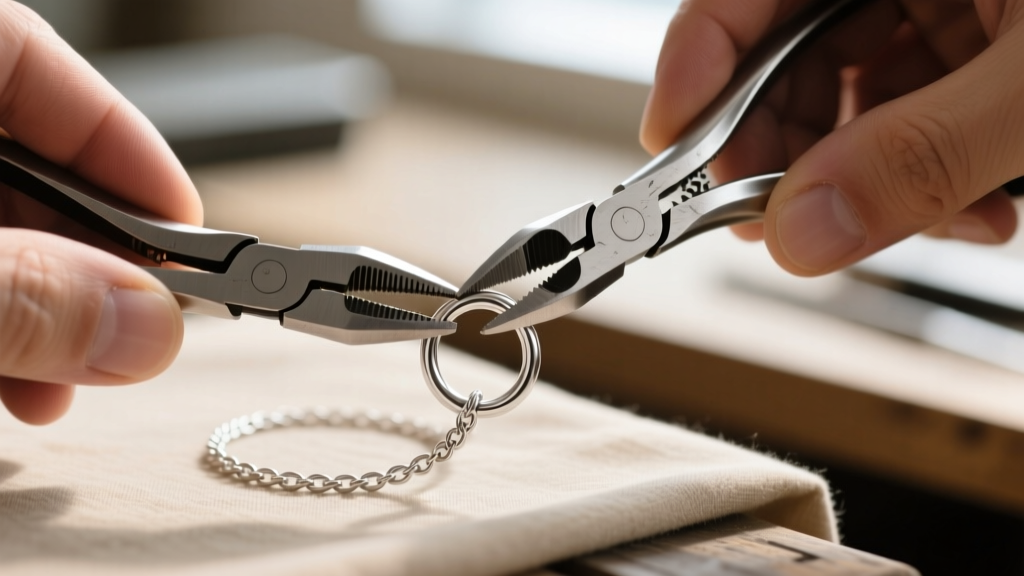
The Gift Rescue: When a Milestone Necklace Breaks
Gifting a fine jewelry necklace for an anniversary, graduation, or milestone birthday is a timeless gesture that carries deep emotional weight. However, discovering a broken clasp, a warped jump ring, or a snapped link just days before the big occasion can induce sheer panic. Whether you are restoring a vintage family heirloom to pass down, or fixing a newly purchased artisan piece that broke during transit, knowing how to fix a necklace chain is an essential skill for any thoughtful gifter.
At Jewel Style Radar, we believe that a repaired piece often carries more sentimental value than a flawless new one, provided the repair is executed with precision. This comprehensive guide will walk you through diagnosing chain failures, executing DIY jump ring repairs, understanding when to seek professional laser welding, and ultimately matching the restored piece to the perfect occasion and neckline.
Diagnosing Chain Failures: What Can You Actually Fix?
Not all chain weaves are created equal when it comes to structural integrity and repairability. Before you attempt a fix, you must identify the chain type and the exact failure point. The Gemological Institute of America (GIA) notes that the karat weight and alloy composition of the metal heavily dictate how the chain will respond to stress and heat. For instance, 18k yellow gold is softer and more prone to stretching at the clasp than 14k gold, while platinum is incredibly durable but requires immense heat to solder.
| Chain Style | Common Failure Point | DIY Friendly? | Pro Repair Cost Estimate |
|---|---|---|---|
| Cable / Link | Clasp jump ring | Yes (High) | $25 - $45 |
| Box Chain | Interlocking hinges | No (Requires Solder) | $40 - $75 |
| Figaro / Curb | Stretched links | Moderate | $35 - $60 |
| Herringbone | Kinks and snapped rows | No (Nearly Impossible) | $80 - $150+ (Often unfixable) |
| Rope Chain | Twisted wire unraveling | No (Requires Laser) | $50 - $90 |
How to Fix a Necklace Chain: The Clasp and Jump Ring Rescue
Approximately 90% of all necklace breaks occur at the jump ring connecting the clasp to the chain. This is the highest-stress point on the entire piece, subjected to constant pulling and twisting. If the chain itself is intact but the clasp has detached, you can perform a professional-grade repair at home with the right tools.
Essential Tools for the Job
- Two pairs of chain-nose pliers: Ensure they have smooth, flat inner jaws to avoid marring the metal. Never use standard hardware store pliers with serrated teeth.
- Flush cutters: For trimming any burred edges on the jump ring.
- Replacement jump rings: Match the gauge and diameter. For delicate pendant chains, use 22-gauge (0.6mm) or 20-gauge (0.8mm) rings. For heavier chains, step up to 18-gauge (1.0mm).
The Twist Technique: Step-by-Step
- Secure the Ring: Grip the jump ring with your two chain-nose pliers, placing the jaws on either side of the split (the cut in the metal).
- Twist, Don't Pull: Never pull the ends apart laterally like the letter "C". This warps the circle and weakens the metal. Instead, twist one hand toward you and the other away from you in a vertical motion.
- Attach the Clasp: Slide the open jump ring through the end link of the chain and the loop of the lobster or spring-ring clasp.
- Close and Align: Twist the ends back together until you hear or feel a subtle "click" or "snap" as the flat-cut ends meet perfectly flush. Run your fingernail over the seam; if it catches, the ring is not fully closed.
Professional Interventions: Laser Welding vs. Torch Soldering
If the chain has snapped in the middle of a link, or if a box chain hinge has failed, a simple jump ring swap will not suffice. You are now entering the territory of metallurgical repair. According to jewelry supply experts at Rio Grande, traditional torch soldering requires applying flux and a specific grade of solder (Hard, Medium, or Easy) to bridge the gap. However, torch soldering carries significant risks for milestone gifts.
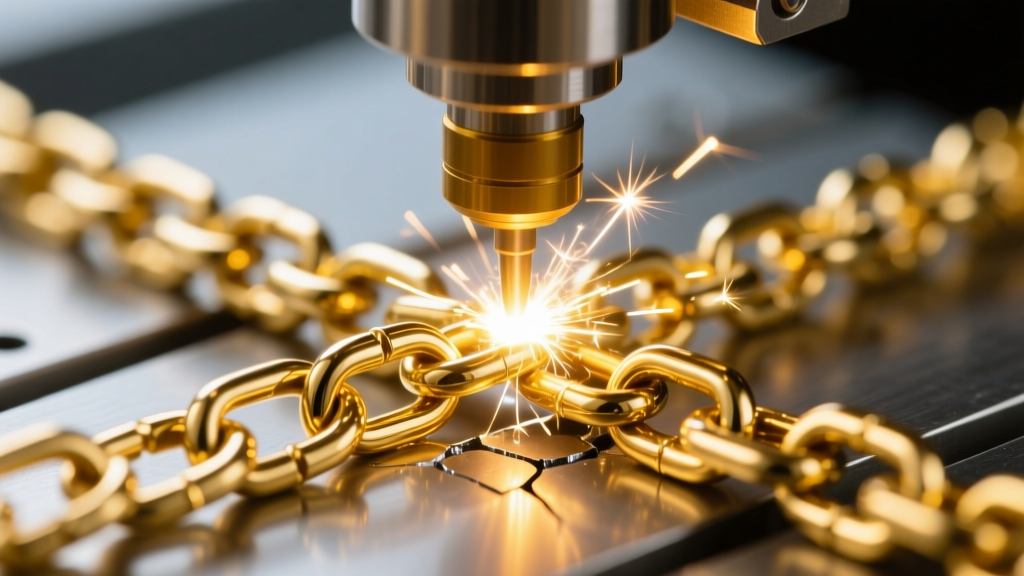
The White Gold Dilemma: If you are repairing a 14k or 18k white gold chain using a traditional torch, the intense heat will burn off the rhodium plating in the surrounding area, leaving a yellowish-gray patch. The entire chain will need to be re-polished and re-plated to restore its bright white finish, adding time and cost to your gift preparation.
Why Laser Welding is the Ultimate Gift Saver
For high-value gifts, especially those featuring heat-sensitive gemstones or intricate weaves like rope chains, laser welding is the superior choice. Laser welders use concentrated, microscopic pulses of light to fuse metal exactly at the break point without heating the surrounding links. This means no fire scale, no melting of adjacent delicate links, and no need to re-plate white gold. While a local bench jeweler might charge between $50 and $90 for a laser weld, the invisible finish is entirely worth it to preserve the integrity of a sentimental anniversary gift.
Occasion Matching: Pairing Pendants with Replacement Chains
Sometimes, a chain is simply beyond repair—particularly with herringbone or snake chains that have suffered severe kinking. If you must replace the chain entirely, you must consider the occasion and the recipient's typical wardrobe to ensure the new chain complements the pendant perfectly.
Matching Lengths to Necklines and Events
- The Choker (14-16 inches): Ideal for formal, black-tie events and open-shoulder or sweetheart necklines. A delicate 14k gold cable chain holding a solitaire diamond pendant sits elegantly on the collarbone, drawing the eye upward.
- The Princess (18 inches): The most versatile length, perfect for graduation gifts or milestone birthdays. It rests just below the collarbone and pairs flawlessly with V-necks, scoop necks, and business attire.
- The Matinee (20-24 inches): Excellent for casual or bohemian occasions. A sterling silver box chain at this length layers beautifully over crew-neck sweaters or relaxed linen blouses, offering a sophisticated yet understated look.
The Presentation: Packaging Your Repaired Gift
The final step in the gift rescue is the presentation. A repaired necklace should look and feel brand new when the recipient opens the box. After cleaning the piece in an ultrasonic cleaner or with a mild dish soap and soft-bristle brush to remove any fingerprints or polishing compound, ensure it is completely dry.
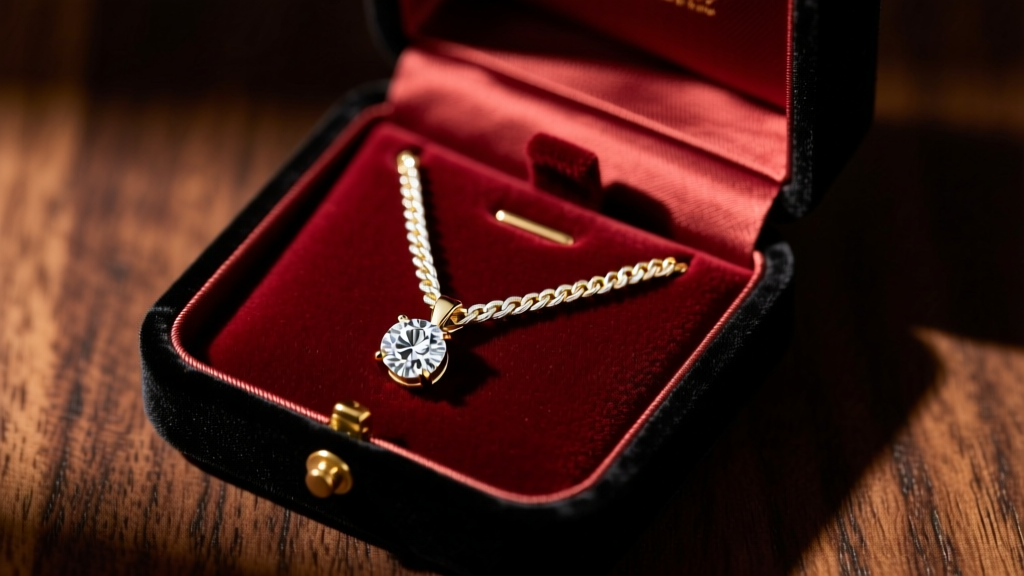
Place an anti-tarnish strip inside the packaging if you are gifting sterling silver, as sulfur in the air can cause rapid oxidation. Use a high-quality, hinged velvet or suede jewelry box with a slotted insert to keep the chain taut and prevent the pendant from flipping over. Include a handwritten note detailing the history of the piece if it is an heirloom, or the specific meaning behind the pendant. By taking the time to properly fix and present the necklace, you transform a moment of panic into a flawless, deeply meaningful gifting experience.


