Troubleshooting Your Gold Fringe Necklace: Tangles & Repairs
Learn how to untangle, clean, and repair a delicate gold fringe necklace. Expert troubleshooting for broken links, clasp failures, and trapped dirt.

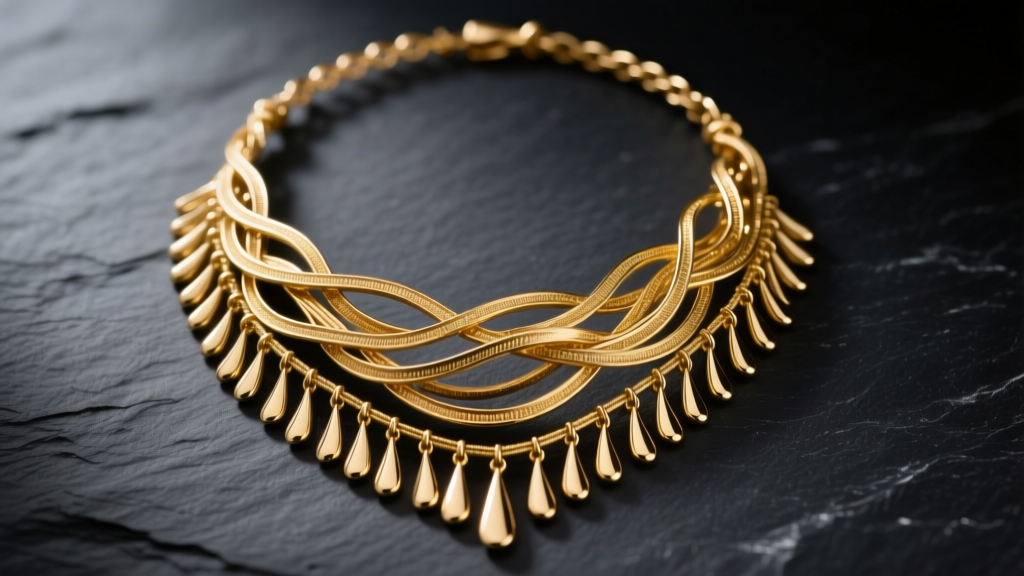
A gold fringe necklace—often referred to as a "liquid gold" bib or tassel necklace—is a masterclass in kinetic jewelry design. The way the micro-drops catch the light and move with the wearer's collarbone is unparalleled. However, this intricate architecture comes with a notorious reputation for high maintenance. In 2026, despite advancements in jewelry manufacturing, the fundamental physics of dozens of dangling micro-links means they remain highly susceptible to severe tangling, link snapping, and grime buildup.
If your favorite piece has turned into a knotted bird's nest or lost a few of its signature drops, do not panic. As a domain expert in necklace structural integrity, I have compiled this comprehensive troubleshooting guide to help you rescue, repair, and maintain your gold fringe necklace without causing irreversible damage.
The Structural Vulnerability of Fringe Necklaces
Before attempting any repairs, it is crucial to understand why fringe necklaces fail. A standard 16-inch fringe necklace features a base chain (often a cable or rolo chain) with 40 to 80 individual fringe drops attached via micro-jump rings or direct soldering.
- Tensile Strength vs. Purity: According to the Gemological Institute of America (GIA), 14k gold (58.5% pure gold) offers significantly higher tensile strength than 18k gold (75% pure). If your fringe is 18k or gold vermeil, the micro-links are much softer and prone to bending or snapping under the weight of the fringe itself.
- The Pendulum Effect: When stored improperly, the fringe drops act like tiny pendulums, weaving through one another and creating complex friction knots that tighten when pulled.
Problem 1: Severe Knotting and Tangled Drops
The most common issue reported by collectors is a severely tangled gold fringe necklace. The instinct is to pull at the base chain to straighten it out. Never do this. Pulling the base chain forces the micro-jump rings to close tighter around the tangled drops, effectively locking the knot and risking metal fatigue.
The Glass and Pin Detangling Framework
To safely untangle your fringe, you must eliminate static electricity and reduce metal-on-metal friction. Follow this exact protocol:
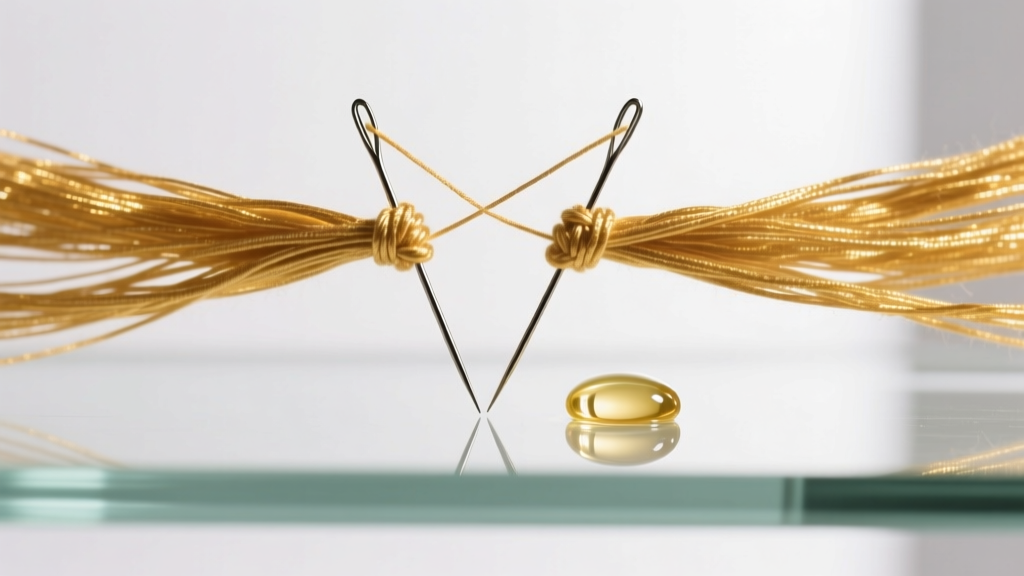
- Prepare the Surface: Lay the necklace flat on a clean piece of glass or a glazed ceramic tile. These non-porous surfaces prevent static buildup, which exacerbates tangling.
- Apply a Lubricant: Place a single drop of mineral oil or specialized jewelry detangling fluid directly onto the center of the knot. Avoid baby oil, as the added fragrances can leave a sticky residue on porous gold alloys.
- Use the Right Tools: Discard sewing needles; their sharp points will scratch the gold finish. Instead, use two blunt-tipped sewing pins or specialized jewelry knitting needles.
- The Micro-Pry Technique: Insert the blunt pins into the center of the knot and gently push outward in opposite directions. Work from the inside of the knot outward, loosening the top layer of fringe drops first.
Problem 2: Snapped Fringe Links and Missing Drops
Fringe drops typically detach at the connection point to the base chain. This failure is usually caused by a micro-jump ring that was never properly soldered shut, or by metal fatigue from repeated stress. If you have recovered the fallen drop, you can perform a temporary repair at home, though professional laser welding is the permanent fix.
DIY Micro-Jump Ring Reattachment
To reattach a standard 2mm to 4mm fringe drop, you need dead-soft wire. According to fabrication standards outlined by Rio Grande, using the correct wire gauge is critical to maintaining the drape of the necklace.
- For Micro Fringe (under 2mm drops): Use 24-gauge dead-soft wire.
- For Standard Fringe (2mm - 5mm drops): Use 22-gauge dead-soft wire.
- For Heavy Statement Fringe: Use 20-gauge half-hard wire.
Wrap the wire tightly around the base chain link and the loop of the fringe drop. Using flush cutters, trim the wire as close to the wrap as possible, and use chain-nose pliers to gently squeeze the cut ends flat so they do not snag on clothing. This is a mechanical wrap, not a soldered joint, so it should be treated as a temporary measure until you can visit a bench jeweler.
Problem 3: Cloudy Fringe and Trapped Grime
Because fringe necklaces sit directly against the décolletage, they trap skin oils, lotions, and dead skin cells between the tightly packed drops. This creates a dull, grayish film that ruins the reflective quality of the gold.
Warning: While desktop ultrasonic cleaners are popular in 2026, you must never place a hollow-tube gold fringe necklace into an ultrasonic bath. The high-frequency acoustic cavitation can easily shatter hollow micro-links or shake loose poorly soldered joints. Solid gold fringe is generally safe, but caution is paramount.
Material-Specific Cleaning Protocols
| Material Grade | Recommended Cleaning Method | Ultrasonic Safe? | Drying Technique |
|---|---|---|---|
| Solid 14k / 18k Gold | Ammonia-free jewelry soak (5 mins) + soft baby toothbrush | Yes (if solid links) | Compressed air canister |
| Gold Vermeil (Sterling Base) | Lukewarm water + drop of mild dish soap; gentle swish only | No | Pat dry with microfiber, air dry flat |
| Gold Plated (Brass Base) | Damp microfiber cloth wipe-down only | No | Air dry immediately |
Pro Tip: To dry a solid gold fringe necklace without leaving water spots or lint, use a canister of compressed air (the kind used for cleaning keyboards). Hold it 6 inches away and use short bursts to blow the moisture out from between the tightly packed drops.
Preventative Storage: The Anti-Tangle Framework
Preventing tangles is infinitely easier than repairing them. The "straw trick" (threading a chain through a drinking straw) works for the base chain, but it does nothing to protect the fringe drops. For fringe necklaces, you must immobilize the drops entirely.
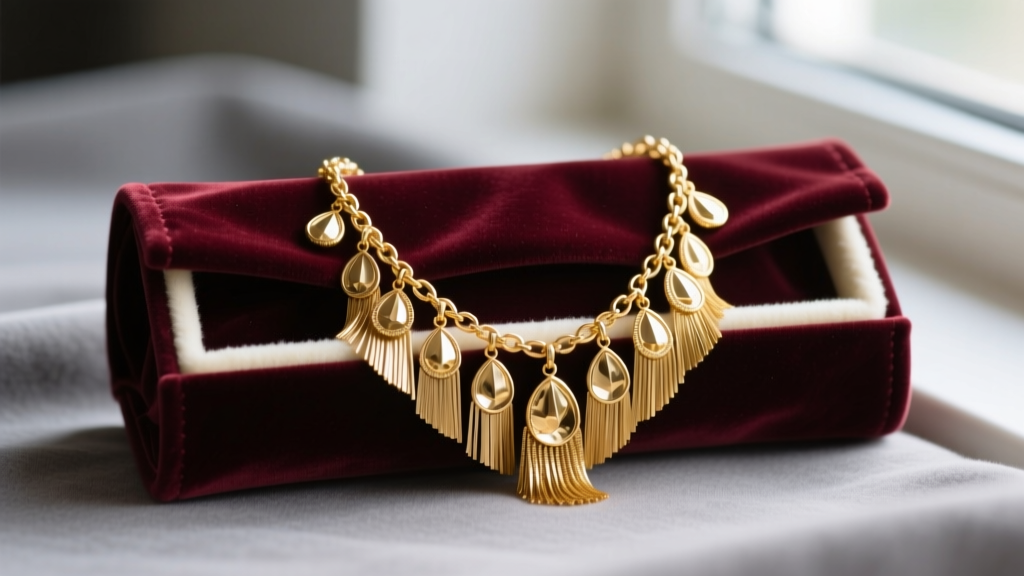
The Felt Roll Method: Invest in a multi-pocket felt or velvet jewelry roll. Lay the necklace flat, smooth the fringe drops downward so they are perfectly parallel, and roll the jewelry tightly. The pressure of the roll against the soft fabric immobilizes the drops, making it physically impossible for them to cross over one another and tangle during travel or drawer storage.
When to Call a Professional Jeweler
While DIY fixes can save a piece in a pinch, certain issues require a professional bench jeweler. If the base chain itself has snapped under the weight of the fringe, or if multiple fringe drops have sheared off at the solder joint, you need laser welding.
Unlike traditional torch soldering, which requires heating a large area of the gold (risking the melting of adjacent micro-links or scorching the metal), laser welding uses a highly focused beam of light to fuse metal at a microscopic level. According to the Jewelers of America, laser welding is the industry standard for intricate, multi-component pieces. Expect to pay between $45 and $120 for laser reattachment of multiple fringe drops, depending on the karat of the gold and the complexity of the base chain.
By understanding the metallurgical limits of your gold fringe necklace and employing these targeted troubleshooting frameworks, you can ensure your liquid gold pieces remain fluid, brilliant, and structurally sound for decades to come.


