How to Stack Necklaces Without Tangling: A Pro Stylist Guide
Learn how to stack necklaces without tangling using our pro stylist guide. Discover spacing formulas, chain types, and hardware hacks for a flawless look.


Mastering the art of the necklace stack is a hallmark of elevated personal style. Yet, nothing ruins a curated look faster than a tangled mess of chains. If you are wondering how to stack necklaces without tangling, the secret lies not in luck, but in the physics of jewelry design. By understanding chain link geometry, weight distribution, and precise length spacing, you can build a multi-layered stack that stays perfectly in place from morning to night.
The Physics of Necklace Tangling
Tangling is fundamentally a problem of friction and center of gravity. When two chains of similar length and texture rest against each other, the microscopic grooves of their links interlock. As you move, the kinetic energy causes the chains to twist. According to jewelry manufacturing experts at Halstead Jewelry, chains with high surface-area contact, like rope or twisted links, possess a higher friction coefficient, making them prime culprits for knotting. Conversely, smooth, tightly closed links glide past one another, minimizing the mechanical interlocking that leads to tangles.
The 3-Tier Spacing Formula
The most common mistake in layering is choosing necklaces that are too close in length. To prevent overlapping and subsequent tangling, you must adhere to a strict spacing formula. The golden rule is a minimum 2-inch gap between the resting points of each chain.
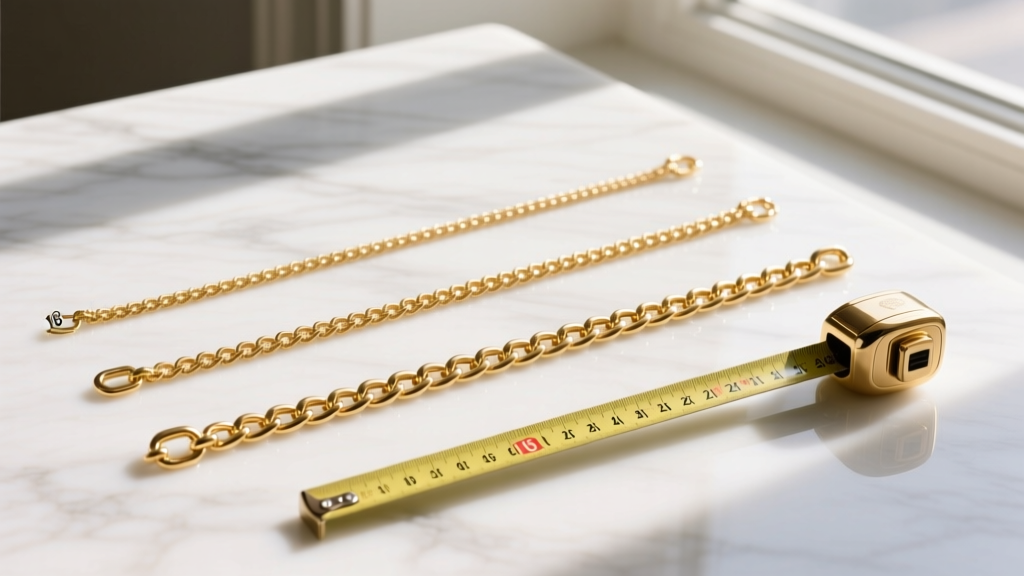
Standard Tier Measurements
- Tier 1 (The Choker/Collar): 14 to 15 inches. Sits snugly above the collarbone.
- Tier 2 (The Princess): 17 to 18 inches. Rests on the collarbone. Note: If adding a pendant, add 1 inch to account for the drop.
- Tier 3 (The Matinee): 20 to 22 inches. Falls below the neckline, anchoring the visual weight of the stack.
If your Tier 2 necklace features a 10mm pendant, its effective visual length extends by roughly half an inch to an inch. You must calculate this 'pendant drop' into your spacing math to ensure the gemstone does not physically strike the chain of Tier 1.
Chain Link Selection: What Works and What Snags
Not all chains are created equal when it comes to stacking. Pairing a highly textured chain with a delicate one is a recipe for disaster. Below is a breakdown of common chain types and their tangling propensity, based on structural geometry.
| Chain Type | Link Structure | Tangle Risk | Best Stack Placement |
|---|---|---|---|
| Box Chain | Square, tightly woven, smooth surface | Low | Any tier; excellent base layer |
| Snake Chain | Semi-rigid, tubular, very smooth | Very Low | Tier 1 or Tier 2 (holds pendants well) |
| Cable Chain | Oval links, uniform, moderate gaps | Medium | Keep away from rope or figaro chains |
| Rope Chain | Twisted, helical, high texture | High | Wear solo or as the heaviest bottom tier |
| Figaro Chain | Alternating long and short links | Medium-High | Bottom tier only; avoid delicate pairings |
For a foolproof, tangle-free stack, combine a Snake chain (Tier 1), a Box chain (Tier 2), and a slightly heavier Cable chain (Tier 3). The smooth surfaces of the snake and box chains ensure they will never catch on one another, even if the neckline of your shirt causes them to shift.
Weight Distribution and Pendant Placement
Gravity dictates that the heaviest element in your stack will naturally seek the lowest point. If your Tier 1 choker features a heavy 15-gram gemstone pendant, it will pull the chain downward, encroaching on the territory of Tier 2. To maintain structural integrity, follow the Pyramid Weight Rule: the visual and physical weight of your necklaces should increase as you move down the tiers.
- Tier 1: Delicate chains (1mm - 1.5mm width), no pendants or micro-charms (under 3mm).
- Tier 2: Medium chains (1.5mm - 2.5mm width), featuring the focal pendant (e.g., a 6mm solitaire diamond or a 10mm gold disc).
- Tier 3: Substantial chains (3mm+ width), featuring heavier elements like a chunky locket, a large signet pendant, or a bold paperclip link.
Hardware Hacks: Clasps and Connectors
Sometimes, the hardware itself is the point of failure. Standard lobster clasps can be bulky and prone to catching on the links of adjacent chains. Upgrading your hardware is a professional stylist's secret weapon.
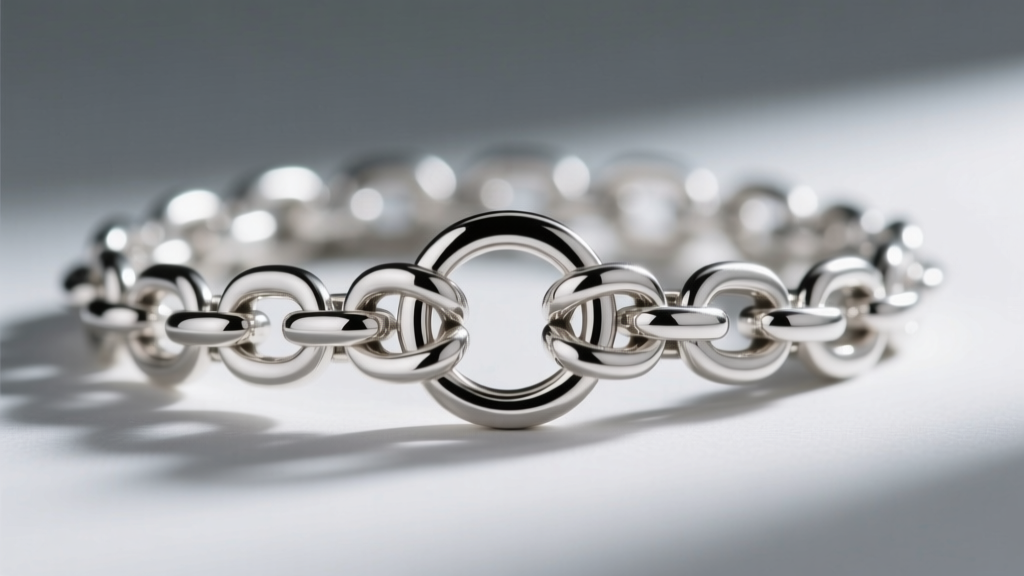
The Multi-Strand Spacer Clasp
If you struggle with the nape of your neck tangling, invest in a multi-strand spacer clasp. This single piece of hardware features two or three separate loops on each side, anchoring your chains at fixed intervals (usually 15mm or 20mm apart) right at the clasp. This completely eliminates the 'twist zone' at the back of the neck, which is where 80% of tangles originate.
Magnetic and Locking Clasps
For seamless transitions, consider retrofitting your chains with neodymium magnetic clasps or locking carabiners. These reduce the physical bulk at the nape and prevent the clasp itself from migrating forward and getting caught in the front-facing layers. Industry experts at Jewelers Mutual often recommend secure, low-profile clasps not just for anti-tangling, but for overall chain preservation and security against accidental unfastening.
Step-by-Step: Building Your Tangle-Free Stack
- Start with the Base: Put on your Tier 1 (14-15 inch) smooth chain first. Secure the clasp and ensure it sits flat against the skin.
- Add the Focal Point: Layer your Tier 2 (17-18 inch) chain. Check the mirror to ensure a minimum 2-inch visual gap between the bottom of Tier 1 and the top of Tier 2's links.
- Anchor the Stack: Fasten your Tier 3 (20-22 inch) chain. Adjust the pendants so they sit perfectly centered on your sternum.
- The Friction Test: Move your shoulders, lean forward, and sit back. If the chains cross over and interlock, your spacing is too tight, or your chain textures are too similar. Swap a textured chain for a smooth box or snake chain.
- Secure the Nape: Tuck all clasps neatly to one side of your neck, or use a silicone jewelry stopper bead behind the nape to keep them separated.
Maintenance and Storage: Preventing Future Knots
Knowing how to stack necklaces without tangling is only half the battle; proper storage is the other. Never toss a stacked set into a jewelry box drawer. The kinetic movement of a closing drawer will instantly knot them. Instead, use a multi-strand jewelry roll with individual snap-loop channels, or hang them on a tiered velvet stand where gravity keeps the chains taut and separated. When traveling, thread each chain through a plastic drinking straw and clasp it shut—this rigid barrier makes tangling physically impossible, ensuring your carefully curated stack remains pristine and ready to wear the moment you arrive at your destination.


