Making Resin Jewelry: A Technical Guide to Epoxy vs UV Formulations
Master making resin jewelry with our expert technical guide. Compare epoxy vs UV formulations, troubleshoot micro-bubbles, and prevent UV yellowing.

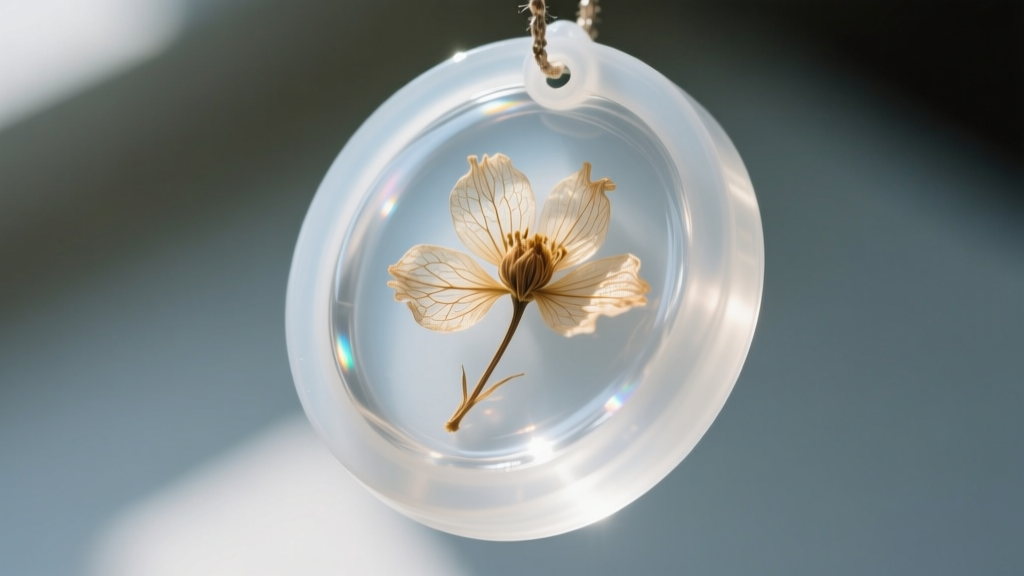
The landscape of making resin jewelry has shifted dramatically as we move through 2026. Hobbyists and professional bench jewelers alike are no longer satisfied with cloudy, yellowing casts or brittle finishes. Today's market demands optical-grade clarity, high Shore D hardness for scratch resistance, and non-toxic, low-VOC formulations. Whether you are casting micro-pendants, encapsulating organic inclusions, or creating structural bangles, understanding the underlying chemistry of your materials is the difference between a ruined batch and a gallery-ready piece.
This technical deep dive bypasses the basic tutorials and focuses on the material science, precision mixing protocols, and advanced degassing techniques required for professional-grade resin jewelry fabrication.
Formulation Chemistry: Epoxy vs. UV Urethane Acrylates
When making resin jewelry, you are primarily choosing between two distinct chemical families: two-part epoxies and single-part UV-curable urethane acrylates. Each undergoes a fundamentally different polymerization process.
Two-Part Epoxy Resins
Epoxy systems consist of an epoxide resin (Part A) and a polyamine hardener (Part B). When mixed, they undergo an exothermic cross-linking reaction that forms a rigid, highly durable thermoset polymer. High-end jewelry epoxies are formulated to be aliphatic rather than aromatic, which drastically improves UV resistance and delays yellowing. According to the technical bulletins from Smooth-On, achieving a complete cure requires strict adherence to stoichiometric ratios, meaning the exact molecular balance of A to B must be maintained for optimal cross-linking.
UV-Curable Resins
UV resins rely on photoinitiators that generate free radicals when exposed to ultraviolet light (typically 365nm to 405nm wavelengths). These free radicals trigger the rapid polymerization of urethane acrylate monomers. While UV resin cures in minutes, it suffers from higher volumetric shrinkage (up to 8-12%) compared to epoxy (1-3%), which can cause warping in larger bezel settings.
| Property | Jewelry-Grade Epoxy | UV Urethane Acrylate |
|---|---|---|
| Viscosity (at 77°F) | 200 - 800 cps (Low) | 1,500 - 3,000 cps (High) |
| Cure Mechanism | Chemical Cross-linking | Free-Radical Photopolymerization |
| Volumetric Shrinkage | 1% - 3% | 8% - 12% |
| Shore Hardness | 80D - 85D | 75D - 82D |
| Max Pour Depth | Up to 2 inches (slow cure) | 3mm - 5mm per layer |
Precision Mixing: Why Volume Ratios Fail
One of the most common failure modes when making resin jewelry is a tacky, uncured surface. This is almost always caused by measuring by volume instead of weight. Part A and Part B have different specific gravities (densities). A 1:1 volume ratio rarely translates to a 1:1 weight ratio.
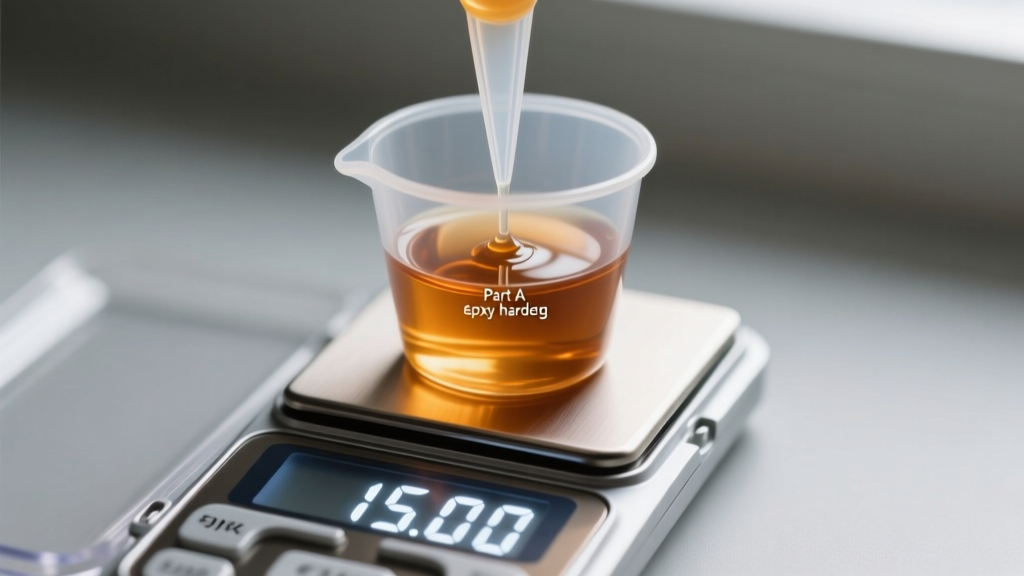
Always use a digital scale accurate to 0.01 grams. For example, a premium clear casting epoxy might require a 100:45 mix ratio by weight. If you measure 20 grams of Part A, you must add exactly 9 grams of Part B. Furthermore, mix in a tapered silicone cup using a figure-eight motion, actively scraping the bottom and sides. Uncured material left on the walls of the cup will not cross-link and will create soft spots in your final jewelry piece.
Advanced Bubble Elimination: Vacuum vs. Pressure
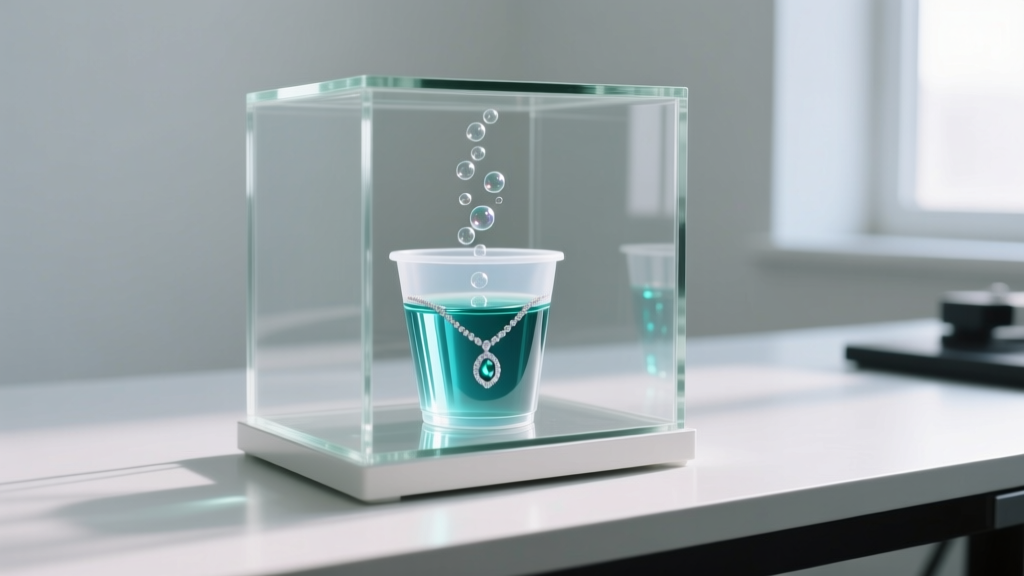
Micro-bubbles are the enemy of optical clarity. Aggressive stirring introduces atmospheric air into the viscous liquid. To achieve glass-like clarity, professional jewelers employ a two-tiered degassing strategy utilizing both vacuum and pressure.
Step 1: Vacuum Degassing
Placing your mixed resin in a vacuum chamber and pulling 29.9 inHg (inches of mercury) lowers the atmospheric pressure inside the chamber. This causes dissolved air and trapped micro-bubbles to expand, rise to the surface, and pop. However, vacuum degassing alone can sometimes cause the resin to foam over the cup if the mix is highly volatile.
Step 2: Pressure Pot Curing
After pouring the resin into your silicone molds, transfer the molds to a pressure pot and apply 40 to 60 PSI (pounds per square inch) of compressed air. This immense pressure compresses any remaining microscopic bubbles down to a size that is completely invisible to the human eye. According to casting guidelines discussed by suppliers like Rio Grande, combining these methods ensures flawless, inclusion-free casts essential for high-end pendants and bezel work.
Thermal Management and Exothermic Flash Curing
Epoxy resins generate heat as they cure. If you are making resin jewelry with deep molds (such as a thick bangle or a large geode pendant), the mass of the resin can trap this heat, leading to an exothermic runaway reaction. This 'flash cure' can cause the resin to yellow instantly, crack, or even melt your silicone mold.
- Mass Control: Never mix more than 4 ounces of fast-curing epoxy at a time.
- Thermal Dissipation: For deep pours, use a 'slow' or 'deep pour' hardener formulation that extends the pot life to 24 hours, allowing heat to dissipate gradually.
- Ambient Temperature: Maintain your workspace at exactly 72°F - 75°F (22°C - 24°C). Colder temperatures drastically increase viscosity, trapping bubbles, while hotter temperatures accelerate the exothermic reaction.
Preventing Yellowing: Aliphatic Chains and HALS
All epoxies will eventually yellow when exposed to UV radiation, but the timeline can be extended from a few months to several decades through advanced chemistry. When sourcing materials for making resin jewelry, look for formulations that explicitly state they are aliphatic. Aromatic epoxies contain benzene rings that absorb UV light and rapidly degrade into yellow chromophores.
Additionally, top-tier jewelry resins include HALS (Hindered Amine Light Stabilizers), such as Tinuvin 770. HALS do not absorb UV light; instead, they scavenge the free radicals generated by UV exposure, effectively halting the degradation cycle before yellowing can occur. Always store your cured jewelry away from direct, prolonged sunlight to maximize the lifespan of the polymer matrix.
Wet-Sanding and Optical Polishing Protocols
Even with a flawless mold, resin jewelry often requires edge cleanup or surface polishing to remove mold lines or minor surface imperfections. Achieving a glass-like finish requires a meticulous wet-sanding progression.
- 400 to 800 Grit: Wet sand to remove mold flashing and level the surface. Keep the resin and sandpaper continuously lubricated with water to prevent heat buildup, which will melt the resin and clog the paper.
- 1500 to 3000 Grit: Transition to micro-mesh pads. At 3000 grit, the resin will begin to look cloudy but smooth.
- 5000 to 12000 Grit: This final stage brings back the optical clarity.
- Polishing Compound: Finish with a microfiber wheel and an aluminum oxide or cerium oxide polishing compound designed for plastics and acrylics to achieve a high-gloss, reflective surface.
'The difference between amateur and professional resin jewelry isn't just the design; it's the invisible perfection of the cast. Master your environment, respect the chemistry, and the resin will reward you with absolute clarity.' — Bench Jeweler's Material Science Handbook, 2025 Edition.
By treating resin not as a simple craft supply, but as a complex industrial polymer, you elevate your jewelry making from basic DIY to professional fabrication. Control your ratios, manage your thermals, and invest in proper degassing equipment to ensure every piece you create stands the test of time.


