Mastering UV Resin for Jewelry Making: A Beginner Guide
Learn how to choose, pour, and cure UV resin for jewelry making. This beginner guide covers tools, troubleshooting sticky spots, and top brands.

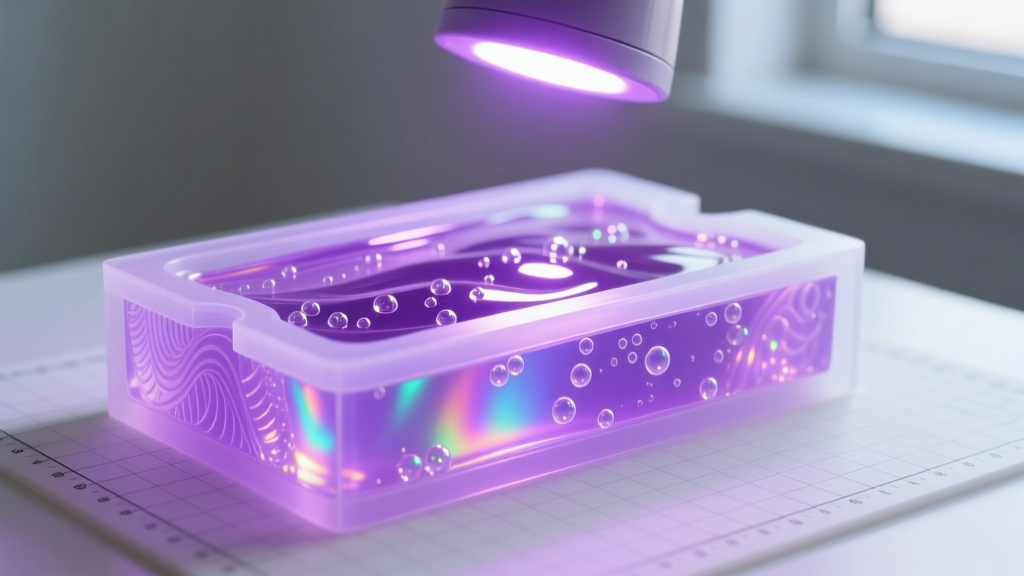
For jewelry makers, the transition from basic assembly to custom component creation often hinges on one transformative material: resin. While traditional two-part epoxy has long been the industry standard, UV resin for jewelry making has revolutionized the craft by eliminating mixing ratios and reducing cure times from 24 hours to mere minutes. Whether you are encapsulating dried botanicals in a brass bezel or casting custom cabochons in silicone molds, understanding the chemistry and technique behind UV-curable polymers is essential for professional-grade results.
What is UV Resin and How Does It Work?
UV resin is a single-component synthetic polymer that remains in a liquid state until exposed to ultraviolet light. The resin contains photoinitiators—chemical compounds that absorb UV radiation and generate free radicals. These radicals trigger a chain reaction called photopolymerization, rapidly cross-linking the liquid monomers into a solid, durable plastic network.
Unlike epoxy resin, which relies on a chemical reaction between a resin and a hardener, UV resin requires an external energy source to cure. This means your resin will never harden in the bottle or on your workspace, provided it is kept away from direct sunlight. However, it also means the depth of cure is limited by light penetration, a critical factor we will address in the layering techniques below.
Essential Tools and Material Grades
Success in UV resin jewelry making depends heavily on using the correct equipment. Skimping on your UV lamp or choosing the wrong resin viscosity will lead to frustrating failures like tacky surfaces or excessive yellowing.
1. The Right UV LED Lamp
Not all UV lights are created equal. For jewelry making, you need a lamp that emits light in the 395nm to 405nm wavelength range. Furthermore, wattage matters immensely. While a cheap 5W UV flashlight might cure a 1mm layer of resin, it will fail to penetrate deeper molds. Invest in a 36W to 48W LED UV nail lamp or a specialized resin curing box. These provide the intense, even photon distribution required for deep, uniform cures without creating localized heat spikes that can warp silicone molds.
2. Hard vs. Soft UV Resin
Brands like Padico and Resin Obsession offer distinct formulas. Hard-type resin cures to a rigid, glass-like finish, making it ideal for bezel pendants, cabochons, and structural components. Soft-type resin cures to a flexible, slightly bendable state, which is necessary for coating curved surfaces or creating faux-enamel effects on flexible metal stampings.
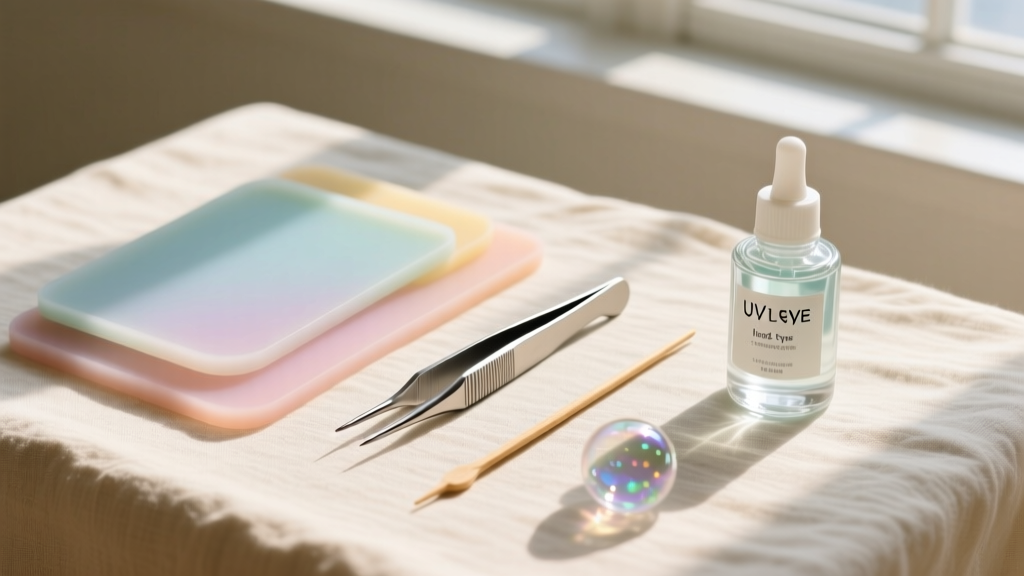
3. Molds and Bezels
When using silicone molds, opt for platinum-cure silicone with a high-gloss interior finish. Matte molds will transfer a frosted texture to your resin. For bezels, raw brass or stainless steel provide the best mechanical grip. Always ensure your bezels are completely flat; even a microscopic gap between the bezel edge and your backing tape will result in resin leaking out during the curing process.
Step-by-Step: Casting a Botanical Bezel Pendant
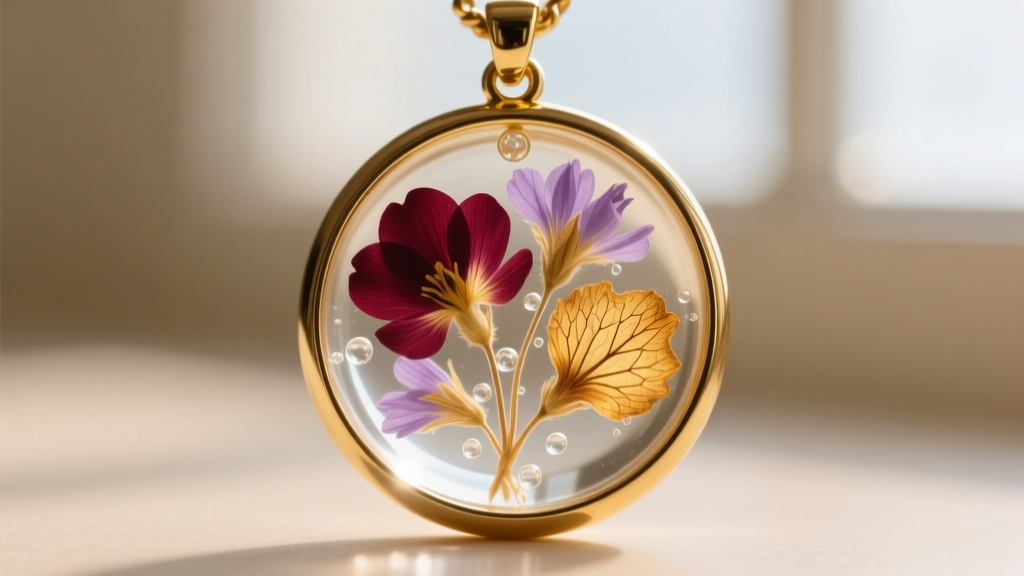
Let us walk through the process of creating a clear bezel pendant featuring embedded dried flowers. This project highlights the most important technique in UV resin crafting: layering.
Prep and Prime
Place your brass bezel flat on a piece of high-quality painter's tape or a specialized resin crafting mat. Press down firmly to create a watertight seal. Using a toothpick or a fine-tipped silicone tool, apply a microscopic base layer of UV resin to the bottom of the bezel. Cure this under your 36W lamp for 60 seconds. This base layer acts as an adhesive for your inclusions and prevents delicate flower petals from looking translucent or "wet" when the final piece is finished.
The Layering Technique
UV resin shrinks by roughly 5% to 10% during polymerization. If you attempt to fill a deep bezel in a single pour, the exothermic reaction will generate excessive heat, and the massive shrinkage will cause the resin to pull away from the metal edges or warp the silicone mold. Never pour UV resin thicker than 3mm to 5mm per layer.
- Layer 1: Pour a thin layer of resin over your cured base. Use precision tweezers to place your dried botanicals. Gently press them down to release trapped air. Cure for 90 seconds.
- Layer 2: Pour another 2mm layer to completely submerge the inclusions. Use a fine needle or toothpick to pop any surface bubbles that rise. Cure for 90 seconds.
- Layer 3 (The Dome): For the final layer, rely on the surface tension of the resin. Dispense a generous drop in the center and use a toothpick to gently pull the resin to the very edges of the bezel, creating a convex dome. Cure for 2 minutes.
UV Resin vs. Epoxy Resin: A Structural Comparison
Understanding when to use UV resin versus traditional epoxy is a hallmark of an experienced jewelry maker. Below is a functional comparison to guide your material sourcing.
| Feature | UV Resin | Two-Part Epoxy Resin |
|---|---|---|
| Cure Time | 1 to 5 minutes (per layer) | 12 to 24 hours (full cure) |
| Mixing Required | No (Single component) | Yes (Strict 1:1 or 2:1 ratio) |
| Maximum Pour Depth | 3mm to 5mm per layer | Up to 2 inches (depending on brand) |
| Shrinkage | High (5-10%) | Low (1-3%) |
| Best Use Case | Small bezels, cabochons, quick repairs | Large pendants, river tables, deep molds |
Troubleshooting Common Beginner Mistakes
Even with the best resin tutorials, beginners inevitably encounter a few chemical quirks. Here is how to solve the most frequent issues.
The Sticky Top Layer (Oxygen Inhibition)
If your fully cured piece has a tacky, uncured film on the surface, you are experiencing oxygen inhibition. Oxygen in the air reacts with the free radicals at the very surface of the resin, preventing the top 0.1mm from polymerizing. The Fix: Wipe the cured piece with 91% isopropyl alcohol to remove the tacky layer. Alternatively, for a flawless glass finish, apply a microscopically thin topcoat of resin, press a piece of smooth PET plastic or silicone sheet over it to block the oxygen, cure it, and then peel the sheet away.
Trapped Micro-Bubbles
Shaking your bottle of UV resin introduces thousands of micro-bubbles that are nearly impossible to pop with a toothpick. The Fix: Never shake UV resin. If bubbles are present, let the bottle sit in a warm water bath (around 90°F) for 10 minutes before use. The heat lowers the resin's viscosity, allowing trapped air to rise and escape naturally.
Premature Yellowing
UV resin is inherently more susceptible to UV degradation (yellowing) than high-grade epoxies. However, cheap resins will yellow within weeks. The Fix: Only purchase premium, non-yellowing formulas that include UV stabilizers and HALS (Hindered Amine Light Stabilizers). Additionally, avoid over-curing; leaving a piece under a 48W lamp for 10 minutes will literally "cook" the polymer, accelerating the yellowing process.
Safety and Workspace Ventilation
While UV resin is incredibly convenient, it is not non-toxic in its liquid state. Uncured UV resin contains reactive diluents and photoinitiators that can cause severe contact dermatitis and respiratory sensitization over time. Always wear powder-free nitrile gloves—latex gloves can sometimes react with the resin chemicals. Work in a well-ventilated room or use a localized desktop exhaust fan to pull volatile organic compounds (VOCs) away from your breathing zone. Treat your materials with the same respect you would give to jewelry pickling acids or patina chemicals, and your crafting career will remain both safe and highly productive.