Troubleshooting Your Ankle Jewelry Tattoo: Peeling, Rashes & Fading
Fix common ankle jewelry tattoo issues. Expert troubleshooting for peeling, skin rashes, and fading metallic flash tattoos on your ankle.

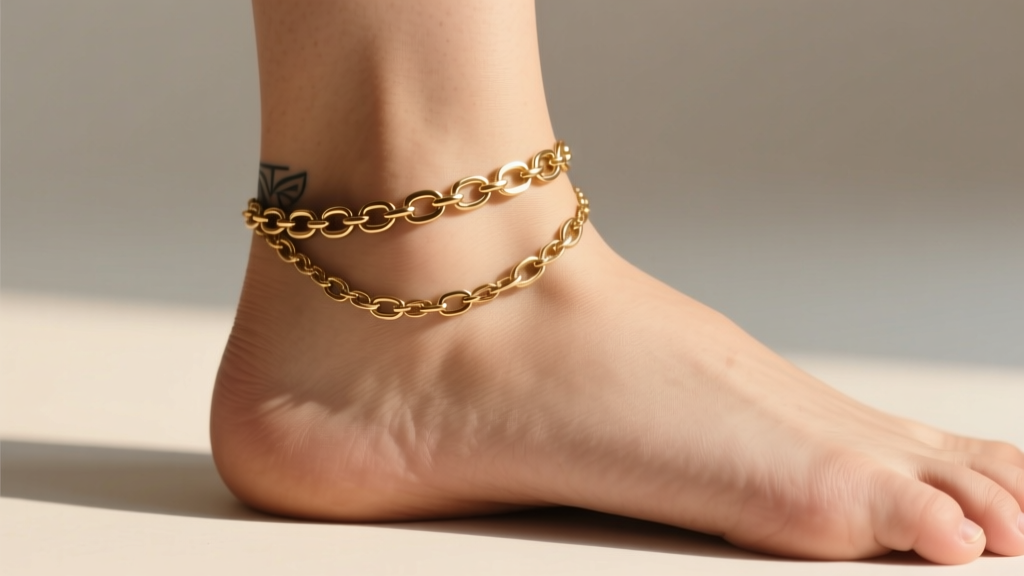
The allure of the ankle jewelry tattoo is undeniable: you get the aesthetic of a delicate, shimmering anklet without the commitment, cost, or piercing of permanent metal. Whether you are prepping for a summer music festival, a beach vacation, or simply want to elevate your sandal game, metallic flash tattoos offer an accessible shortcut. However, the reality of wearing these temporary adornments often falls short of the packaging promises. Premature peeling, itchy contact dermatitis, and a dull, "plasticky" shine can quickly turn your stylish accessory into a frustrating mess.
As jewelry and style experts, we see countless complaints about temporary metallic tattoos failing within 24 hours. The problem rarely lies in the design itself, but rather in a misunderstanding of the adhesive chemistry, skin preparation, and the high-friction environment of the ankle joint. This comprehensive troubleshooting guide will diagnose exactly why your ankle jewelry tattoo is failing and provide actionable, dermatologist-backed solutions to extend its lifespan and protect your skin.
The Anatomy of an Ankle Jewelry Tattoo Failure
To troubleshoot effectively, you must understand what an ankle jewelry tattoo actually is. Unlike traditional water-slide temporary tattoos that use ink, metallic flash tattoos are constructed using a layered polyethylene terephthalate (PET) film. The "jewelry" design is stamped with metallic foil, and the underside is coated with a medical-grade, pressure-sensitive adhesive (PSA), typically an acrylic polymer like polyacrylate-35.
When you apply the tattoo, you are essentially gluing a microscopic layer of plastic and metal foil to your epidermis. The ankle is one of the most hostile environments for any adhesive. It is subject to constant flexion, friction from footwear, and high concentrations of sweat glands. When the PSA emulsifies from moisture or degrades from mechanical friction, the illusion shatters, leaving you with a peeling, sticky residue.
Problem 1: Premature Peeling and Flaking
If your ankle jewelry tattoo begins to lift at the edges or flake off entirely within the first 48 hours, you are experiencing an adhesive breakdown. This is the most common complaint, and it usually stems from improper skin preparation or environmental friction.
The Friction Factor: Footwear and Anatomy
The lateral malleolus (the outer ankle bone) and the Achilles tendon are high-friction zones. If you are wearing sneakers, booties, or even strappy sandals with a back-strap, the mechanical rubbing will physically shear the adhesive bond.
- The Fix: Apply the tattoo at least 1.5 inches above the lateral malleolus, resting on the narrower part of the lower calf where footwear does not make contact.
- The Fix: Avoid applying the tattoo directly over the Achilles tendon if you plan to wear closed-back shoes, as the constant flexing of the joint will crack the PET film.
Skin Prep Protocol: The 70% Rule
Most consumers wipe their ankle with whatever is in their bathroom cabinet before application. This is a critical error. Lotions, body oils, and even natural sebum create a barrier that prevents the PSA from anchoring to the stratum corneum (the outermost layer of skin). Furthermore, using 99% isopropyl alcohol can overly desiccate the skin, causing microscopic flaking that takes the adhesive with it.
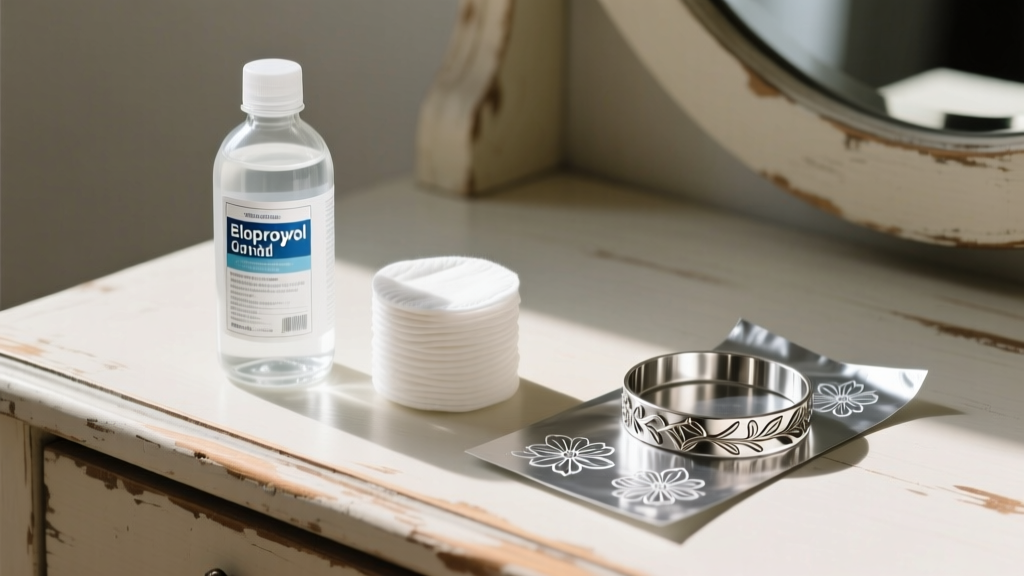
The Expert Protocol: Wash the ankle with a gentle, non-moisturizing soap (like a basic glycerin bar) and warm water. Dry completely. Then, wipe the exact application area with 70% isopropyl alcohol. The 30% water content in 70% alcohol slows evaporation just enough to effectively dissolve and remove surface oils without severely compromising the skin barrier. Let it air dry completely before applying the tattoo.
Problem 2: Contact Dermatitis and "Tattoo Rashes"
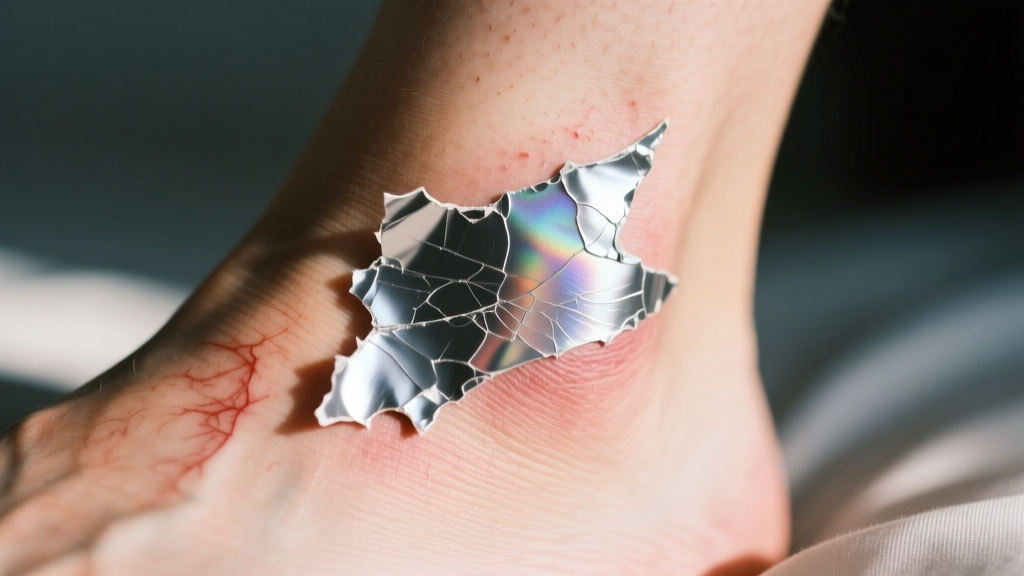
Waking up to an angry, itchy, red ring around your ankle is a nightmare scenario. While the metallic foil itself is usually inert, the acrylic adhesives used in temporary tattoos are notorious culprits for skin reactions. According to the DermNet NZ authority on acrylate allergies, acrylates are a leading cause of allergic contact dermatitis. However, not all rashes are allergic; some are purely irritant.
Diagnosing Your Reaction
| Symptom | Irritant Contact Dermatitis | Allergic Contact Dermatitis |
|---|---|---|
| Onset | Immediate to 12 hours | 24 to 72 hours (delayed) |
| Sensation | Burning, stinging, tightness | Intense itching, throbbing |
| Appearance | Redness, dry scaling, localized exactly to the adhesive | Blisters, swelling, spreading beyond the tattoo borders |
| Cause | Trapped sweat, friction, compromised skin barrier | Immune response to polyacrylate-35 or rosin esters |
Preventing the "Sweat Trap"
If your reaction is irritant-based, it is likely due to sweat becoming trapped beneath the non-breathable PET film, creating a localized greenhouse effect that macerates the skin.
- Actionable Advice: Never apply an ankle jewelry tattoo immediately after a workout or a hot shower. Wait until your core temperature drops and your skin is completely dry.
- Actionable Advice: If you are sweating heavily outdoors, gently pat (do not rub) the tattoo dry with a microfiber cloth to prevent moisture from seeping under the edges.
Problem 3: The "Fake" Shine and Oxidation
A major aesthetic failure of the ankle jewelry tattoo is that it often looks exactly like what it is: a sticker. Real jewelry reflects light with depth and refraction. Metallic foil reflects light flatly, and as the top layer of the PET film accumulates microscopic scratches from clothing and bedsheets, it develops a cloudy, oxidized appearance.
The Matte Topcoat Trick
Counterintuitively, you can make a fake metallic tattoo look more like real jewelry by eliminating the plastic shine. By applying a very thin layer of matte setting spray (the kind used for facial makeup) or a specialized cosmetic matte sealer over the tattoo, you diffuse the harsh, plasticky glare. This tricks the eye into perceiving the metallic foil as brushed metal or oxidized silver, blending it much more naturally with the matte texture of your skin. Avoid using glossy nail topcoats, as the solvents (like ethyl acetate) will instantly melt the tattoo ink and adhesive.
Safe Removal and Skin Recovery
When your ankle jewelry tattoo finally reaches the end of its lifespan, how you remove it dictates the health of your skin for the next application. Ripping it off like a bandage will strip the stratum corneum, leading to raw, weeping skin that cannot support a new tattoo for at least two weeks.
The Oil-Breakdown Method
Acrylic pressure-sensitive adhesives are lipophilic, meaning they break down in the presence of oils. Acetone or harsh alcohol rubs will damage your skin barrier and are entirely unnecessary.
- Saturate a cotton pad with pure squalane oil, jojoba oil, or a dedicated oil-based makeup remover.
- Press the saturated pad firmly against the tattoo and hold it there for 3 to 5 minutes. Do not rub.
- The oil will penetrate the microscopic gaps in the PET film and dissolve the adhesive bond.
- Gently slide the pad downward. The tattoo should roll off the skin effortlessly.
- Wash the ankle with a gentle cleanser to remove the oil residue before attempting a new application.
When to Upgrade: The Case for Permanent Welded Anklets
If you find yourself trapped in a cycle of reapplying ankle jewelry tattoos every five days, dealing with adhesive rashes, or constantly hiding peeling edges, it is time to reevaluate your strategy. The troubleshooting required to maintain temporary tattoos often costs more time and frustration than they are worth.
In 2026, the jewelry industry standard for hassle-free ankle adornment has shifted heavily toward permanent welded anklets. Using a micro-laser or arc welder, a jeweler fuses a custom-fitted, clasp-less chain (typically 14k solid gold or sterling silver) directly around your ankle.
- No Adhesives: Eliminates 100% of contact dermatitis risks associated with acrylic glues.
- No Friction Failures: A delicate 1.2mm cable chain moves fluidly with your ankle joint and slips easily under shoe collars without catching or tearing.
- Cost-Benefit: While a welded 14k gold anklet costs between $150 and $250, it lasts for years, entirely offsetting the recurring cost and skin damage of premium temporary tattoo sheets.
Related stories

By Body Part
Boho and Tarnish Compared: Material Science, Care Realities, and Performance Data for Ankle Jewelry

By Body Part
Cleaner Trends 2026: Science-Backed Shifts in Formulation, Efficacy, and Sustainability

By Body Part