Body Jewelry Gauges: The Ultimate Sizing and Buying Guide
Master body jewelry gauges with our expert buying guide. Learn standard sizes, how to measure thickness, and avoid the cheese cutter effect.

The Inverse Logic: Understanding the Gauge System
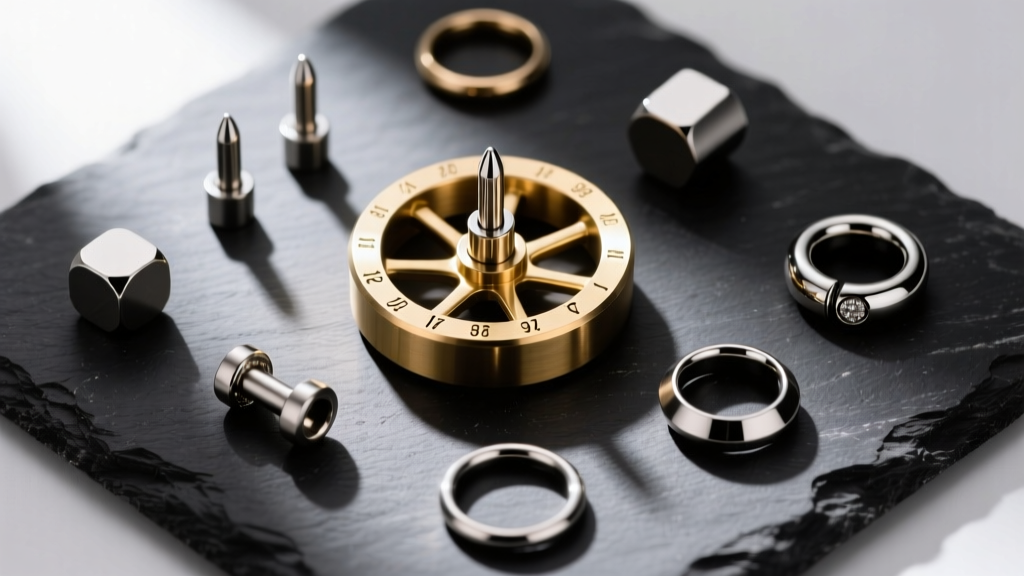
When shopping for body piercing jewelry, the most critical metric to understand is the gauge. Unlike standard measurement systems where a larger number indicates a larger size, the American Wire Gauge (AWG) system operates inversely. In the context of body jewelry gauges, a higher number means a thinner piece of metal. For example, a 20-gauge wire is significantly thinner than a 10-gauge wire. This system originated from the number of times a wire was drawn through a reducing die during manufacturing; the more times it was pulled, the thinner it became, and the higher the gauge number assigned to it.
For modern body modification, understanding this inverse relationship is vital for tissue health, comfort, and proper healing. Wearing the incorrect gauge can lead to severe complications, ranging from minor irritation bumps to complete rejection of the piercing. According to the Association of Professional Piercers (APP), adhering to standardized gauge sizes for specific anatomical locations is the foundational step in ensuring long-term piercing viability. Before you add any piece to your cart, you must verify both the gauge of your piercing and the gauge of the jewelry you intend to buy.
Standard Body Jewelry Gauges by Piercing Type
While every individual's anatomy is unique, professional piercers adhere to strict industry standards to minimize trauma and maximize stability. Below is the definitive reference chart for standard body jewelry gauges, mapped to their corresponding millimeter and inch measurements.
| Gauge (AWG) | Millimeters (mm) | Inches (Approx) | Standard Piercing Locations |
|---|---|---|---|
| 20G | 0.81 mm | 0.032" | Standard Earlobe, Nostril (sometimes) |
| 18G | 1.02 mm | 0.040" | Nostril, Earlobe, Cartilage/Helix |
| 16G | 1.29 mm | 0.051" | Cartilage, Helix, Tragus, Conch, Lip |
| 14G | 1.63 mm | 0.064" | Septum, Navel, Nipple, Industrial, Tongue |
| 12G | 2.05 mm | 0.081" | Nipple, Surface Anchors, Stretched Lobes |
| 10G | 2.59 mm | 0.102" | Stretched Lobes, Surface Piercings |
| 8G | 3.26 mm | 0.128" | Stretched Earlobes, Genital Piercings |
Always consult with your original piercer or a certified professional if you are unsure of your current size. Guessing your gauge based on visual estimation is a common mistake that leads to purchasing jewelry that simply will not fit or, worse, causes tissue damage upon insertion.
The "Cheese Cutter Effect": Why Sizing Down is Dangerous
One of the most frequent and damaging mistakes consumers make is attempting to wear a higher gauge (thinner) jewelry in a lower gauge (thicker) piercing hole. For instance, inserting an 18G nostril screw into a fistula that was pierced and healed at 16G. While the thinner wire will easily slide into the hole, it introduces a severe physical risk known in the body modification community as the "cheese cutter effect."
Physics dictates that pressure is equal to force divided by area. A thinner wire has significantly less surface area resting against the interior of the fistula. When the jewelry is snagged, bumped, or pulled, the kinetic force is concentrated onto a microscopic edge of tissue. Much like a thin wire slicing through a block of cheese, an 18G wire in a 16G hole will slowly migrate through the tissue, causing tearing, scarring, and eventual rejection. To maintain the structural integrity of your piercing matrix, you must exclusively purchase and wear body jewelry gauges that perfectly match the needle size used during your initial piercing procedure.
How to Accurately Measure Your Existing Body Jewelry Gauges
If you have lost your original piercing paperwork and are unsure of your current size, you must measure your existing, well-healed jewelry before making a new purchase. Do not attempt to measure the piercing hole itself, as tissue is elastic and will contract or stretch, giving you highly inaccurate readings. Instead, measure the metal.
Using a Digital Caliper
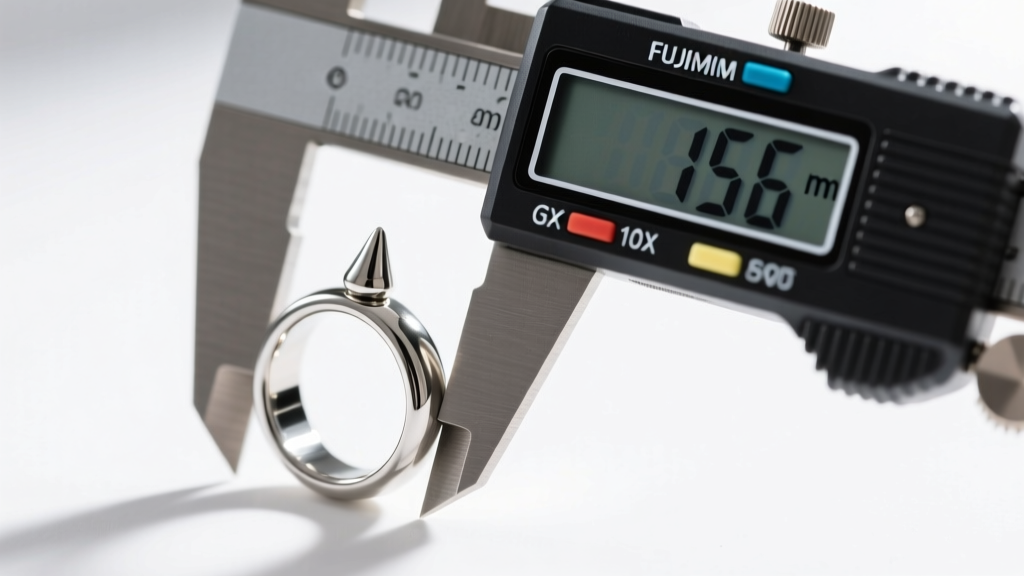
A digital caliper is the most precise tool for measuring body jewelry gauges. To use it correctly, ensure the caliper is zeroed out. Place the thickest part of the jewelry's wearable post or wire between the lower jaws of the caliper. Gently close the jaws until they make contact with the metal—do not overtighten, as this can skew the digital reading. Read the measurement in millimeters and cross-reference it with the AWG chart provided above. High-end brands like Anatometal machine their jewelry to exacting tolerances, meaning a 14G piece will measure precisely 1.63mm, making caliper readings highly reliable.
Using a Piercing Gauge Wheel
For those who do not own digital calipers, a brass or acrylic piercing gauge wheel is an inexpensive and effective alternative. These wheels feature a series of notches cut into the edge, each corresponding to a specific AWG size. To measure your jewelry, simply slide the post or wire into the notches, starting from the larger sizes and working your way down. The correct gauge is the smallest notch that the jewelry slides into without forcing or scraping the metal. Never force a piece of jewelry into a notch, as this can damage both your jewelry's polish and the accuracy of the gauge wheel.
Material Considerations for Heavy Gauges (0G and Above)
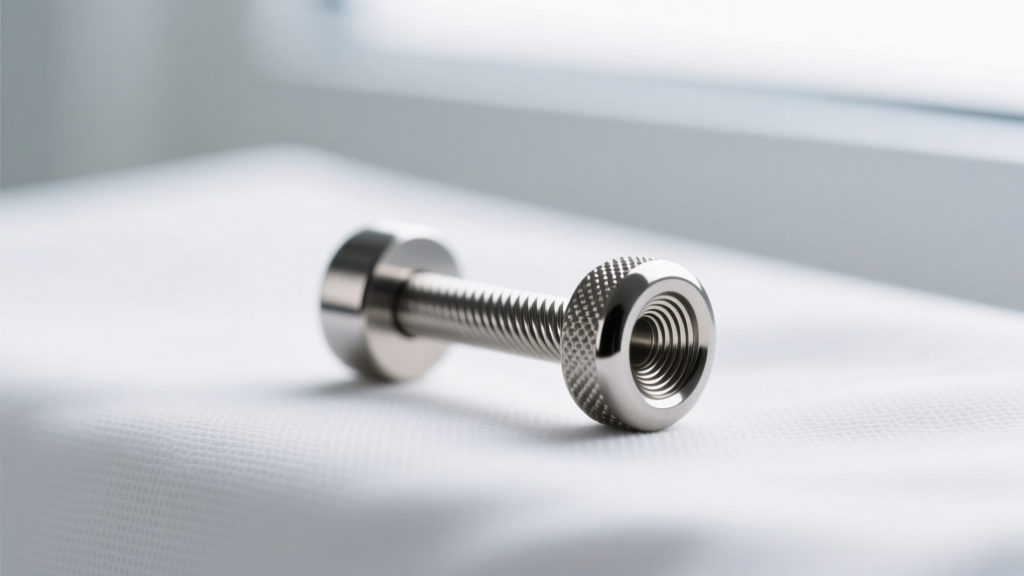
As you move into heavy body jewelry gauges—typically defined as 8G (3.26mm) and larger, often associated with ear stretching or large-format surface piercings—the material composition of the jewelry becomes just as critical as the size. Thicker metal inherently carries more mass, and heavy jewelry can cause downward migration or tissue thinning simply due to the relentless pull of gravity.
When buying heavy-gauge jewelry, prioritize lightweight, biocompatible materials. Implant-grade titanium (ASTM F136) is the gold standard, offering exceptional strength-to-weight ratios and total biocompatibility. For stretched earlobes, dead-soft borosilicate glass is highly recommended; it is non-porous, easily sterilized, and significantly lighter than steel. Conversely, avoid heavy surgical steel or dense natural stones for fresh stretches or heavy-gauge surface anchors, as the excessive weight will exacerbate swelling and increase the likelihood of the body rejecting the foreign object. PTFE (Teflon) is another excellent, flexible, and ultra-lightweight option for heavy-gauge surface bars that need to move with the body's natural contours.
Final Buying Checklist for Your Next Upgrade
Before you finalize your next body jewelry purchase, run through this essential checklist to ensure a safe, comfortable, and aesthetically pleasing result:
- Verify the AWG: Confirm your exact piercing gauge using a caliper or gauge wheel. Match the jewelry gauge precisely to your fistula.
- Check the Wearable Length: Gauge is only the thickness. Ensure the post length or ring diameter accommodates your specific anatomy and any residual swelling.
- Confirm the Material Grade: For fresh piercings or heavy gauges, insist on ASTM F136 implant-grade titanium, niobium, or borosilicate glass. Avoid mystery metals or plated jewelry.
- Inspect the Threading: For internally threaded or threadless jewelry, ensure the gauge of the pin matches the gauge of the main post to avoid insertion trauma.
- Review the Finish: Look for mirror-finish polishes. Micro-scratches on lower-quality heavy-gauge jewelry can harbor bacteria and irritate the fistula during movement.
By treating body jewelry gauges not just as a sizing metric, but as a fundamental component of your anatomical health, you ensure that your modifications remain safe, stable, and beautiful for a lifetime.


