Fingernail Piercing Jewelry: The Ultimate Buying Guide
Discover the best fingernail piercing jewelry. Learn about safe micro gauges, titanium materials, snag-free designs, and expert aftercare tips.

The Anatomy of a Nail Piercing: What You Are Actually Modifying
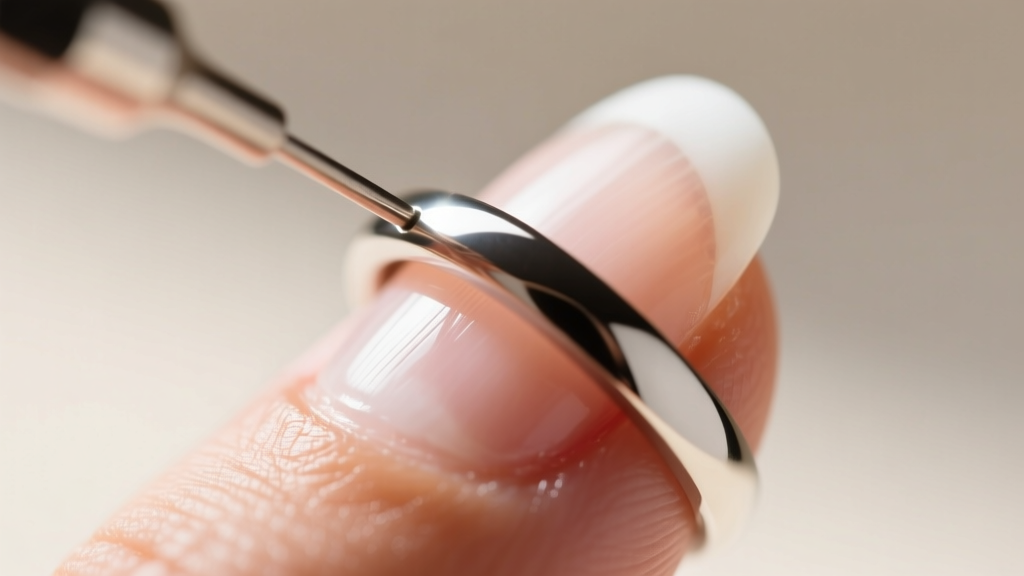
Fingernail piercings represent the extreme avant-garde tier of body modification. Unlike traditional piercings that pass through vascularized flesh and cartilage, a nail piercing strictly penetrates the nail plate—the hard, protective keratin shield that extends beyond the fingertip. According to dermatological resources like the Cleveland Clinic, the visible nail is composed of dead, compacted keratin cells. This means the piercing itself does not cause physiological pain or bleed, provided it is executed correctly.
The critical danger zone is the hyponychium (the fleshy seal just beneath the free edge of the nail) and the nail bed. If a piercer or DIY enthusiast drills too close to the pink, vascularized portion of the nail, it will result in severe pain, bleeding, and a high risk of paronychia (a painful bacterial or fungal infection of the nail fold). Therefore, fingernail piercing jewelry is exclusively designed for the distal free edge (the white tip) of the nail. Because the nail grows at an average rate of 3.47 mm per month, the jewelry will migrate toward the edge and eventually need to be removed or re-pierced, making this a strictly temporary modification.
Essential Specs: Gauges, Materials, and Sizing
Standard body jewelry starts at 18G or 16G, which is catastrophically thick for a fingernail. Drilling a 1mm+ hole in the nail plate compromises the structural integrity of the keratin, leading to immediate splitting (onychoschizia). Fingernail piercings require specialized micro-gauges.
The Micro-Gauge Standard
- 22-Gauge (0.64mm): The industry standard for natural nail piercings. It provides enough tensile strength to hold a micro ring without creating a massive fault line in the keratin.
- 20-Gauge (0.81mm): Sometimes used for thickened nails or acrylic overlay piercings, but generally considered the absolute maximum thickness for natural nails.
- 24-Gauge (0.51mm): Extremely fragile. Usually reserved for single-wear fashion runways rather than daily lifestyle modifications.
Material Requirements
Even though the nail plate is dead tissue, the jewelry will constantly brush against the highly sensitive, living skin of the fingertip and cuticle. The Association of Professional Piercers (APP) mandates highly biocompatible materials for any jewelry that may contact the skin. Moisture and soap can get trapped between the metal and the nail bed, creating a breeding ground for bacteria if the metal oxidizes.
| Material | Standard / Grade | Pros for Nail Piercings | Cons / Risks |
|---|---|---|---|
| Implant-Grade Titanium | ASTM F136 (Ti-6Al-4V-Eli) | Hypoallergenic, zero oxidation, lightweight, won't stain the nail plate. | Higher cost, requires specialized micro-jewelers. |
| Niobium | Commercially Pure | Highly biocompatible, can be anodized to any color without dyes. | Slightly heavier than titanium, softer metal. |
| Surgical Steel | 316L ASTM F138 | Readily available, inexpensive. | Contains nickel; trapped moisture can cause contact dermatitis on the fingertip. |
| Bioplast / PTFE | Medical Grade Polymer | Flexible, eliminates snagging hazards, lightweight. | Can degrade over time, porous if scratched. |
Top Jewelry Styles for Fingernail Piercings (and What to Avoid)
When shopping for fingernail piercing jewelry, the primary enemy is the snag hazard. Your hands interact with the world constantly. Hair, clothing, towels, and pets will catch on protruding jewelry, resulting in the jewelry tearing through the free edge and permanently splitting your nail.
1. Micro Seamless Rings (The Gold Standard)
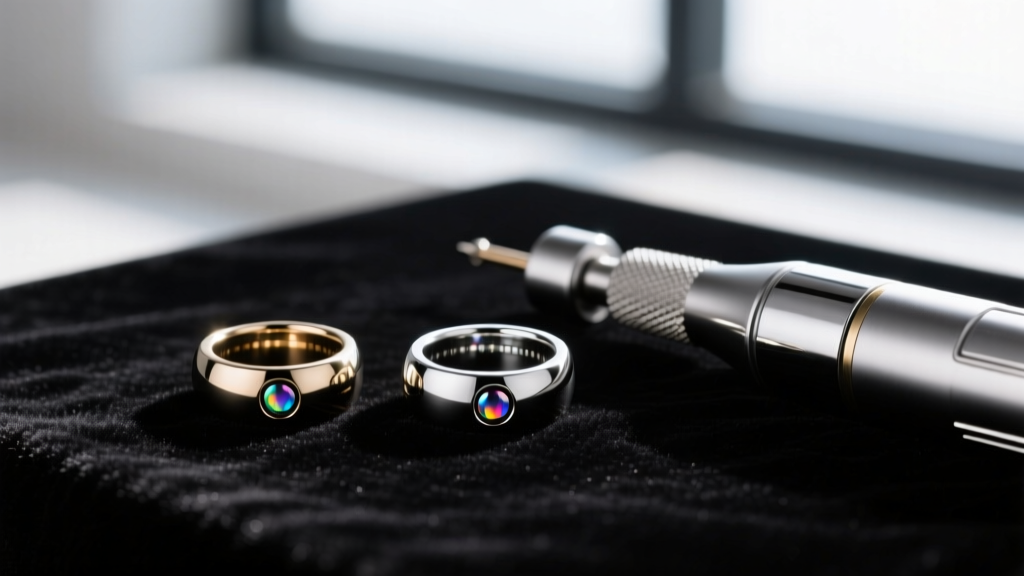
Seamless rings (or continuous rings) feature a flush closure where the ends of the wire meet perfectly without a bead or hinge. When closed with micro-pliers, they form a near-continuous circle. This is the safest option for daily wear, as there are no protruding components to catch on fabrics.
2. Micro Captive Bead Rings (CBRs)
While visually striking, CBRs rely on the tension of the ring holding a tiny metal or gemstone bead in place. On a 22G scale, the bead is minuscule, but it still creates a microscopic bump. CBRs are best reserved for short-term events, photoshoots, or runway wear where the risk of manual labor or snagging is zero.
3. Threadless Micro Flat-Backs (For Acrylics Only)
Some avant-garde nail artists use threadless micro-labrets pushed through thick acrylic or polygel nail extensions. The flat disc sits flush against the underside of the artificial nail, while the decorative gem sits on top. Never use these on natural nails. The weight of the gem and the flat back will act as a lever, snapping the natural keratin free edge upon impact.
4. Non-Piercing Magnetic or Clip-On Charms
For those who want the aesthetic without the structural damage to their keratin, micro-magnetic clasps or specialized tension clips that grip the free edge of the nail are a superior, damage-free alternative.
The Snag Factor: Real-World Failure Modes & Troubleshooting
Understanding how fingernail jewelry fails is crucial for making an informed purchase. Here are the most common real-world failure modes:
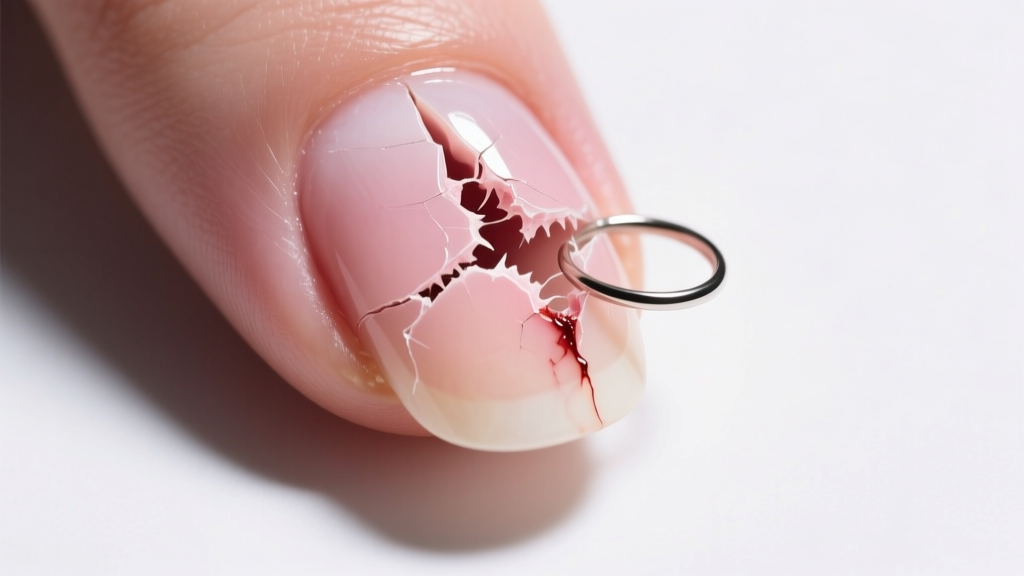
- Keratin Delamination: If the jewelry is too heavy (e.g., a dangling charm), the downward force will cause the layers of keratin in the nail plate to separate and peel backward.
- Moisture Trapping & Fungal Growth: Wearing tight-fitting gloves or keeping hands in water with a captive bead ring can trap moisture against the hyponychium, leading to subungual fungal infections.
- Growth Migration: As the nail grows, the hole moves closer to the distal edge. Eventually, there will not be enough keratin to support the ring, and it will naturally tear out. This is not a failure of the jewelry, but a biological certainty.
"Never attempt to push a standard earring wire through a pre-drilled nail hole. The jagged edges of cheap fashion jewelry will scrape the nail bed, introduce pathogens, and inevitably snag, ripping a fissure down the center of your nail plate."
Step-by-Step Buying Checklist
Before adding an item to your cart, verify it against this strict safety checklist:
- Gauge Verification: Is it explicitly listed as 22G (0.64mm) or 20G (0.81mm)? If the site only lists "one size fits all" or standard 18G, close the tab.
- Material Certification: Does the manufacturer specify ASTM F136 Titanium or pure Niobium? Avoid "surgical steel" or "silver-plated" alloys for nail modifications.
- Closure Mechanism: Is it a seamless/continuous ring? If it has a hinge or a captive bead, are you prepared for the snag risks associated with daily manual tasks?
- Internal Diameter (ID): The ID of the ring must match the thickness of your nail free edge plus a 1-2mm clearance to allow the nail to flex slightly without snapping. A 3mm or 4mm ID is standard for most fingernails.
Aftercare and the "Grow-Out" Reality
Aftercare for nail piercings is less about wound healing and more about environmental hygiene. Because you are introducing a foreign object near the nail bed, you must keep the area dry and clean. The APP's aftercare guidelines emphasize the importance of sterile saline for cleaning around jewelry. For nail piercings, a light mist of sterile saline followed by thorough drying with a clean paper towel is recommended to prevent fungal buildup.
Finally, accept the temporary nature of this modification. A fingernail piercing is a fleeting piece of performance art. Once the hole grows within 2mm of the distal edge, it is time to remove the jewelry, file the nail edge smooth, and treat the keratin with a strengthening oil like jojoba or vitamin E to encourage healthy regrowth. By prioritizing micro-gauges, implant-grade titanium, and seamless designs, you can safely enjoy this striking modification without sacrificing the structural integrity of your hands.


