Hip Piercing Jewelry: Technical Guide to Dermal Anchors & Tops
Explore technical specs for hip piercing jewelry. Learn about dermal anchor base plates, implant-grade titanium tops, and rejection prevention.

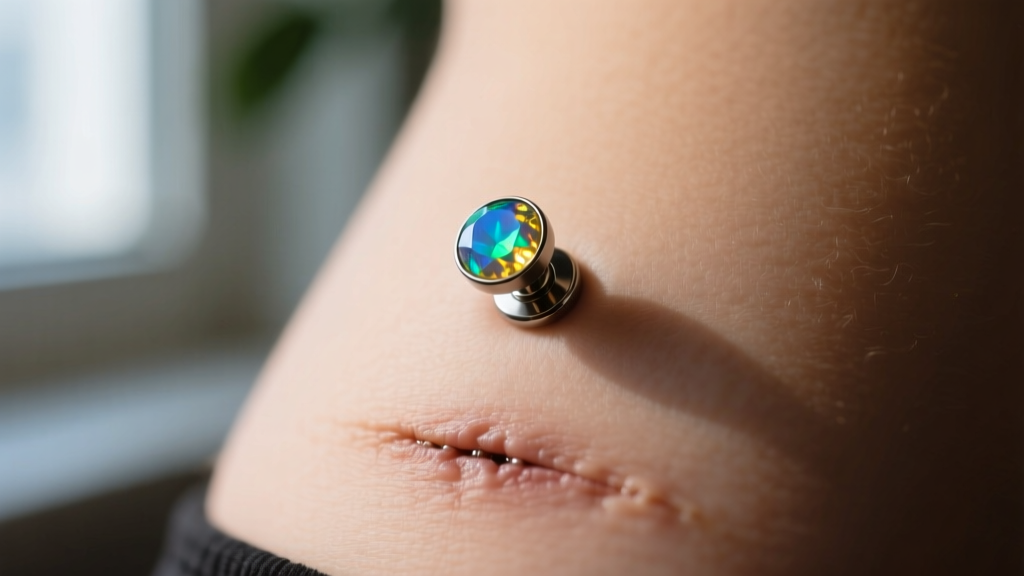
The Biomechanics of Hip Piercings: Why Surface Anchors Dominate
When clients and enthusiasts refer to "hip piercing jewelry," they are almost exclusively discussing microdermal anchors (surface anchors). The anatomy of the hip—specifically the "hip dip" or trochanteric depression—presents a unique biomechanical challenge. The skin here sits thinly over the greater trochanter of the femur, with minimal spongy subcutaneous tissue to cradle a traditional surface barbell. Consequently, surface barbells placed in this region suffer from high rotational torque and a severe "cheese-cutter" effect, leading to rapid rejection.
Dermal anchors solve this by utilizing a single-point entry. The base plate sits flush within the dermis, distributing tension across a wider footprint. However, the success of this piercing relies entirely on the technical specifications of the hip piercing jewelry used. In 2026, professional piercers have largely standardized around specific threadless and internally threaded titanium systems to maximize longevity in this high-friction zone.
Anatomy of the Anchor: Base Plates and Stem Rise
The subdermal component of hip piercing jewelry is the anchor itself. This piece is permanent until surgically removed or rejected by the body. Understanding its dimensions is critical for both piercers and informed collectors.
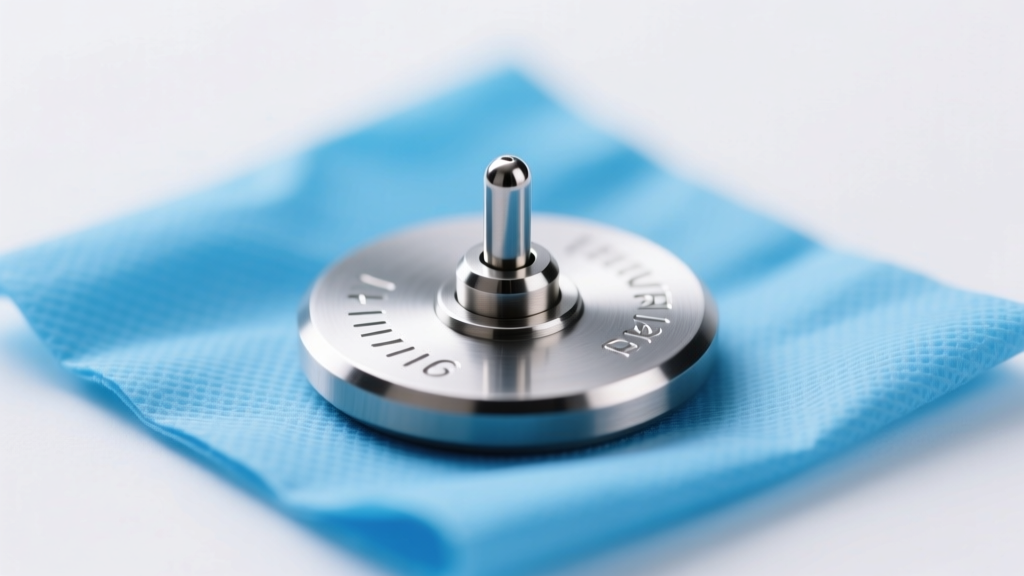
Base Plate Footprint
For hip placements, oval or teardrop-shaped base plates (typically measuring 3mm x 10mm) are vastly superior to round bases. The elongated shape allows the piercer to align the anchor with the natural tension lines (Langer's lines) of the hip tissue. This alignment minimizes rotational torque when the skin stretches during sitting, bending, or walking.
Stem Rise and Tissue Accommodation
The "rise" is the distance between the base plate and the top of the threading. The hip region features a dense, fibrous dermis. If the rise is too short (e.g., 1.0mm), the jewelry top will choke the healing fistula, causing ischemia and necrosis. Professional standards dictate a 2.5mm rise for initial hip piercings to accommodate swelling and tissue thickness, which can later be downsized to a 1.5mm rise for a lower-profile, healed aesthetic.
Material Science: Implant-Grade Requirements
The Association of Professional Piercers (APP) strictly recommends specific materials for initial subdermal implants. Because the anchor is entirely encased in healing tissue, biocompatibility is non-negotiable.
- The Anchor (Base & Stem): Must be ASTM F136 compliant Ti-6Al-4V ELI (Extra Low Interstitial) implant-grade titanium. This alloy is entirely nickel-free and features a mirror-polished surface finish (Ra < 0.2 µm) to encourage fibroblast integration and discourage bacterial biofilm adhesion.
- The Jewelry Top: Once healed, the visible top can be upgraded to 14k or 18k solid gold, niobium, or gemstones. However, gold-plated or PVD-coated brass tops are strictly prohibited, as the friction from waistbands will quickly wear away the plating, exposing the skin to reactive base metals.
Sizing Matrix for Hip Surface Piercings
Selecting the correct gauge and top diameter is a balance between tissue stability and snag prevention. Below is the technical matrix used by advanced body modification studios for hip placements.
| Component | Specification | Technical Rationale |
|---|---|---|
| Gauge | 14g (1.6mm) or 12g (2.0mm) | Thicker stems resist the cheese-cutter effect and provide a wider tissue integration surface. |
| Base Plate | Oval (3x10mm) with fenestrations | Fenestrations (holes) allow tissue to grow through the plate, locking it into the dermis. |
| Stem Rise | 2.5mm (Initial) / 1.5mm (Healed) | Prevents tissue choking during the 6-12 month maturation phase of the hip fistula. |
| Top Diameter | 3mm to 4mm (Low Profile) | Minimizes the lever-arm effect. Tops larger than 5mm catch on clothing and induce rejection. |
| Connection | Threadless (Press-Fit) Pin | Eliminates cross-threading inside the dermis and allows micro-tension adjustments. |
Mitigating Rejection and Friction Failure Modes
The hip is an unforgiving environment for surface anchors. The primary enemy of hip piercing jewelry is friction from high-waisted denim, leggings, and seatbelts. When an anchor is repeatedly subjected to lateral shear force, the body's immune system identifies it as a foreign object and initiates the rejection cascade.
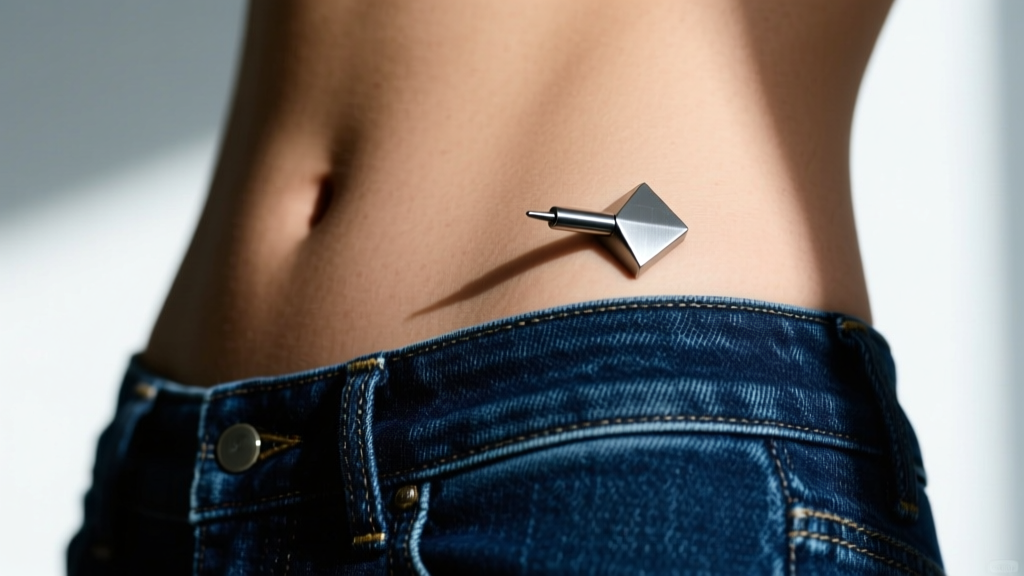
Signs of Imminent Migration
Early detection of migration can save the piercing or at least allow for safe removal before severe scarring occurs. Watch for these clinical indicators:
- Flattening of the Fistula: The skin around the jewelry top loses its "dimpled" look and sits flush or raised.
- Increased Visibility: You can see the shadow of the base plate through the thinning epidermis.
- Asymmetrical Swelling: Persistent redness localized to one side of the anchor, indicating directional tissue push.
Expert Insight: If you notice the skin between the entry point and the surface thinning to less than 1mm, the anchor is rejecting. Do not attempt to save it by changing the top; consult a professional piercer for immediate, sterile extraction to minimize the hypertrophic scar.
Technical Guide: Changing Threadless Hip Tops
Changing the visible end of your hip piercing jewelry requires precision. Because the anchor is held only by tissue integration, applying excessive pulling force can tear the dermal pocket. According to APP guidelines on surface anchors, stabilization is key.
Step-by-Step Removal and Insertion
Preparation: Wash hands thoroughly and don powder-free nitrile gloves. Nitrile provides the grip necessary to manipulate small jewelry components without slipping.
Removal: Grip the base of the current top firmly with one hand (or use a sterile silicone-tipped hemostat to hold the stem steady beneath the skin). With your other hand, grip the top and pull straight out while wiggling slightly. Never twist, as this can unscrew the internal stem components if using an internally threaded system.
Insertion: For threadless systems, insert the pin into the stem about one-third of the way. Bend the pin to a very slight 5-to-10-degree angle using your fingers. This bend creates the mechanical tension that holds the top in place. Push the pin fully into the stem until it snaps flush against the dermis.
Cost and Sourcing Expectations
High-quality hip piercing jewelry is an investment in biocompatibility. In 2026, a complete setup (ASTM F136 titanium anchor + 14k solid gold threadless top + professional installation) typically ranges from $120 to $220, depending on the complexity of the gemstone setting. Avoid purchasing "dermal anchor kits" from unverified online marketplaces; these frequently feature 316L surgical steel with poor polishing and externally threaded stems, which harbor bacteria and guarantee tissue irritation. Always source your replacement tops from reputable, APP-aligned body jewelry manufacturers that provide mill certificates for their gold and titanium alloys.


