How to Measure and Stretch Gauge Body Jewelry Safely
Learn how to accurately measure, convert, and safely stretch your gauge body jewelry using professional taping methods and implant-grade materials.

The Inverse Logic of the Gauge System
Understanding how to properly size and transition gauge body jewelry is one of the most critical skills for anyone navigating the world of body modification. Unlike standard metric measurements where a larger number equates to a larger physical size, the American Wire Gauge (AWG) system operates on an inverse scale. In this system, a 20-gauge wire is significantly thinner than a 14-gauge wire. This counterintuitive numbering system is a relic of historical wire manufacturing, where the number represented how many times a wire was pulled through a drawing die. The more times it was pulled, the thinner it became, resulting in a higher gauge number.
For piercing enthusiasts, this means that moving 'up' in size actually means moving 'down' in gauge numbers until you hit the zero thresholds (0g, 00g), after which measurements are typically expressed strictly in millimeters or fractions of an inch. Misunderstanding this scale is the leading cause of ordering errors and, more dangerously, forced insertions that cause severe tissue trauma. Before attempting any stretching or replacement, you must establish a baseline understanding of your current anatomy and the precise metrics of your existing jewelry.
Step 1: Accurately Identifying Your Current Size
Guessing your size based on how a piece of jewelry feels or comparing it to a standard earring is a recipe for fistula tearing. The only acceptable method for identifying the exact size of your gauge body jewelry is through precise physical measurement or controlled testing.
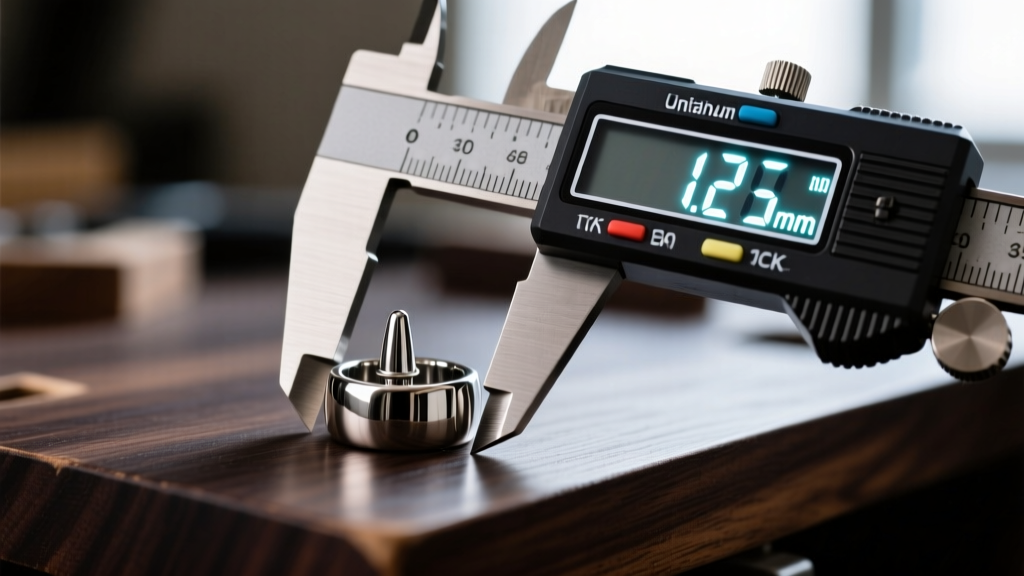
Using Digital Calipers
Invest in a high-quality digital caliper. When measuring, ensure you are measuring the wearable surface—the post, the wire, or the barrel of the plug that actually sits inside the fistula. Do not measure decorative ends, O-rings, or flared edges. For threaded jewelry, measure the unthreaded portion of the post, as threads can slightly alter the caliper reading. Record the measurement in millimeters to the nearest tenth.
The Taper Test
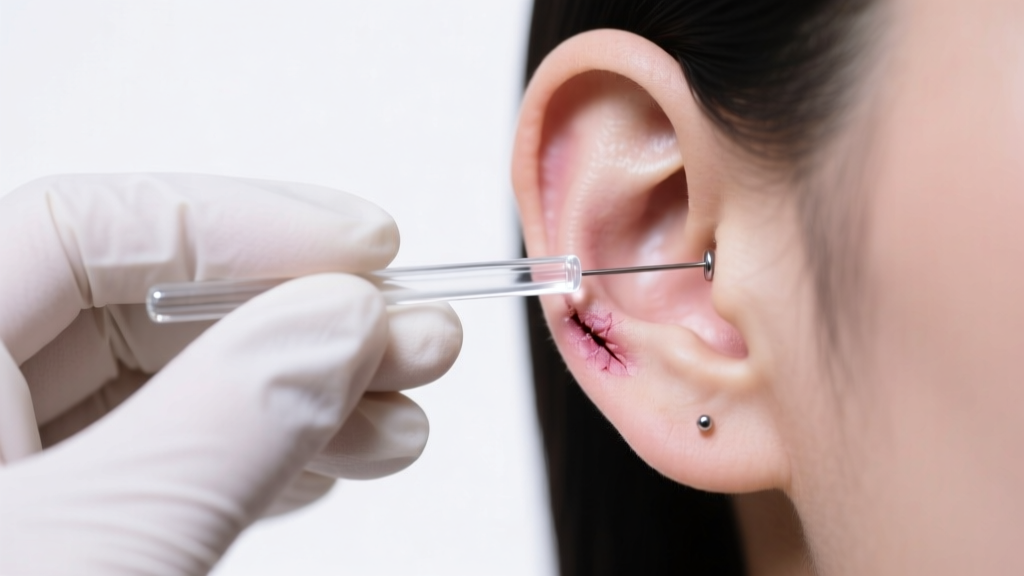
If you lack calipers, a professional insertion taper set is your next best option. These tapers are precision-machined with laser-etched size markers. By gently sliding a sterilized taper through the piercing until you feel uniform, snug resistance without pain, you can read the size marker resting at the entrance of the fistula. Never force a taper; if it requires pressure, you have exceeded your current gauge.
Standard Gauge Body Jewelry Conversion Chart
Use the following reference table to translate your caliper measurements into standard gauge terminology. This chart highlights the exact millimeter jumps between sizes, which is vital for planning a safe stretching schedule.
| Gauge | Millimeters (mm) | Inches (Approx) | Standard Piercing Types |
|---|---|---|---|
| 18g | 1.0mm | 0.040" | Nose, Earlobe, Helix |
| 16g | 1.2mm | 0.051" | Cartilage, Septum, Eyebrow |
| 14g | 1.6mm | 0.064" | Navel, Nipple, Industrial |
| 12g | 2.0mm | 0.082" | Stretched Earlobes, Septum |
| 10g | 2.4mm | 0.094" | Stretched Earlobes, Genital |
| 8g | 3.2mm | 0.125" | Stretched Earlobes, Septum |
| 6g | 4.0mm | 0.162" | Stretched Earlobes |
| 4g | 5.0mm | 0.192" | Stretched Earlobes |
| 2g | 6.0mm | 0.230" | Stretched Earlobes |
| 0g | 8.0mm | 0.312" | Stretched Earlobes |
Note: The jump from 2g (6mm) to 0g (8mm) is a notorious 2mm gap. This is the most common point for tissue blowouts. Many professionals recommend using a 7mm intermediate piece to bridge this gap safely.
Step 2: Selecting Safe Materials for Tissue Expansion
When transitioning to larger gauge body jewelry, the material you introduce to your healing fistula is just as important as the size. Stretched tissue is highly reactive, and porous or reactive metals will cause contact dermatitis, moisture trapping, and severe irritation bumps.
Implant-Grade Titanium (ASTM F-136)
According to guidelines established by the Association of Professional Piercers, only implant-grade titanium (specifically ASTM F-136 or F-67) should be worn in fresh stretches. Unlike 'surgical steel,' which contains nickel and relies on a polished surface to prevent leaching, implant-grade titanium is entirely biocompatible and can be safely autoclaved.
Borosilicate Glass
For the actual stretching process, borosilicate glass is the gold standard. It is non-porous, completely inert, and can be sterilized in an autoclave. Glass tapers and plugs glide smoothly through the fistula without the micro-abrasions caused by acrylic or low-grade steel.
Materials to Strictly Avoid
- Acrylic: Highly porous, harbors bacteria, and can off-gas toxic chemicals when exposed to body heat and moisture.
- Silicone: While excellent for healed stretches, silicone creates an airtight seal that traps anaerobic bacteria in fresh stretches, leading to necrosis.
- Wood and Bone: These organic materials are strictly for fully healed, long-term wear. They cannot be sterilized and will warp or crack if exposed to the moisture of a healing fistula.
Step 3: The Single-Layer Taping Method (Step-by-Step)
While tapers and dead weights are common, the single-layer taping method is widely considered by master piercers to be the safest, most controlled way to stretch earlobes and septums. This method relies on gradual, incremental tissue expansion rather than blunt force trauma.
Step-by-Step Execution
- Preparation: Start with a perfectly healed piercing and a smooth, non-flared borosilicate glass or titanium plug that fits your current gauge comfortably.
- Material Selection: Use only PTFE (Teflon) plumber's tape or specialized synthetic bondage tape. Never use electrical tape or cotton-based medical tapes, as their adhesives will break down and cause severe contact dermatitis inside the fistula.
- Application: Wrap exactly one single layer of PTFE tape around the middle of your plug. Ensure the tape is smooth and free of wrinkles.
- Insertion: Lubricate the plug with pure, cold-pressed jojoba oil or vitamin E oil. Gently slide it into the piercing. It should feel snug, like a firm hug, but should never cause sharp pain, throbbing, or white pressure spots.
- The Waiting Period: Leave the taped plug in for 10 to 14 days. During this time, the tissue will expand to accommodate the new volume.
- Progression: Remove the plug, unwrap the old tape, clean the jewelry, and apply a new, single layer of tape. Repeat this process until you reach the next standard millimeter size, at which point you will insert a new, larger piece of gauge body jewelry.
Why Avoid Acrylic Tapers?
Many beginners purchase cheap acrylic taper kits online. These are inherently dangerous. Acrylic cannot be sterilized, and the friction of pushing a blunt acrylic taper through a fistula creates micro-tears. Furthermore, the O-rings used to secure these tapers often slice into the skin, causing localized necrosis. Always opt for the taping method or professional taper insertion using sterilized glass or steel.
Troubleshooting: Recognizing and Treating Blowouts
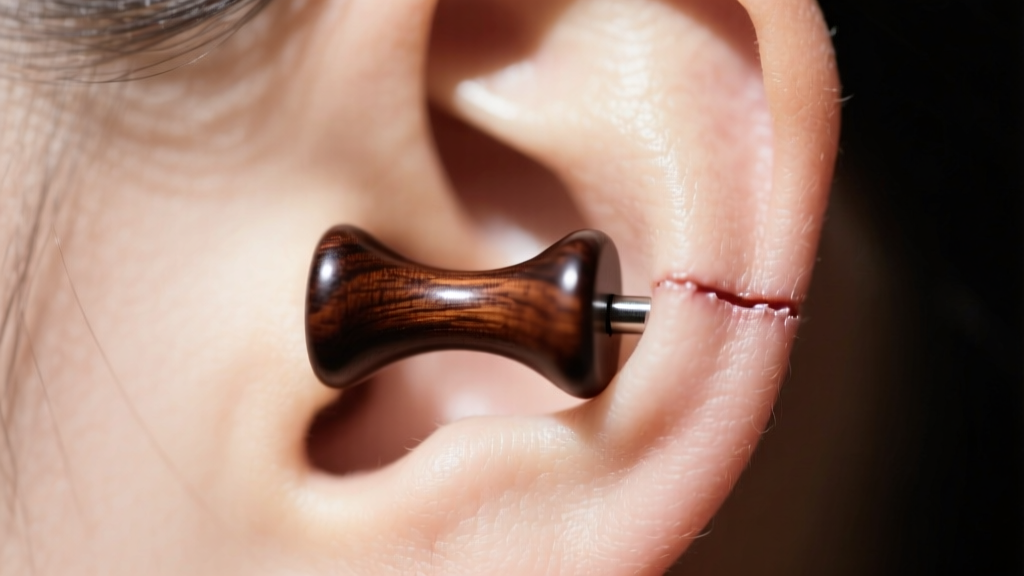
A blowout occurs when the fistula is stretched too quickly, causing the tissue to tear and push outward through the back of the piercing, creating a visible, often purplish ring of flesh. This is a severe failure mode that requires immediate intervention.
Immediate Action Protocol
If you suspect a blowout, you must downsize immediately. Remove the current jewelry and insert a piece of glass or titanium that is 2 to 3 sizes smaller than your current stretch. This relieves the tension on the torn tissue and allows blood flow to return to the area. Do not attempt to 'push through' a blowout; doing so will result in permanent scar tissue and potential lobe splitting.
Rehabilitation and Massage
Once downsized, begin a strict regimen of daily massage using pure jojoba oil or emu oil. Massage the lobe gently for 5 to 10 minutes a day to promote blood circulation and break down forming scar tissue. According to tissue expansion principles documented by ASTM International regarding biocompatible material interactions, keeping the area free of reactive metals during this healing phase is paramount. Wait a minimum of two to three months before attempting to stretch again, and when you do, return to the single-layer taping method to ensure the tissue expands uniformly.
Final Thoughts on Patience and Tissue Health
Transitioning gauge body jewelry is a marathon, not a sprint. The human body is remarkably adaptable, capable of stretching tissue to incredible sizes, but it demands respect, hygiene, and time. By relying on precise digital measurements, adhering to implant-grade material standards, and utilizing gradual expansion techniques like PTFE taping, you ensure that your modifications remain healthy, reversible, and aesthetically pristine for a lifetime. Always prioritize the health of your fistula over the desire to reach a larger size, and never hesitate to consult a certified professional piercer if you encounter resistance or pain.


