How to Troubleshoot Icon Body Jewelry Fit and Threading Issues
Learn how to troubleshoot common fit, threading, and material issues with Icon Body Jewelry. Expert fixes for threadless pins and internal threads.

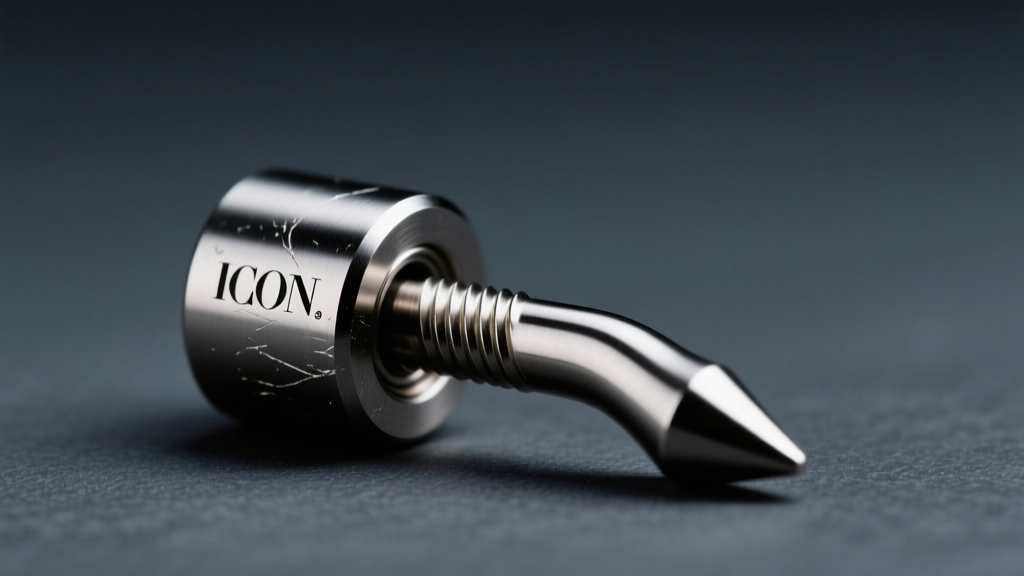
Investing in premium body modification pieces means expecting flawless performance, but even the highest-quality manufacturing can encounter real-world variables. When dealing with premium lines like Icon Body Jewelry, issues rarely stem from material defects. Instead, they usually arise from improper installation, gauge mismatches, or a misunderstanding of the specific engineering behind threadless and internally threaded mechanisms. Whether you are a seasoned collector or a newly pierced individual, knowing how to diagnose and resolve these mechanical hiccups is essential for maintaining both the integrity of the jewelry and the health of your piercing.
Understanding the Architecture of Premium Titanium
Before troubleshooting, it is critical to understand the baseline material standards. Authentic high-end pieces are milled from ASTM F-136 Ti-6Al-4V ELI (Extra Low Interstitial) titanium. This specific alloy is the gold standard for implant-grade jewelry because its polished surface finish resists bacterial adhesion and its nickel-free composition prevents contact dermatitis. According to the Association of Professional Piercers (APP), implant-grade titanium is the only recommended material for fresh piercings due to its biocompatibility. If your jewelry is causing a localized rash or gray discoloration of the skin, verify that the piece is genuinely ASTM F-136 certified and not a lower-grade surgical steel masquerading as premium titanium.
Troubleshooting Threadless (Press-Fit) End Failures
Threadless jewelry relies on tension, not screws. The pin on the decorative end is inserted into the hollow shaft, and a slight bend in the pin creates the friction necessary to hold the piece together. When an Icon Body Jewelry threadless end falls out or refuses to seat properly, the issue is almost always related to the pin tension.
The Pin Bend Technique: Finding the Sweet Spot
If your decorative end keeps popping out, the pin lacks sufficient tension. Conversely, if you cannot push the end into the shaft without excessive force, the pin is bent too far, risking damage to the internal mirror-finish of the shaft. Here is the precise mechanical fix:
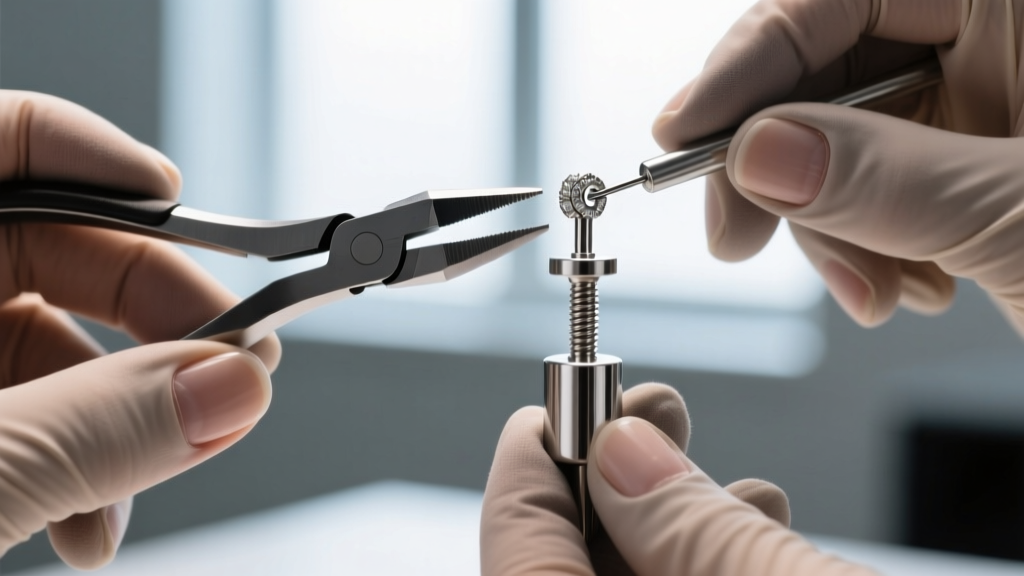
- For Loose Ends: Remove the end. Insert the pin into the shaft only one-third of the way. Using your fingers or nylon-jaw pliers, gently bend the exposed portion of the pin upward by about 15 to 20 degrees. Re-insert the pin two-thirds of the way, check the tension, and then push it flush. The friction should require a firm, deliberate pull to remove.
- For Over-Tight Ends: Never force a tight pin, as this will scratch the inside of the titanium shaft, creating microscopic grooves where bacteria can harbor. Remove the end and use flat-nose pliers to gently straighten the pin by 5-degree increments until it slides in with firm but manageable resistance.
- Gauge Verification: Ensure your pin gauge matches the shaft. Threadless pins for 14g and 12g shafts are typically 18-gauge (1.0mm) or 16-gauge (1.2mm), while 16g shafts require a much thinner 20-gauge (0.8mm) pin. Forcing a thick pin into a narrow shaft will permanently warp the metal.
Resolving Internal Threading and Cross-Threading Disasters
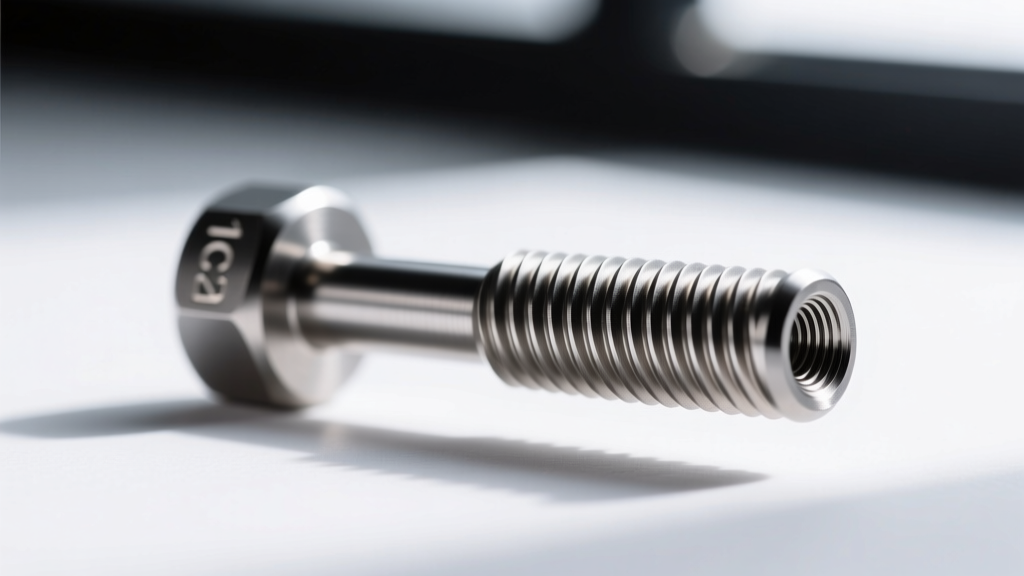
Internally threaded jewelry features the screw mechanism on the decorative end, which slides smoothly through the piercing fistula without tearing tissue. However, the internal threads inside the shaft are highly susceptible to cross-threading if forced at an incorrect angle.
The Reverse-Turn Engagement Trick
If you are struggling to screw an Icon Body Jewelry end into the shaft, stop immediately. Forcing it will strip the M1.2mm or M0.9mm threads, rendering the expensive shaft useless. To achieve perfect thread alignment, use the reverse-turn technique:
- Insert the threaded end into the shaft.
- Turn the end counter-clockwise (lefty-loosey) very slowly.
- Listen and feel for a subtle "click" or drop. This indicates the male and female threads have perfectly aligned.
- Once the click is felt, immediately reverse direction and turn clockwise to tighten.
Note on Thread Pitches: Standard 14g, 12g, and 10g shafts utilize an M1.2mm thread pitch. If you attempt to screw a 16g end (which uses an M0.9mm pitch) into a 14g shaft, it will feel loose and eventually strip. Always match the millimeter thread pitch, not just the visual gauge size.
Material Reactions: PVD vs. Anodized Finishes
Icon Body Jewelry frequently utilizes both PVD (Physical Vapor Deposition) and anodization for colored pieces. When clients report "tarnishing" or "peeling," it is vital to distinguish between these two distinct metallurgical processes to troubleshoot the failure mode correctly.
| Finish Type | Manufacturing Process | Common Failure Mode | Troubleshooting & Care |
|---|---|---|---|
| PVD Coating (Gold, Rose Gold, Black) | Vacuum chamber bonding of titanium nitride to the base metal. | Chipping or flaking due to blunt force impact (e.g., biting a gold labret, dropping on tile). | PVD cannot be repaired at home. If it chips, the piece must be replaced to avoid sharp edges irritating the fistula. |
| Anodized (Vibrant Blues, Purples, Greens) | Electrochemical process that thickens the natural titanium oxide layer. | Color fading or shifting to a dull brown/gray due to exposure to harsh chemicals, chlorine, or acidic skin pH. | Anodization can be restored! A professional piercer can re-anodize the piece using a voltage rectifier to bring the color back to life. |
Gauge and Length Mismatches: The Hidden Irritation Culprits
A frequent troubleshooting scenario involves a piercing that refuses to heal, developing persistent hypertrophic scarring or irritation bumps. While aftercare is often blamed, the mechanical dimensions of the jewelry are usually the culprit. The APP aftercare and troubleshooting guidelines emphasize that improper jewelry dimensions cause continuous micro-trauma.
The Downsizing Timeline
If you were pierced with a standard 14-gauge (1.6mm) flat-back labret, the initial post length is typically 5/16" (8mm) or 3/8" (9.5mm) to accommodate swelling. Once the swelling subsides (usually between 4 to 8 weeks), the excess length acts as a lever. Every time you eat, speak, or sleep, the long post catches and pivots, driving the flat back into the tissue at an angle. This causes localized pressure necrosis and irritation bumps. The Fix: You must visit your piercer to downsize the shaft to a snug 1/4" (6mm) or 5/16" (8mm) post. No amount of saline spray will cure an irritation bump caused by a mechanical leverage issue.
When to Consult a Professional Piercer
While adjusting threadless pins and understanding thread pitches empowers you to maintain your collection, certain issues require professional intervention. If a shaft becomes deeply embedded in swollen tissue, if internal threads are completely stripped, or if a dermal anchor begins to reject and shift, do not attempt DIY extraction. Visit an APP-certified professional who possesses the specialized taper tools, hemostats, and sterile environment required to safely resolve the issue without causing further tissue trauma. By respecting the engineering of your jewelry and addressing mechanical issues promptly, you ensure both the longevity of your collection and the health of your modifications.