Industrial Piercing Jewelry Without Bar: Care & Cleaning Guide
Learn expert care and cleaning tips for industrial piercing jewelry without bar setups. Master maintenance for dual-stud and ring configurations.

The Anatomy of a Bar-less Industrial Setup
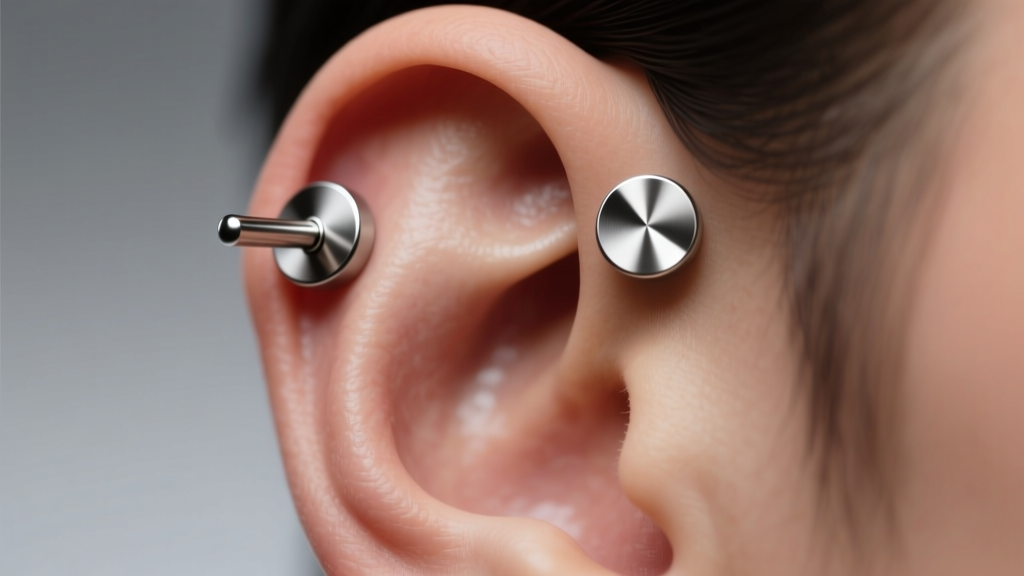
When enthusiasts and professional piercers discuss industrial piercing jewelry without bar configurations, they are referring to the practice of wearing two independent pieces of jewelry in the distinct helix fistulas that traditionally comprise an industrial piercing. As we navigate advanced healing protocols in 2026, the shift toward independent, bar-less setups has become a gold standard for initial healing and long-term cartilage health.
The traditional industrial barbell forces two distinct wound channels into a single rigid plane. If your natural ear anatomy does not feature perfectly aligned helix ridges, a solid bar creates continuous torque. This tension frequently leads to hypertrophic scarring, migration, and chronic irritation. By opting for industrial piercing jewelry without bar constraints—such as two separate flatback labrets or captive bead rings—you allow each fistula to heal independently, accommodating natural swelling and movement without structural stress.
Essential Cleaning Protocols for Dual-Jewelry Configurations
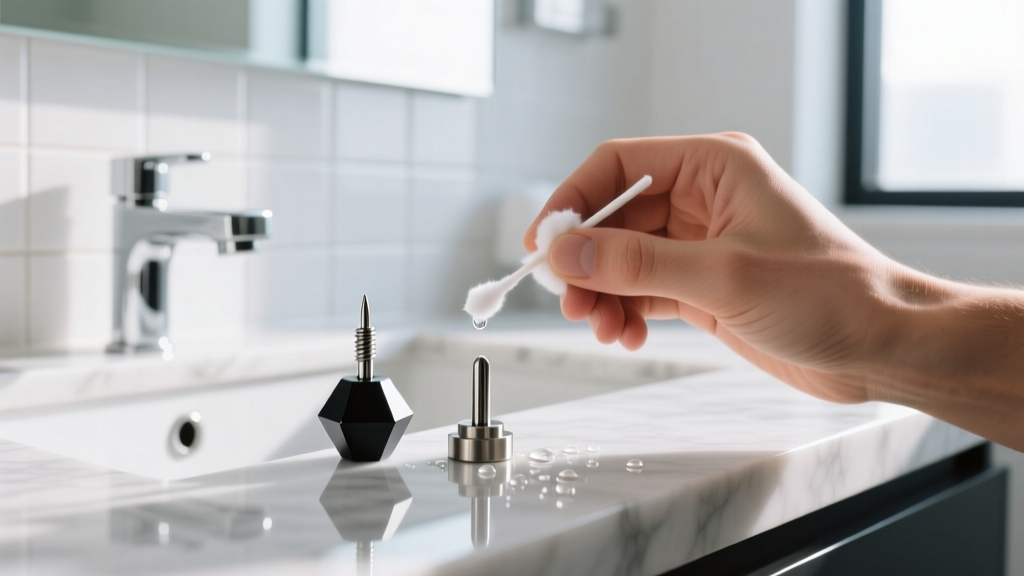
Maintaining a bar-less industrial setup requires meticulous hygiene, as you are managing two separate pieces of jewelry and four distinct entry/exit points (if wearing labrets). The Association of Professional Piercers (APP) strictly recommends using only sterile, 0.9% sodium chloride wound wash. Avoid homemade sea salt soaks, which are often hyper-tonic and can dehydrate healing cartilage tissue, delaying the maturation of the epidermal down-tube.
Step-by-Step Saline Application
- Preparation: Wash your hands thoroughly with antibacterial soap. Never touch your jewelry with unwashed hands.
- Application: Spray the sterile saline directly onto the front and back of both the upper and lower helix piercings. Ensure the liquid reaches the space between the jewelry post and the skin.
- Debris Removal: Use a sterile, non-woven gauze pad to gently wipe away softened crusties. Avoid cotton balls or swabs, as they leave microscopic fibers that can wrap around the jewelry posts and cause micro-abrasions.
- Drying: Cartilage thrives in dry environments. Gently pat the area dry with non-woven gauze, or use a hairdryer on the 'cool' setting held at least 12 inches away from the ear.
Material and Gauge Considerations for Healing
When selecting industrial piercing jewelry without bar setups, material biocompatibility is non-negotiable. Implant-grade titanium (ASTM F-136 or F-1295) remains the undisputed champion for cartilage piercings due to its lack of nickel and high polishability. Surgical steel, while popular in commercial mall shops, contains nickel that can trigger contact dermatitis and stall the healing process.
Gauge thickness is equally critical. While 16-gauge (1.2mm) jewelry is common for standard helix piercings, a 14-gauge (1.6mm) is heavily recommended for the industrial placement. The thicker wire prevents the 'cheese-cutter effect,' where thin jewelry slowly migrates through the cartilage under the weight of daily snagging or sleeping pressure.
| Jewelry Type | Healing Viability | Pros & Cons for Bar-less Industrials |
|---|---|---|
| Threadless Flatback Labret | Excellent | Pros: Low profile, no snagging. Cons: Requires proper downsizing. |
| Captive Bead Ring (CBR) | Moderate | Pros: Classic aesthetic. Cons: Can cause pressure rings if angle is off. |
| Chain Connector | Poor (for healing) | Pros: High fashion. Cons: Extreme snag hazard, traps bacteria. |
| Internally Threaded Barbell | Good (Single use) | Pros: Secure fit. Cons: Longer posts can catch on hair and masks. |
Troubleshooting Common Bar-less Industrial Issues
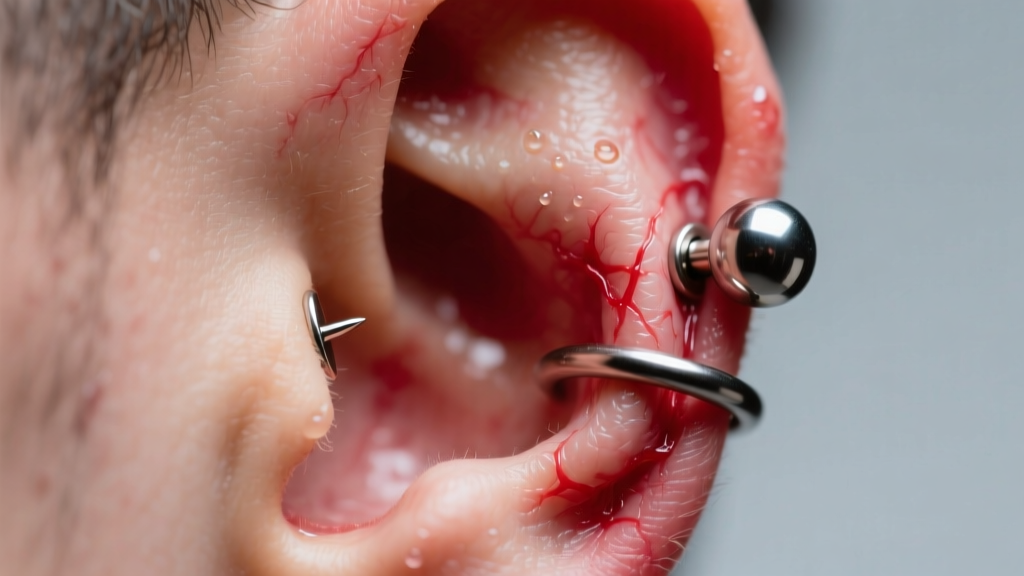
Even with the most diligent care, cartilage piercings are notoriously temperamental. According to the Cleveland Clinic, cartilage lacks its own direct blood supply, meaning infections or severe irritation bumps take significantly longer to resolve than lobe piercings. Here is how to troubleshoot specific issues related to dual-piece setups.
Migration and Angle Rejection
If you notice the jewelry sitting at an odd angle or the skin between the piercing hole and the edge of the ear thinning, you may be experiencing migration. In a bar-less setup, this is usually caused by sleeping directly on the healing ear. The pressure forces the jewelry post to tilt, altering the fistula angle. Invest in a travel neck pillow and sleep with your ear in the center hole to eliminate all contact pressure.
Snagging and Hair Tangles
Wearing two separate labrets doubles the surface area for hair to wrap around. When removing shirts or brushing hair, always use the 'hand-shield' method: cup your hand over the healing ear to deflect fabric and hair. If hair does wrap tightly around a 14g post, do not pull it forcefully. Apply a drop of sterile saline to soften the knot, and use a pair of sterilized tweezers to gently tease the strand loose.
Irritation Bumps vs. Keloids
It is vital to distinguish between localized irritation bumps and true keloids. Irritation bumps are typically flesh-colored or slightly red, localized strictly to the piercing site, and caused by friction, moisture, or incorrect jewelry angles. True keloids are genetic, grow beyond the boundary of the original wound, and require dermatological intervention. If you suspect a keloid, consult a board-certified dermatologist rather than attempting at-home remedies.
Expert Insight: 'The biggest mistake clients make with dual-stud industrials is assuming they can skip downsizing because there is no long bar in the way. Long initial posts will still catch on masks, headphones, and hair, leading to localized irritation bumps on the upper helix.' — Senior APP-Certified Piercer
Long-Term Maintenance and Downsizing
The most critical phase of caring for industrial piercing jewelry without bar configurations is the downsizing appointment. Initial flatback labrets are typically fitted with 5/16-inch or 3/8-inch posts to accommodate the massive swelling that occurs in the first 14 to 21 days. Once the swelling subsides, the excess post length becomes a severe snag hazard and can cause the jewelry to tilt inside the healing channel.
Between weeks 4 and 8, return to your professional piercer to swap the long posts for shorter, snug-fitting ones (typically 1/4-inch or 3/16-inch). Threadless jewelry is highly recommended for this step. The tension-fit mechanism of threadless pins allows your piercer to bend the pin slightly, creating a custom, secure fit that prevents the decorative end from popping off if your ear gets bumped. This is a massive upgrade from externally threaded jewelry, which features microscopic threads that tear through the delicate healing fistula every time the jewelry is removed or inserted.
Final Thoughts on Dual-Piece Industrial Care
Choosing to heal or wear an industrial piercing without a connecting bar is a smart, anatomy-friendly decision that prioritizes long-term tissue health over immediate aesthetic gratification. By adhering to strict 0.9% saline cleaning protocols, selecting only ASTM F-136 titanium in 14-gauge thickness, and committing to timely downsizing, you set the foundation for a flawless, lifelong cartilage piercing. Patience and precision are your best tools in the journey to a perfectly healed dual-stud industrial setup.