How to Adjust Clip-Ons Earrings for All-Day Comfort
Learn how to adjust, style, and wear clip-ons earrings comfortably. Our step-by-step guide covers tension tuning, lobe thickness, and material tips.

For decades, non-pierced jewelry enthusiasts have faced a common dilemma: the desire to wear statement pieces without the inevitable pinch and throb that follows a few hours of wear. When shopping for clip-ons earrings, many buyers assume that discomfort is simply the price of admission for avoiding piercings. As a jewelry specialist, I can assure you this is a myth. Pain is almost always a symptom of improper tension calibration, poor weight distribution, or a mismatch between the earring finding and your specific earlobe anatomy.
In this comprehensive guide, we will break down the mechanical anatomy of non-pierced findings, provide a professional step-by-step framework for adjusting tension, and share expert styling matrices to ensure your jewelry stays secure and pain-free from morning to night.
The Anatomy of Clip-Ons Earrings
Before you can adjust your jewelry, you must understand the mechanics of the three primary findings used in modern and vintage non-pierced earrings. According to jewelry supply experts at Fire Mountain Gems, the finding dictates the adjustment method:
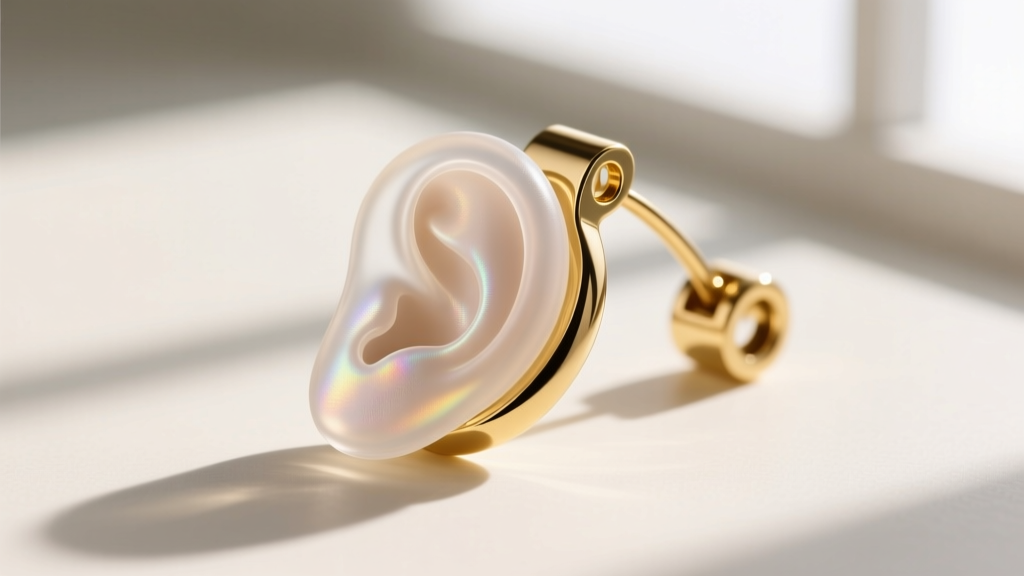
- Paddle-Back (Flat Clip): The most common modern finding. It features a wide, flat metal paddle that rests against the back of the earlobe, hinged at the top. It relies on the spring tension of the metal wire arm.
- Screw-Back: A vintage staple featuring a threaded post with a rotating silicone or metal pad. This allows for micro-adjustments but can create intense localized pressure points if over-tightened.
- Spring-Clip (Hinged Coil): Often found on heavy vintage pieces, this mechanism uses a tiny internal steel coil spring to generate clamping force. These are notoriously difficult to adjust without specialized micro-tools and are best left to professional jewelers.
Step-by-Step Guide to Adjusting Paddle-Back Tension
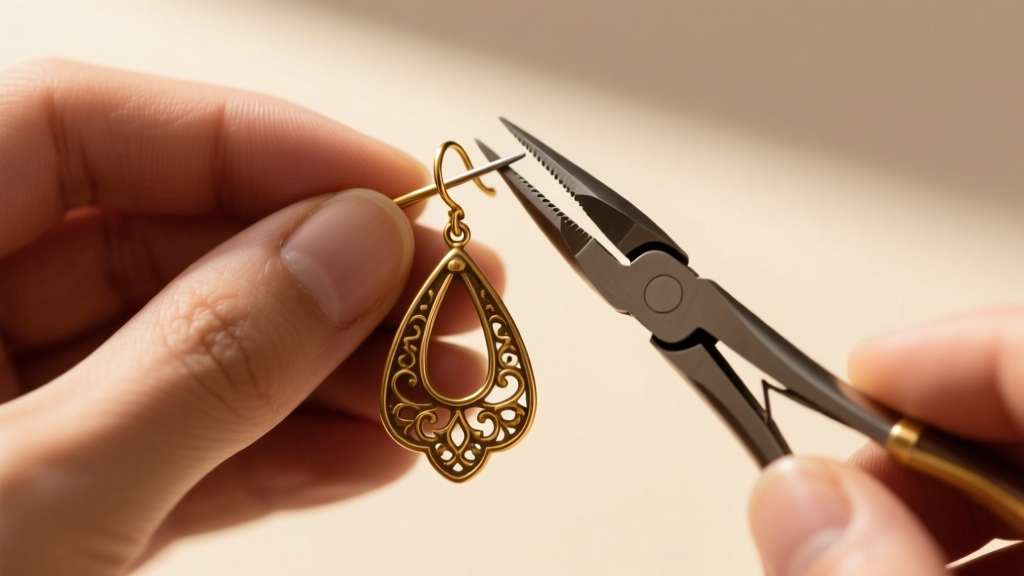
The paddle-back is the most user-friendly finding to calibrate at home. The goal is to achieve a "gentle hug" rather than a "vice grip." You will need a pair of nylon-jaw pliers (metal pliers will mar the finish and weaken the structural integrity of the alloy).
Step 1: Assess the Baseline Tension
Clip the earring onto a piece of thick cardstock or a leather swatch that mimics your earlobe thickness (usually between 4mm and 6mm). Leave it for five minutes. If the cardstock shows deep indentations or the earring snaps shut with aggressive force, the tension is too high. If it slides off when shaken, it is too low.
Step 2: Loosen the Hinge Arm
Using your nylon-jaw pliers, grip the wire arm of the clip (not the paddle itself). Gently bend the wire outward, away from the paddle, by no more than 2 to 3 millimeters. This reduces the spring tension. According to tooling guidelines from Rio Grande, applying slow, steady pressure prevents the 20-gauge brass or steel wire from snapping or losing its temper.
Step 3: Add Silicone Cushioning
Metal-on-skin contact is a primary cause of fatigue. Apply a 12mm x 8mm clear silicone comfort pad to the inside of the paddle. This not only adds a friction grip to prevent slipping but also disperses the clamping force across a wider surface area of the earlobe.
Step 4: The Wear-Test
Wear the adjusted piece for 30 minutes while at home. The earlobe has a high density of nerve endings and capillaries; if blood flow is restricted, you will feel a "warmth" or slight throbbing before actual pain sets in. If you feel warmth, loosen the wire arm by one more millimeter.
Material Science and Weight Distribution
The physical weight of the earring dictates how much clamping force is required to keep it on your ear. A heavy brass chandelier earring requires a tighter grip than a lightweight resin stud, which naturally leads to more discomfort. To combat this, you must understand the 14-gram threshold.
Any non-pierced earring exceeding 14 grams per pair requires advanced weight distribution techniques. The Gemological Institute of America (GIA) notes that material density plays a massive role here. For example, solid sterling silver is significantly heavier than anodized aluminum or cast acrylic resin. When purchasing statement pieces, always opt for hollow-form metals, resin, or wood to keep the physical weight below the 14-gram threshold, allowing the clip mechanism to remain loosely tensioned.
Expert Tip: If you inherit heavy vintage clip-ons earrings that exceed 20 grams, do not attempt to wear them via standard tension. Instead, purchase an "ear cuff adapter chain." This delicate chain connects the earring to a tension-free cartilage cuff, transferring the weight off your lobe entirely.
The Lobe Thickness Matrix
Not all earlobes are created equal. Matching the finding type to your specific lobe thickness is the most critical step in achieving all-day comfort. Use the matrix below to identify your ideal hardware:
| Lobe Thickness | Measurement | Ideal Finding Type | Adjustment Strategy |
|---|---|---|---|
| Thin | < 4mm | Screw-Back with Silicone Pad | Adjust screw to rest gently; avoid paddle-backs which will over-compress thin tissue. |
| Medium | 4mm - 7mm | Paddle-Back with Cushion | Standard tension calibration; use 12mm silicone pads for surface area dispersion. |
| Thick | > 7mm | Wide Spring-Clip or Custom Paddle | Requires wider hinge gaps; avoid screw-backs as the post will be too short to reach the lobe. |
Troubleshooting Common Fit Issues
Even with perfect tension, environmental factors and anatomy can cause issues. Here is how to troubleshoot the three most common complaints:
1. The "Slip and Slide" (Earrings rotating forward)
The Cause: The center of gravity is too far forward, or the earlobe is too smooth for the metal paddle to grip.
The Fix: Apply a microscopic dot of clear eyelash glue or a specialized jewelry wax to the silicone pad. Alternatively, use a small piece of double-sided fashion tape between the pad and the skin to anchor the piece without increasing clamping pressure.
2. The "Hot Lobe" (Burning sensation after 2 hours)
The Cause: Capillary restriction. The clamp is acting like a tourniquet.
The Fix: You must immediately bend the wire arm outward by 2mm. If the earring becomes too loose after adjustment, the piece is fundamentally too heavy for your lobe's structural capacity. Switch to a lighter material.
3. Metal Allergy Flare-Ups
The Cause: Many vintage and fast-fashion clip-ons earrings are made from brass or white metal alloys containing high levels of nickel, which leaches into the skin under pressure and sweat.
The Fix: Paint the inside of the metal paddle with two coats of clear, flexible nail polish or a specialized hypoallergenic barrier coating. For long-term wearers, seek out findings crafted from 316L surgical stainless steel or solid titanium, which are biologically inert.
Final Thoughts on Non-Pierced Styling
Wearing non-pierced jewelry should never be an exercise in endurance. By understanding the mechanical limitations of your findings, respecting the 14-gram weight threshold, and customizing the tension to your unique lobe thickness, you can unlock the full potential of your jewelry box. Take the time to calibrate your collection this weekend, and experience the freedom of pain-free styling.


