The Ultimate Guide to Anchor Stud Earrings: Fit, Metals & Mechanics
Master the mechanics of anchor stud earrings. Explore gauge sizes, hypoallergenic metal grades, and backing types for secure lobe and cartilage wear.

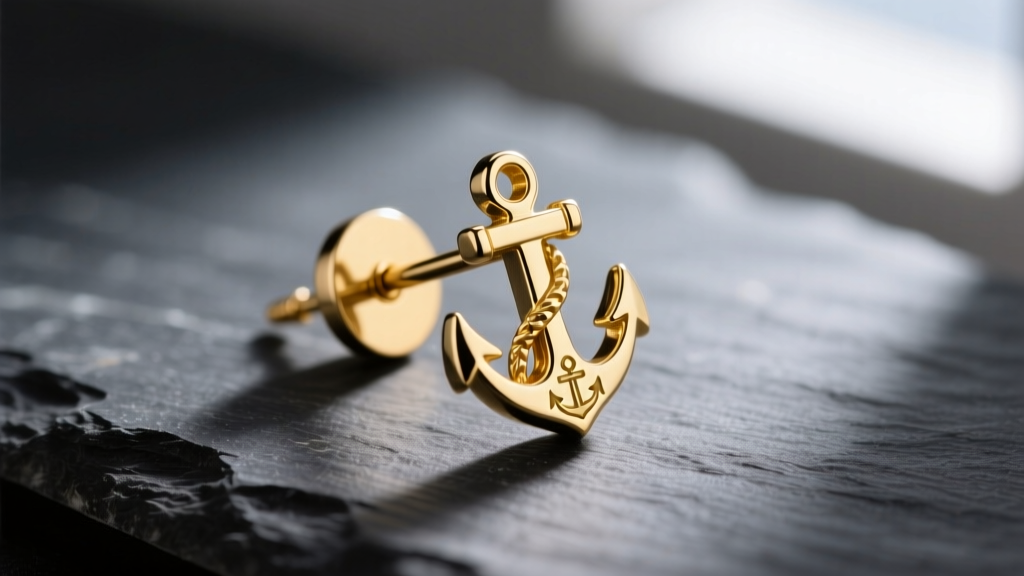
The Structural Anatomy of Anchor Stud Earrings
Anchor stud earrings are a staple in nautical and minimalist jewelry collections, symbolizing stability and maritime heritage. However, from an engineering and wearability standpoint, the anchor motif presents a unique set of structural challenges. Unlike symmetrical geometric studs (such as simple spheres or bezel-set round gems), the anchor shape is vertically elongated and bottom-heavy. The flukes—the curved, hook-like arms at the base of the anchor—contain more metal mass than the top shank and crossbar.
This asymmetric weight distribution shifts the center of gravity downward. If the earring post is too long, or if the backing mechanism lacks sufficient surface area against the ear, the anchor will succumb to a pendulum effect, tilting forward and resting awkwardly on the lower lobe or cartilage ridge. Understanding the precise metallurgy, gauge sizing, and backing mechanics is essential for both jewelers designing these pieces and consumers seeking a secure, comfortable fit.
Metallurgy and Material Grades: What Touches Your Skin
Because anchor studs feature intricate crevices where the flukes meet the shank, they can trap moisture and debris. This makes the choice of metal alloy critical for preventing contact dermatitis and localized infections. The American Academy of Dermatology notes that nickel is the most common culprit in jewelry-related allergic reactions, yet many commercial "surgical steel" alloys contain significant nickel percentages.
When selecting high-quality anchor stud earrings, you must look beyond marketing terms like "hypoallergenic" and demand specific metallurgical grades. Below is a technical breakdown of standard materials used in anchor stud manufacturing:
| Material | Technical Grade / Standard | Nickel Content | Best Application |
|---|---|---|---|
| Implant-Grade Titanium | ASTM F136 (Ti-6Al-4V ELI) | 0.00% | Fresh piercings, severe metal allergies, cartilage wear |
| Commercial Titanium | ASTM F67 (Pure Titanium) | 0.00% | Healed lobes, lightweight everyday wear |
| Surgical Stainless Steel | 316L (Marine Grade) | 8.0% - 12.0% | Healed lobes only (avoid if nickel-sensitive) |
| Solid Gold | 14k or 18k (Nickel-Free Alloy) | Varies (Must be verified) | Long-term wear, premium heirloom pieces |
| Niobium | Unalloyed (Reactive Metal) | 0.00% | Anodized color variations, highly reactive skin |
According to the Association of Professional Piercers (APP), only implant-grade materials with a mirror-finish polish should be used in unhealed tissue. If you are wearing anchor studs in a newly pierced helix or tragus, ASTM F136 titanium is the non-negotiable industry standard.
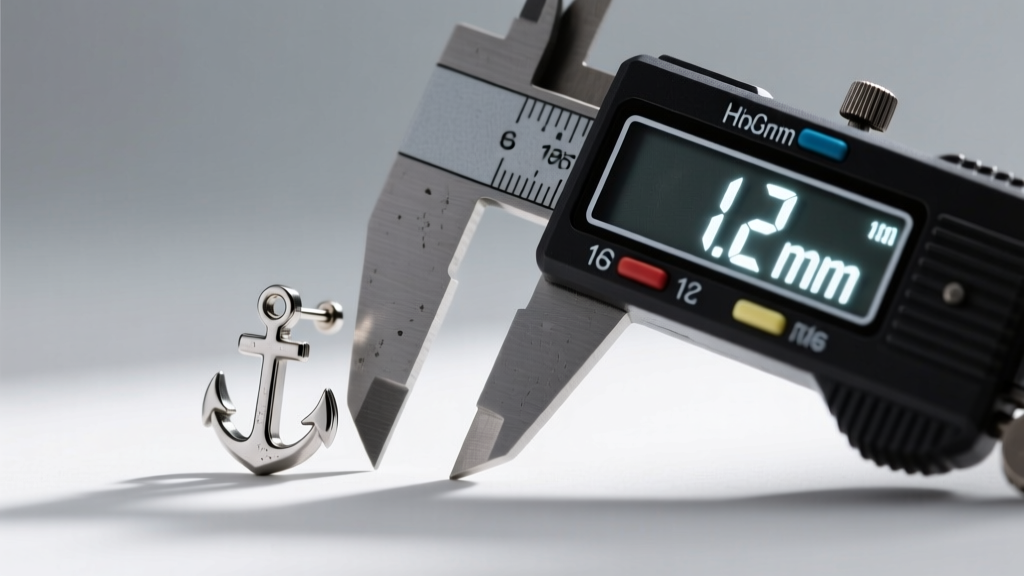
Gauge Sizing and Post Length: Lobe vs. Cartilage
The structural integrity of an anchor stud relies heavily on the thickness (gauge) and length of the post. Because the anchor motif is visually heavy, a post that is too thin will bend under minor lateral pressure, such as brushing your hair or removing a sweater.
Standard Gauge Dimensions
- 20 Gauge (0.81mm): Standard for basic lobe piercings. Too fragile for the anchor motif unless the design is micro-cast and under 4mm in total height.
- 18 Gauge (1.02mm): The ideal baseline for lobe anchor studs. Provides enough tensile strength to support a 6mm-8mm anchor face without bending.
- 16 Gauge (1.20mm): The standard for cartilage piercings (helix, tragus, conch). Mandatory for anchor studs worn in cartilage to prevent the "cheese-cutter effect," where thin metal migrates through dense tissue.
- 14 Gauge (1.60mm): Used for industrial or thicker cartilage placements. Rarely needed for standard anchor studs unless custom-designed for heavy-gauge modifications.
Calculating Post Length
Post length dictates how flush the anchor sits against the ear. A standard earlobe is 1.5mm to 2.5mm thick. Therefore, a 6mm post is usually perfect for a healed lobe, allowing 3.5mm for the backing mechanism. Cartilage, however, varies wildly in thickness and vascular swelling. If you are outfitting a helix piercing with an anchor stud, an 8mm post is generally required to accommodate the tissue depth and the flat-back disc without compressing the skin, which can lead to localized ischemia and irritation bumps.
Backing Mechanisms: Security and Failure Modes
The most common point of failure for anchor stud earrings is the backing. The bottom-heavy nature of the anchor design exerts continuous downward torque on the post. Selecting the correct backing mechanism is crucial to counteract this physics problem.
"A butterfly back relies on friction grooves, which wear down over time. For asymmetrical, top-heavy, or bottom-heavy motifs like anchors, friction backs are a primary cause of lost jewelry."
1. Butterfly Backs (Friction)
Failure Mode: The metal loops lose tension, and the grooves on the post wear smooth. The anchor's weight pulls the stud downward, eventually sliding the backing off the post entirely. Verdict: Avoid for anchor studs over 5mm in height. If you must use them, upgrade to silicone or plastic jumbo discs to increase the surface area against the ear.
2. La Pousette (Locking Backs)
Mechanics: Features a spring-loaded internal clutch that locks securely into a machined groove on the post. Verdict: Excellent for expensive 14k or 18k gold anchor studs worn in the lobes. Highly secure against the downward pull of the anchor flukes.
3. Threadless (Push-Pin) Flat Backs
Mechanics: The pin is bent slightly (usually at a 5 to 10-degree angle) before being pushed into a hollow, threaded shaft. The spring tension of the bent metal holds the jewelry firmly in place. Verdict: The absolute gold standard for cartilage anchor studs. The 6mm or 8mm flat disc provides a wide fulcrum against the back of the ear, completely neutralizing the pendulum effect of the anchor motif.
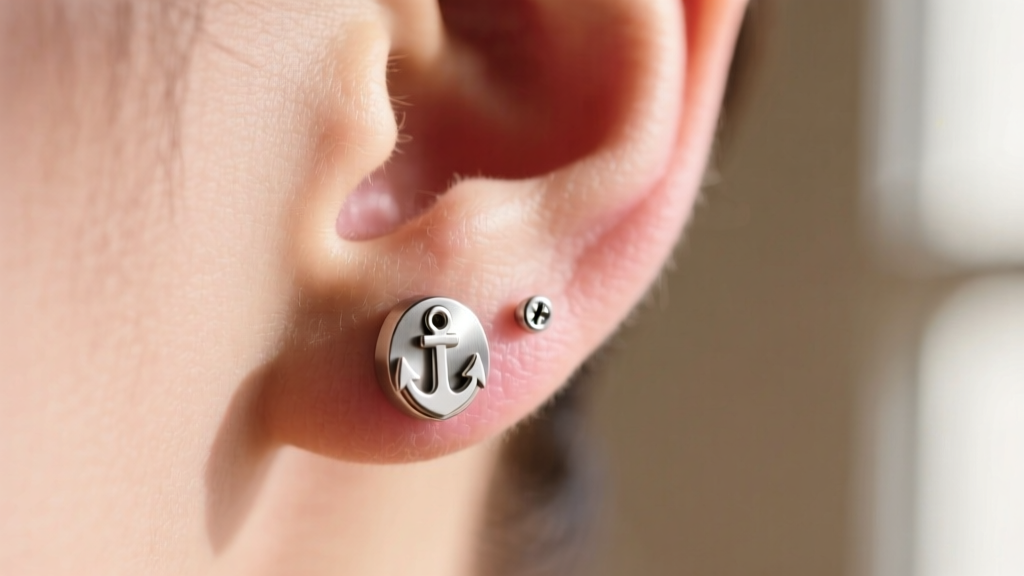
Troubleshooting Common Wear Issues
Even with perfect metallurgy and sizing, wearers occasionally experience issues specific to the nautical anchor geometry. Here is how to troubleshoot the most common mechanical failures:
The Anchor is Tilting Forward (Sagging)
The Cause: The post is too long for your tissue thickness, or the backing disc is too narrow to support the anchor's center of gravity. The Fix: Switch to a shorter post (e.g., drop from 8mm to 6mm) and upgrade to a wider flat-back disc (8mm diameter instead of the standard 4mm). This creates a wider base of support, forcing the anchor to sit flush and upright.
Snagging on Hair and Clothing
The Cause: The flukes of the anchor are sharply cast, or the top ring of the anchor protrudes too far from the base. The Fix: Look for anchor studs that feature "micro-bezel" or "rounded-fluke" designs. High-end manufacturers will tumble-polish the edges of the anchor to remove sharp casting lines. If your current pair snags, a local jeweler can lightly file and polish the tips of the flukes to a smooth, rounded finish.
Green/Black Discoloration on the Skin
The Cause: The anchor stud is made of brass or copper alloy with a thin rhodium or gold plating that has worn off in the crevices of the anchor design. The Fix: Discard the plated jewelry. The crevices of an anchor design trap sweat and acidic skin oils, which rapidly degrade cheap base metals. Replace the piece with solid 14k gold or ASTM F136 titanium, which will not oxidize or react with skin pH.
Conclusion
Anchor stud earrings are far more complex than simple round brilliants or plain gold balls. Their unique geometry demands a rigorous approach to jewelry mechanics. By prioritizing implant-grade metals like ASTM F136 titanium, selecting the correct 18G or 16G post thickness, and utilizing wide-disc threadless backings, you can ensure your nautical jewelry remains secure, comfortable, and perfectly upright for years to come.


