Earring Hanger DIY: Build a Tarnish-Free Display in 5 Steps
Learn how to build a custom earring hanger DIY project using archival-safe materials to prevent tarnish, tangling, and damage to fine jewelry.

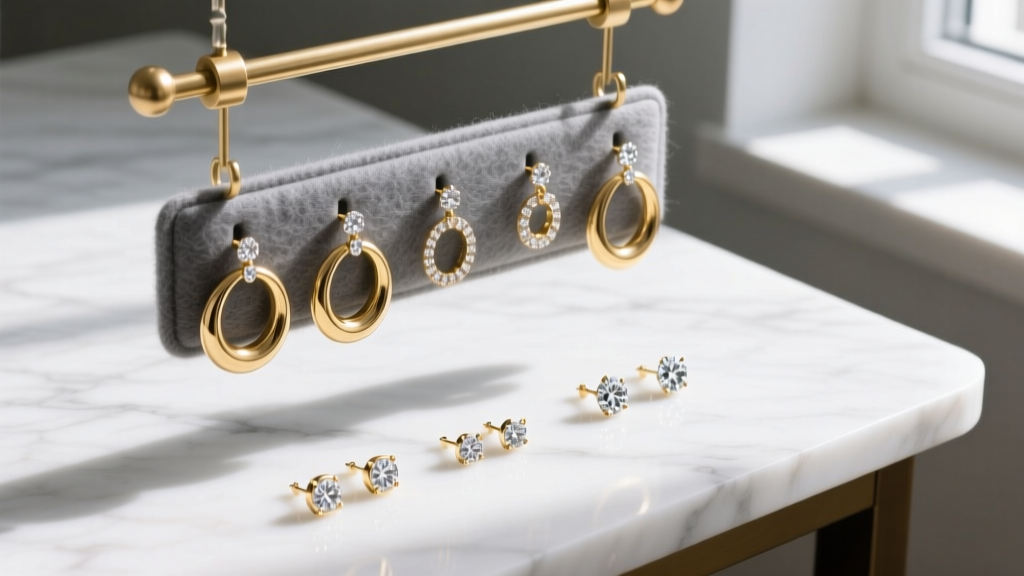
Why Most Commercial Organizers Ruin Fine Jewelry
If you have ever pulled a pair of sterling silver hoops or 14k gold drop earrings from a commercial jewelry box only to find them coated in a dull, greyish-black film, you have experienced the consequences of poor material science. Most mass-produced organizers are constructed from MDF (medium-density fiberboard), cheap pine, or PVC plastics. These materials are inherently hostile to fine metals. MDF and raw woods off-gas sulfur compounds and acidic vapors, which catalyze rapid tarnishing on silver and copper alloys. Similarly, cheap synthetic velvets and polyurethane foams trap moisture and emit plasticizers that can degrade porous gemstones like pearls, opals, and turquoise.
When you undertake an earring hanger DIY project, you have total control over the micro-environment your jewelry inhabits. By utilizing archival-grade materials and precision-drilled mounting points, you can create a display that not only looks like a high-end boutique fixture but actively preserves the metallurgical integrity of your collection. According to the Gemological Institute of America (GIA), proper storage away from environmental pollutants and moisture is the single most effective way to maintain a gemstone's luster and a metal's polish between professional cleanings.
Material Science: Choosing Tarnish-Safe Components
Before cutting or drilling, we must select materials that meet museum-level conservation standards. The goal is to create a barrier between your earrings and ambient sulfur, while providing structural support for heavy pieces.
| Material | Safety Rating | Best Use Case | Potential Risks |
|---|---|---|---|
| Solid Brass / Copper Rod | Excellent (when sealed) | Structural frame, hanging bars | Unsealed brass can transfer patina to lighter metals |
| Pacific Silvercloth / Archival Felt | Superior | Wrapping rods, lining backing boards | None; actively absorbs tarnish-causing gases |
| MDF / Particle Board | Poor | Avoid entirely | Off-gasses formaldehyde and sulfuric compounds |
| Cyanoacrylate (Super Glue) | Hazardous | Avoid near jewelry | Acidic curing vapors cause immediate silver tarnish |
| Two-Part Epoxy (Jewelry Grade) | Excellent | Bonding metal joints, securing end caps | Requires precise mixing; long cure time |
Step-by-Step: The Archival Felt & Brass Frame Earring Hanger DIY
This guide focuses on building a freestanding, A-frame or easel-back display using solid brass rods wrapped in anti-tarnish flannel. This design accommodates everything from delicate 20-gauge diamond studs to heavy 14-gauge gemstone drops.
Step 1: Sizing and Cutting the Brass Rods
Purchase 1/8-inch (3.17mm) solid brass rods. This thickness is critical; thinner wires (like 1/16-inch) will bow and warp under the weight of heavy chandelier or drop earrings, causing them to slide together and tangle. Cut two 12-inch vertical support rods and three 10-inch horizontal hanging rods using a jeweler's saw or a fine-toothed hacksaw. File the cut ends completely smooth with a 400-grit diamond file to prevent snagging delicate earring posts or threadless pins.
Step 2: Drilling Precision Holes for Various Gauges
The most common failure in an earring hanger DIY build is drilling holes that are either too tight (scratching the post) or too wide (allowing the earring to slip through and fall). You must drill specific holes for specific earring types.
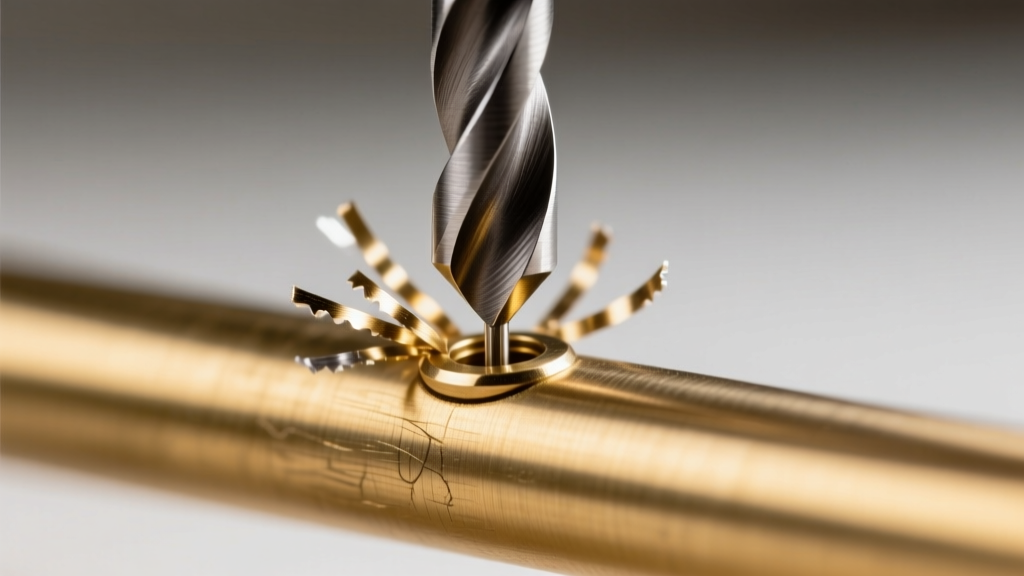
- Standard Studs (20g - 18g): Use a 1.5mm drill bit. This provides a frictionless entry for 0.81mm (20g) and 1.02mm (18g) posts while preventing the butterfly back from slipping through.
- French Wires / Fishhooks: Use a 2.5mm drill bit. The wire thickness is usually 0.9mm, but the curved bend requires a wider clearance to hang naturally without kinking.
- Heavy Leverbacks (14g - 12g): Instead of a standard hole, use a 3.0mm bit and a rotary tool to route a 2mm wide, 4mm deep vertical slot. This allows the thick leverback wire to slide in laterally and rest securely without bending the hinge mechanism.
Step 3: Wrapping with Archival-Grade Felt
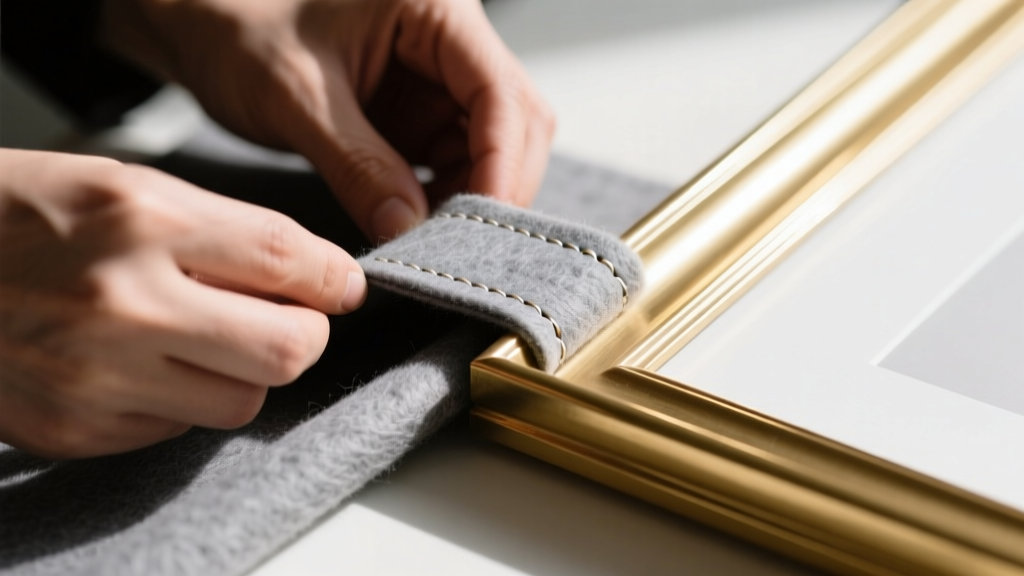
Cut strips of Pacific Silvercloth or 100% wool archival felt (ensure it is acid-free and sulfur-free). Wrap the horizontal hanging rods tightly. To secure the felt, do not use standard craft glues or super glues. As noted by Hagerty Silversmiths, chemical off-gassing from household adhesives can permanently stain precious metals. Instead, use a mechanical wrap secured by a tiny dot of jewelry-grade, acid-free two-part epoxy on the very back edge of the rod, or stitch the felt seam using unbleached cotton thread.
Adapting for Cartilage and Threadless Jewelry
Standard hangers fail miserably for modern cartilage jewelry, particularly threadless flat-back labrets and internally threaded titanium ends. These pieces consist of two parts: the decorative end and the backing pin. Storing them assembled on a standard rod puts lateral pressure on the tension-fit pin, eventually warping the bend and ruining the snap-fit mechanism.
To solve this, dedicate the bottom horizontal rod of your earring hanger DIY build to a "slot-and-groove" system. Cut a piece of 1/4-inch thick archival cork or high-density EVA foam and adhere it to the back of the bottom rod. Use a precision craft knife to cut 1.5mm wide slits into the foam. You can press the flat-back pins directly into the slits, allowing the decorative 16g or 14g ends (like opal clusters or gold bezels) to face outward safely without bearing any structural weight.
Weight Distribution and Base Stability
When loading the hanger with fine jewelry, weight distribution becomes a physics problem. A collection of solid 18k gold hoops and heavy gemstone drops can easily exceed 200 grams. If all heavy pieces are hung on the top rod, the center of gravity shifts forward, causing the display to tip over, potentially bending earring posts upon impact.
Pro-Tip: Always hang your heaviest, most structurally robust pieces (like thick continuous hoops and heavy leverback drops) on the lowest horizontal rod. Reserve the top rod for lightweight studs, huggies, and delicate 20-gauge dangles. This lowers the center of gravity and ensures your display remains perfectly plumb.
Maintenance and Cleaning Your DIY Organizer
Even the best archival materials require maintenance. Dust is a primary culprit for micro-scratches on high-polish gold and platinum. Use a soft, clean makeup brush to gently sweep dust out of the drilled holes and off the felt surface every two weeks. The anti-tarnish silvercloth will eventually become saturated with sulfur compounds from the ambient air. Depending on your local humidity and pollution levels, plan to carefully unwrap and replace the felt strips every 24 to 36 months to ensure your custom organizer continues to provide a chemically neutral environment for your most prized earrings.


