How to Authenticate & Restore Laurel Burch Vintage Earrings
Learn how to authenticate, clean, and restore Laurel Burch vintage earrings. Expert tips on enamel care, hallmarks, and hardware repair.

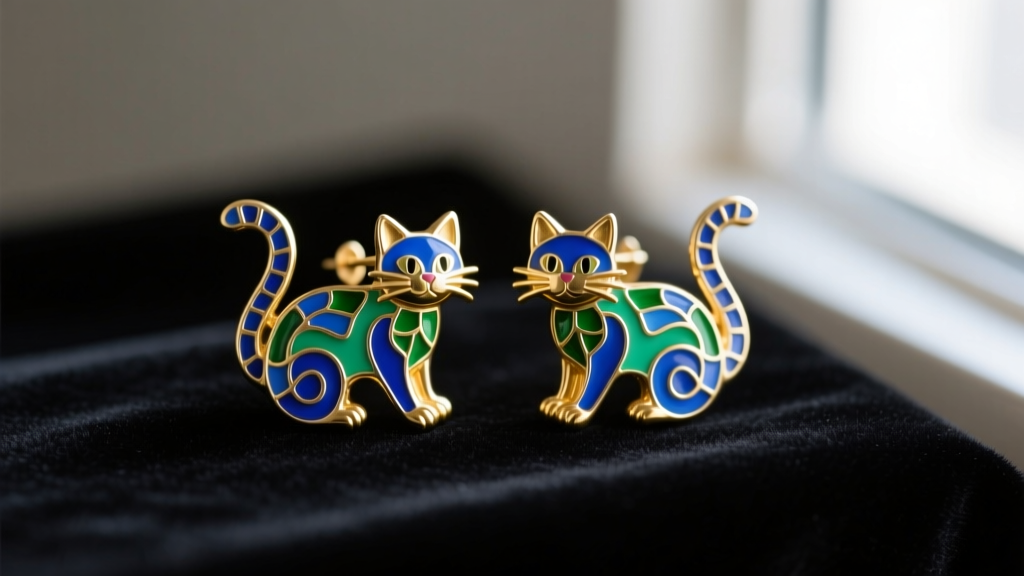
The Enduring Legacy of Laurel Burch Jewelry
Laurel Burch (1945–2006) remains one of the most iconic American folk-art jewelry designers of the late 20th century. Emerging from the vibrant San Francisco street fair scene in the 1970s, her whimsical fantasy animals, bold cats, and mythical creatures captured a global audience. Today, collecting laurel burch vintage earrings is a passionate pursuit for jewelry enthusiasts, but the secondary market is flooded with counterfeits, damaged pieces, and improperly restored items. Because her pieces rely heavily on delicate glass enamel and micron-thin gold electroplating, standard jewelry cleaning methods can permanently destroy a valuable artifact.
In this comprehensive 2026 conservation guide, we break down the exact protocols for authenticating, assessing, cleaning, and restoring vintage Laurel Burch earrings. Whether you have inherited a pair of 1980s Pegasus clips or found a rare 1970s feline post at an estate sale, these expert-level steps will help you preserve their historical and monetary value.
Step 1: Authenticating Your Laurel Burch Vintage Earrings
Before attempting any cleaning or restoration, you must verify the provenance of the piece. According to the Laurel Burch Studios historical archives, her manufacturing techniques and hallmarks evolved significantly from her early street-fair days to her mass-market partnerships with brands like Lord & Taylor in the 1980s and 1990s.
Decoding the Hallmarks
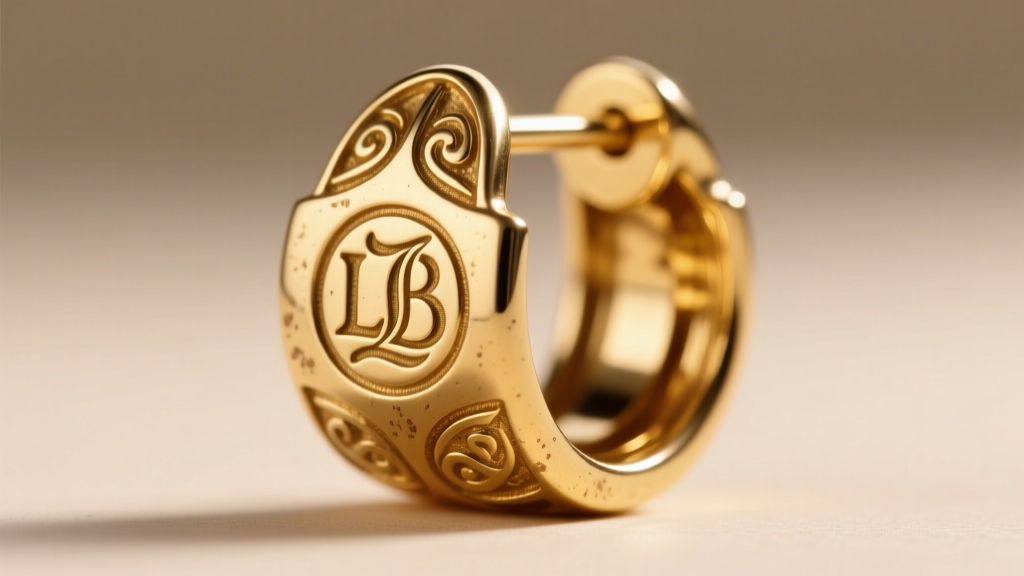
- Early 1970s (Street Fair Era): Many early pieces are entirely unmarked or feature a crude, hand-stamped "LB". These are exceedingly rare and highly prized by serious collectors.
- 1980s Commercial Era: Look for the script signature "Laurel Burch" often accompanied by a copyright symbol (©). Some pieces feature a distinct "LB" nestled inside a small shield motif.
- Font and Depth: Authentic hallmarks are deeply and cleanly stamped into the base metal. Counterfeits often feature shallow, laser-etched, or blurred markings.
Material and Enamel Verification
Authentic Laurel Burch earrings are not solid gold. They are typically cast in brass or a white metal alloy and finished with a heavy 22k or 24k gold electroplate. The true test of authenticity lies in the enamel. Burch utilized traditional cloisonné techniques, where fine metal wires separate cells of glass enamel powder that are then kiln-fired. Run your fingernail lightly over the surface; true fired glass enamel is perfectly smooth and hard. If the surface feels like soft plastic, yields to pressure, or shows painted-on resin pooling over the wires, you are holding a modern counterfeit utilizing cold enamel (epoxy resin).
Step 2: Assessing Damage and Wear
Vintage costume jewelry requires a triage approach. The Vintage Fashion Guild recommends documenting all flaws before applying any solvents. Use a 10x jeweler's loupe to inspect the enamel cells, the gold wash, and the structural integrity of the findings.
| Damage Type | Severity | Recommended Action |
|---|---|---|
| Surface Dirt / Oils | Low | DIY Gentle Wash (See Step 3) |
| Loose Earring Post | Medium | DIY Epoxy Re-bonding |
| Faded Gold Wash | Medium | Professional Re-plating Required |
| Chipped / Cracked Enamel | High | Professional Enamel Conservation |
| Missing Cloisonné Wires | High | Do Not Clean; Seek Master Jeweler |
Step 3: Safe Cleaning Protocols for Enamel and Plated Metals
The most common mistake collectors make is using ultrasonic cleaners or commercial silver dips. The Gemological Institute of America (GIA) explicitly warns that ultrasonic vibrations can shatter kiln-fired glass enamel, while acidic silver dips will instantly strip the delicate gold electroplate from the brass base, leaving a dull, pinkish hue.
The Conservation Cleaning Method
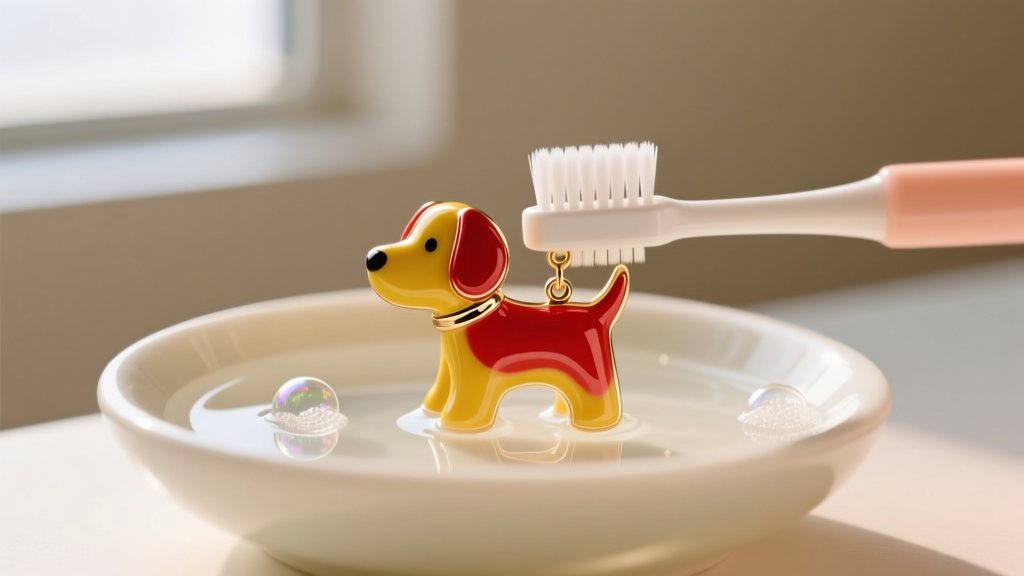
- Prepare the Solution: Mix 1 cup of room-temperature distilled water (tap water contains minerals that can leave micro-scratches) with a single drop of pH-neutral dish soap, such as original blue Dawn or Orvus WA Paste.
- Soak Briefly: Submerge the earrings for no more than 3 to 5 minutes. This loosens decades of sebum, hairspray, and cosmetic buildup without penetrating any micro-fractures in the enamel.
- Agitate Gently: Using an extra-soft baby toothbrush, gently sweep across the surface. Always brush *parallel* to the cloisonné wires, never in aggressive circular motions, to avoid catching and lifting the metal dividers.
- Rinse and Dry: Rinse under a slow stream of distilled water. Immediately pat dry with a lint-free microfiber cloth. Use a can of compressed air to blow moisture out from behind the earring post and the clip-on hinges.
CRITICAL WARNING: Never use baking soda, toothpaste, or polishing cloths treated with jeweler's rouge on Laurel Burch pieces. These contain mild abrasives (like silica) that will permanently scour the gold wash and leave microscopic scratches in the glass enamel.
Step 4: Restoring Hardware and Findings
Because Burch's designs are notoriously heavy—often featuring thick brass castings—the hardware endures significant mechanical stress. Pierced posts frequently snap or detach from the base metal, and clip-on mechanisms lose their tension over time.
Re-Attaching a Detached Post
Do not use cyanoacrylate (Super Glue) for jewelry repair; it becomes brittle, leaves a white residue, and fails under the shear weight of a heavy brass earring. Instead, use a two-part jewelry epoxy, specifically Hughes 330 or Loctite Professional Metal/Concrete.
- Lightly roughen the flat pad of the earring post with 800-grit sandpaper to create a mechanical bond.
- Clean both the post pad and the earring backing with 99% isopropyl alcohol to remove all oils.
- Apply a micro-drop of mixed epoxy to the post. Position it on the earring using a wax-tipped jewelers pick.
- Allow it to cure undisturbed on a flat silicone mat for a full 24 hours. The epoxy will reach its maximum shear strength of over 3,000 PSI.
Adjusting Vintage Clip-Ons
If your vintage clip-ons are too tight (causing lobe pain) or too loose (risking loss), you can adjust the tension. Use nylon-jaw pliers to gently bend the metal band. Never use bare steel pliers, as they will mar the gold plating. Bend the band outward by millimeters to reduce tension, or inward to increase grip. Always test the adjustment on a thick piece of felt before wearing.
Market Valuation and Archival Storage
As of 2026, the collector's market for Laurel Burch vintage earrings remains robust, driven by nostalgia and the bold, maximalist aesthetic trending in contemporary fashion. Mint-condition, rare animal motifs (such as the Pegasus, specific dog breeds, or large dragonfly dangles) can command between $150 and $350 at specialized vintage auctions. Conversely, common cat-face studs with heavy gold wear or enamel chips typically trade in the $25 to $45 range.
To protect your investment, store each pair individually in anti-tarnish flannel pouches. Keep them in a climate-controlled environment, away from direct UV sunlight, which can degrade the underlying adhesives used in the original 1980s manufacturing processes. By following these meticulous authentication and conservation steps, you ensure that these wearable works of folk art survive for the next generation of collectors.


