Mastering the Beaded Fringe Earring Pattern: A Step-by-Step Guide
Learn how to design and assemble a durable beaded fringe earring pattern with our step-by-step guide on materials, thread tension, and wire gauges.

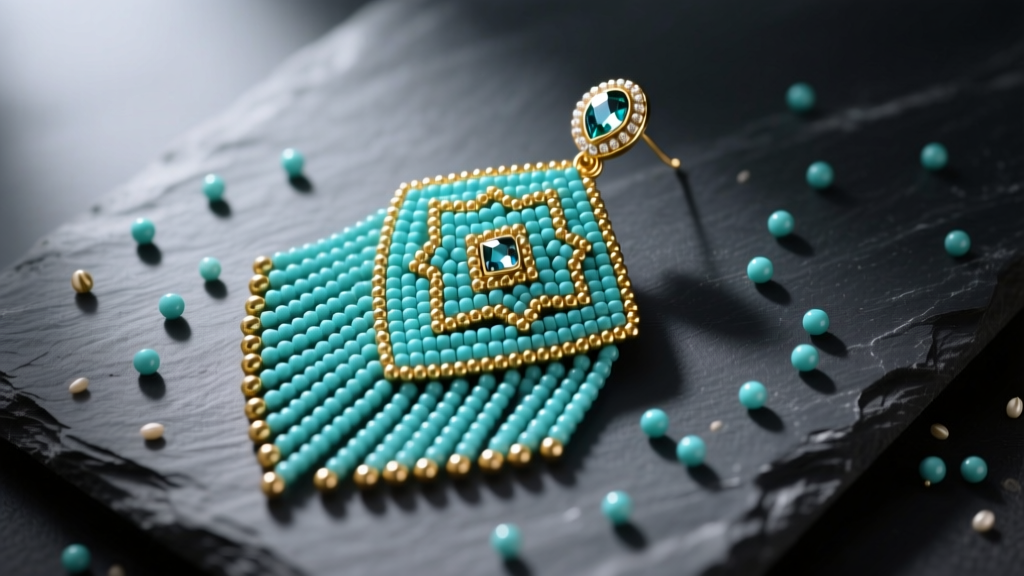
Introduction to Fringe Earring Architecture
Designing a high-end beaded fringe earring pattern is an exercise in micro-engineering. Unlike rigid bead weaving, fringe requires a deep understanding of drape, weight distribution, and tensile strength. A poorly constructed fringe will tangle, snap, or pull uncomfortably on the earlobe. To create a luxury-tier accessory that moves fluidly and withstands daily wear, you must move beyond basic stringing and master the structural mechanics of thread tension, bead buffering, and hardware gauge selection.
In this comprehensive guide, we will break down the exact specifications needed to draft, string, and finish a professional-grade fringe earring pattern. Whether you are designing a 2-inch delicate drop or a dramatic 4-inch statement piece, these principles remain the foundation of durable jewelry design.
Essential Materials and Hardware Specifications
The most common point of failure in fringe earrings is material incompatibility. Using a stretchy nylon thread with heavy glass beads, or pairing a heavy fringe with a thin 24-gauge ear wire, will guarantee structural failure. Below is the exact bill of materials required for a premium 3-inch fringe earring pattern.
| Component | Specification | Purpose & Mechanics | Est. Cost |
|---|---|---|---|
| Beading Thread | WildFire 6lb or Fireline | Thermally fused, zero-stretch, cut-resistant braided thread. | $12 - $15 |
| Seed Beads | Miyuki Delica 11/0 | Uniform cylinder shape ensures straight, untwisted fringe lines. | $7 - $10 / tube |
| Bugle Beads | Size 3 or 4 Glass Bugles | Adds length and movement without excessive weight. | $4 - $6 / hank |
| Buffer Beads | Size 15/0 Rocailles | Protects thread from the sharp, factory-cut edges of bugle beads. | $3 - $5 |
| Ear Wire | 22g 14k Gold-Filled Leverback | Supports 12g+ of fringe weight without bending or warping. | $5 - $9 / pair |
| Needles | Tulip Hiroshima Size 10 | Ultra-thin shaft passes through 11/0 Delicas multiple times. | $12 / pack |
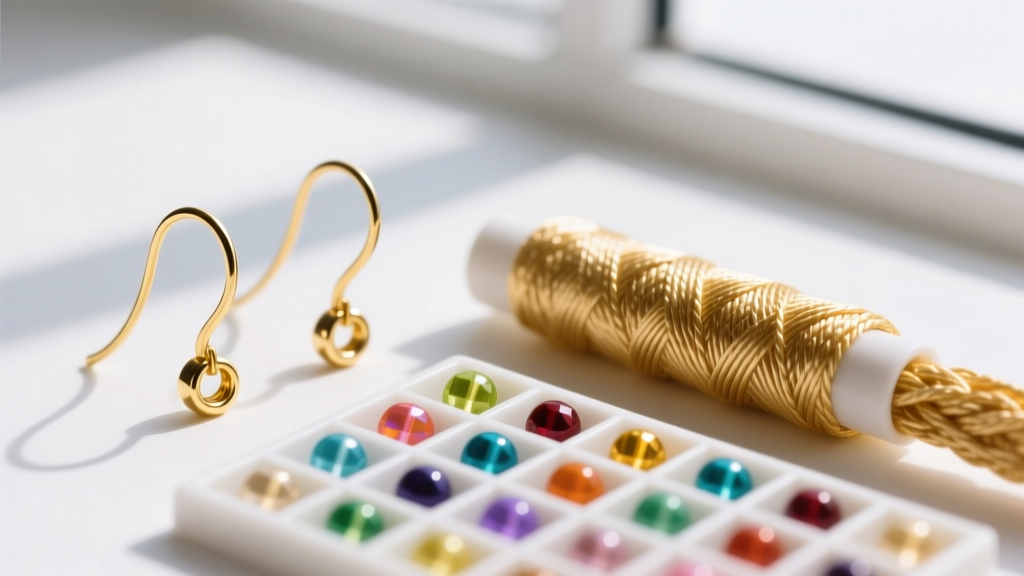
Step 1: Drafting Your Fringe Earring Pattern Layout
Before threading your needle, you must map the mathematical layout of your fringe. A standard 3-inch fringe requires approximately 54 beads per strand if using a mix of 11/0 seed beads and 3mm bugle beads. For a balanced drape, most designers use a 5-to-7 strand configuration.
The V-Shape vs. Straight Hemline
When plotting your pattern on a bead design board, decide on the hemline geometry. A straight hemline requires cutting your thread tails at exact uniform lengths, which often leads to uneven tension. A V-shaped or U-shaped hemline is vastly superior for beginners and professionals alike, as the staggered strand lengths naturally hide minor tension discrepancies and create a more dynamic swing.
- Center Strand: Calculate your maximum desired length (e.g., 54 beads).
- Adjacent Strands: Subtract 4 to 6 beads per strand as you move outward from the center.
- Outer Strands: Should be roughly 60% the length of the center strand to create a elegant taper.
According to the educational resources at Fire Mountain Gems Encyclopedia, mapping your fringe lengths on a grid pad prevents the dreaded 'stair-step' effect that occurs when bead counts are miscalculated by even a single unit.
Step 2: Stringing and Tension Management
Tension is the invisible architecture of your fringe earring pattern. Pull the thread too tightly, and the fringe will pucker and curl inward. Leave it too loose, and the strands will sag and tangle.
- Condition Your Thread: Run your WildFire or Fireline thread through a microcrystalline wax or beeswax conditioner. This eliminates static electricity, which is the primary cause of fringe strands clinging to one another.
- The Stop Bead: String one contrasting 11/0 bead and pass through it twice to create a temporary anchor. Leave a 4-inch tail.
- Stringing the Strand: Pick up your beads according to your drafted pattern. Critical Expert Tip: Never place a glass bugle bead directly against your main thread loop. Always sandwich the bugle bead between two 15/0 buffer beads. The sharp interior edges of mass-produced bugle beads will slice through braided thread over time, causing the fringe to drop beads.
- The Turnaround Loop: At the bottom of the strand, pick up one final 15/0 seed bead, skip it, and pass back up through the entire strand. This creates a smooth, rounded bottom edge rather than a sharp thread kink.
Pro-Tip: When passing back up through the strand, do not pull the thread taut immediately. Allow a millimeter of slack per inch of fringe. This 'drape allowance' is what gives high-end fringe its liquid-like movement.
Step 3: Securing the Ear Wire and Structural Finishing
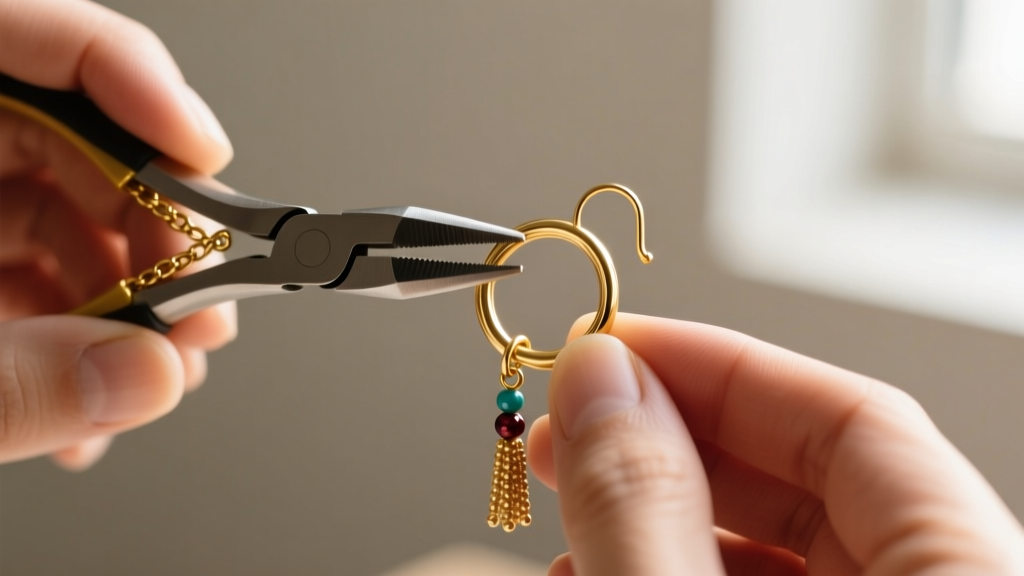
The connection point between your beadwork and the metal finding bears the brunt of the kinetic energy when the earrings are worn. A standard wrapped loop is often too bulky for a delicate fringe top. Instead, utilize a reinforced jump ring connection.
After completing all strands and weaving your thread tail back through the top three rows of beads (changing direction at least twice to lock the stitch), create a small picot loop of 5 seed beads at the top center. Open a 5mm, 22-gauge 14k gold-filled jump ring using two pairs of chain-nose pliers. Never pull the ring apart laterally; always twist it open like a door hinge to maintain its perfect circle. Slip the picot loop onto the jump ring, attach the leverback ear wire, and twist the jump ring closed until the ends click flush against each other.
For further insights on secure wire wrapping and jump ring mechanics, the masterclasses available via Interweave Beading offer excellent visual demonstrations of flush-cut closures that prevent thread snagging.
Troubleshooting Common Pattern Failures
Even experienced beaders encounter structural issues. Here is how to diagnose and fix the most common fringe earring pattern failures:
1. The Fringe Curls or Twists
The Cause: You are likely using a nylon thread like Nymo, which has inherent stretch and memory, or your thread tension is too tight. Static buildup can also cause twisting.
The Fix: Switch to a thermally fused braided thread like WildFire. Condition the thread with wax before stringing, and consciously relax your grip during the turnaround loop.
2. Thread Snaps at the Top Connection
The Cause: Micro-burrs on the inside of the jump ring or the loop of the ear wire are acting like a saw blade against the thread during movement.
The Fix: Use a jewelry file to smooth the interior of your jump rings before assembly. Alternatively, use a seamless soldered jump ring for the connection to the ear wire, ensuring there is no split to catch the thread.
3. The Ear Wire Bends Forward
The Cause: The gauge of the ear wire is too thin for the weight of the beadwork. A 3-inch, 7-strand fringe can easily weigh 12 to 15 grams.
The Fix: Upgrade your findings. Abandon 24-gauge wires entirely for fringe work. Standardize your inventory with 22-gauge or 20-gauge 14k gold-filled leverbacks, which provide the necessary tensile strength to support heavy beadwork without warping.
By adhering to these strict material specifications and tension management techniques, your fringe earring pattern will transcend basic crafting and achieve the durability, drape, and finish expected of luxury boutique jewelry.


