Master the Butterfly Earring Backing: A Step-by-Step Guide
Learn how to properly secure, clean, and replace your butterfly earring backing. Step-by-step guide to prevent lost studs and skin irritation.

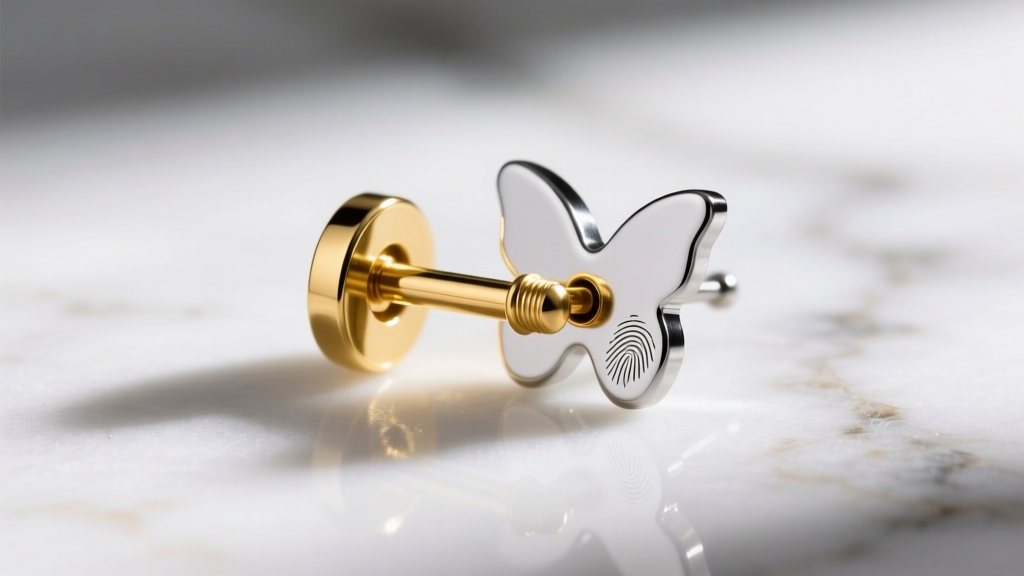
The Anatomy of a Butterfly Earring Backing
The butterfly earring backing—also known as a push back, friction back, or scroll back—is the most ubiquitous earring closure in the world. Despite its simplicity, mastering its use is critical for preventing lost jewelry and avoiding contact dermatitis. At its core, the butterfly back consists of a stamped metal base with two protruding 'wings' and a central cylindrical tube. Inside this tube, microscopic ridges grip the notches carved into the earring post.
Standard earring posts are typically 20-gauge (0.81mm) or 18-gauge (1.02mm). The inner diameter of a standard butterfly backing tube is engineered to be roughly 0.85mm. When you push an 18-gauge post into a 20-gauge backing, you permanently stretch the internal scroll, ruining the friction grip. Understanding these micro-measurements is the first step in securing your fine jewelry.
Metallurgy and Allergy Risks
Not all butterfly backs are created equal. Cheap fashion jewelry often uses brass or nickel-silver alloys plated with a thin layer of rhodium or silver. Once that plating wears away from the friction of daily use, the underlying nickel is exposed to the skin. According to the American Academy of Dermatology, nickel allergy is one of the most common causes of allergic contact dermatitis, leading to red, itchy, and weeping earlobes.
To avoid this, always verify the material grade of your backs. Look for solid 14k or 18k gold, platinum, or implant-grade titanium (ASTM F136). If you are upgrading your backs, purchasing a pack of solid 14k yellow gold friction backs will cost between $25 and $45, a worthwhile investment to protect both your skin and your diamond studs.
Step-by-Step: How to Properly Secure a Butterfly Backing
Securing a butterfly back is not just about pushing it until it stops. Most high-quality earring posts feature two distinct notches. Here is the exact protocol for a secure fit:
- Clean the Post: Wipe the earring post with a 70% isopropyl alcohol pad to remove sebum and lotion buildup, which can act as a lubricant and cause the backing to slide off.
- Align the Tube: Hold the butterfly backing parallel to the post. Do not push at an angle, as this can bend the post or warp the internal scroll.
- Pass the First Notch: Push the backing past the first notch. This position is meant for 'comfort fit,' allowing the earlobe to breathe and swell slightly. It is ideal for sleeping or wearing heavy statement earrings.
- Engage the Second Notch: For active days or high-value diamond studs, push firmly past the second notch. You should hear or feel a distinct 'click' as the internal ridge snaps into the deeper groove.
- The Pinch Test: Gently try to pull the backing away from the earlobe. It should resist movement without requiring excessive force to remove.
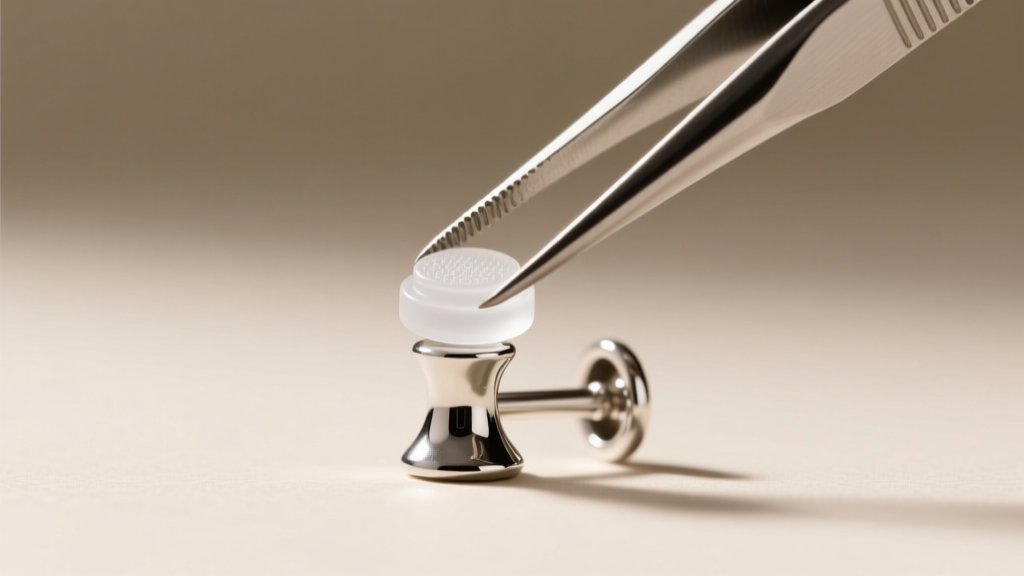
Troubleshooting: Why Your Butterfly Backs Keep Falling Off
If your earrings are constantly slipping off, the issue usually stems from one of three mechanical failures:
1. The 'Notch' Problem
Over years of use, the stamped notches on the earring post can wear down, becoming smooth. If your post lacks deep grooves, the butterfly back has nothing to grip. Take the earring to a bench jeweler; they can use a needle file to recut the notches or solder a new post onto your stud for roughly $30 to $50.
2. Post Gauge Mismatches
As mentioned, forcing a thicker 18-gauge post into a smaller 20-gauge backing stretches the metal. Once stretched, the backing will never securely hold a standard 20-gauge post again. Always match your backing gauge to your post gauge.
3. Sebum and Debris Buildup
The hollow tube of a butterfly back is a trap for dead skin cells, hair products, and sebum. This compacted debris pushes the backing slightly away from the earlobe, preventing the notch from fully engaging. (See the cleaning section below to resolve this).
Comparison: Butterfly Backs vs. Security Alternatives
While the butterfly earring backing is the industry standard, it is not the most secure option for high-value jewelry. Below is a comparison of standard friction backs against premium security alternatives.
| Backing Type | Security Level | Ease of Use | Avg. Price Range | Best For |
|---|---|---|---|---|
| Standard Butterfly (Friction) | Moderate | Very High | $5 - $45 | Everyday wear, lightweight studs |
| La Pousette (Locking) | Extremely High | Moderate | $60 - $120 | High-carat diamond studs, active lifestyles |
| Silicone O-Rings / Pads | High | High | $2 - $10 | Heavy earrings, temporary security fixes |
| Screw Backs (e.g., Chrysmela) | Very High | Low | $40 - $80 | Travel, securing heirloom pieces |
Step-by-Step Cleaning and Maintenance
Routine maintenance of your butterfly backs ensures the internal spring mechanism retains its tension. The Gemological Institute of America (GIA) recommends regular cleaning for diamond jewelry, and this extends to the hardware holding it.
- The Boiling Water Method (Metal Only): If your backs are solid gold or platinum (no gemstones attached), drop them into a small glass bowl and pour boiling water over them. Add a drop of mild dish soap. Let them sit for 10 minutes to melt away oils.
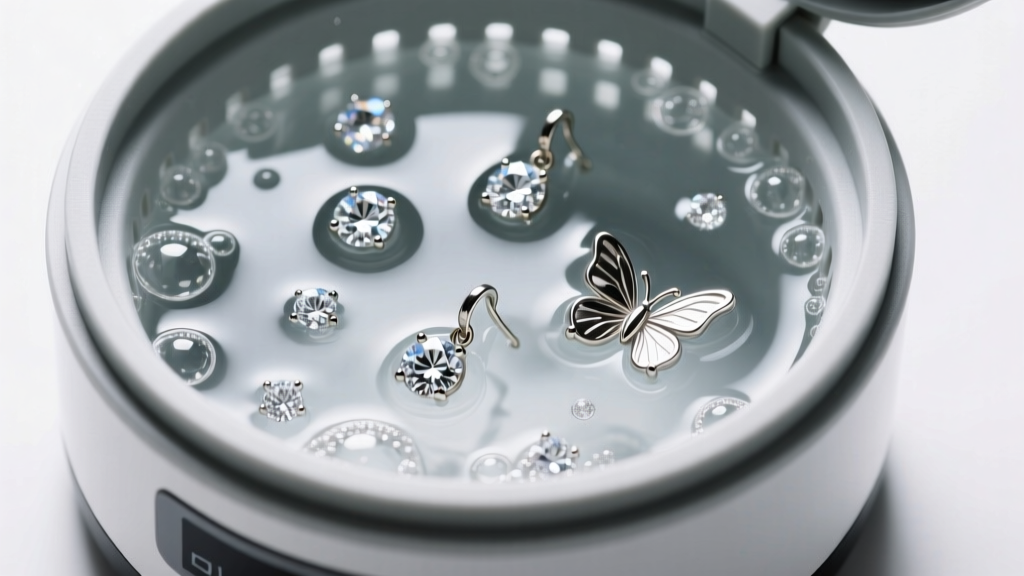
- Ultrasonic Cleaning: For diamond stud earrings with the backs still attached, an ultrasonic cleaner is highly effective. The high-frequency sound waves will dislodge compacted debris from inside the tiny butterfly tube. Warning: Never use ultrasonic cleaners for pearls, opals, or emeralds.
- The Toothpick Trick: If you do not have an ultrasonic cleaner, use a wooden toothpick to gently scrape the inside of the backing tube. Avoid metal needles, which can scratch the interior and weaken the structural integrity of the scroll.
- Drying: Blow-dry the backs on a cool setting. Trapped moisture inside the tube can cause oxidation in non-precious metals or lead to skin maceration when worn.
Emergency Guide: How to Remove a Stuck Butterfly Backing
Occasionally, a butterfly backing becomes stuck due to bent posts, cross-threading (if it's a hybrid screw/push back), or severe debris calcification. Do not yank the earring, as this can tear the earlobe tissue.
The Dental Floss Method: Take a piece of unwaxed dental floss and wrap it tightly around the earring post, right against the base of the butterfly backing. Pull the floss taut and use a sawing motion to gently work the floss between the earlobe and the backing. The friction of the floss will grip the metal and allow you to pull the backing straight off without pinching the skin.
The Pliers Method: If the post is bent and the backing is wedged at an angle, use a pair of nylon-jaw jewelry pliers. Grip the butterfly back firmly while using your other hand to stabilize the earring head. Pull perfectly straight along the axis of the bend. If resistance is too high, visit a professional jeweler who can safely cut the post with a laser welder or jeweler's saw without damaging the earring face.
Final Thoughts on Earring Security
The butterfly earring backing is a marvel of minimalist engineering, but it requires mindful use. By matching your gauges, investing in hypoallergenic metals, and keeping the internal scroll free of debris, you can ensure your favorite studs remain safely in your ears for decades. For pieces of significant monetary or sentimental value, consider retiring the standard butterfly back in favor of a mechanical locking system like the La Pousette.


