How Long After Getting Ears Pierced Can You Change Earrings Safely?
Wondering how long after getting ears pierced can you change earrings? Learn exact healing timelines for lobes and cartilage, plus safe jewelry swaps.

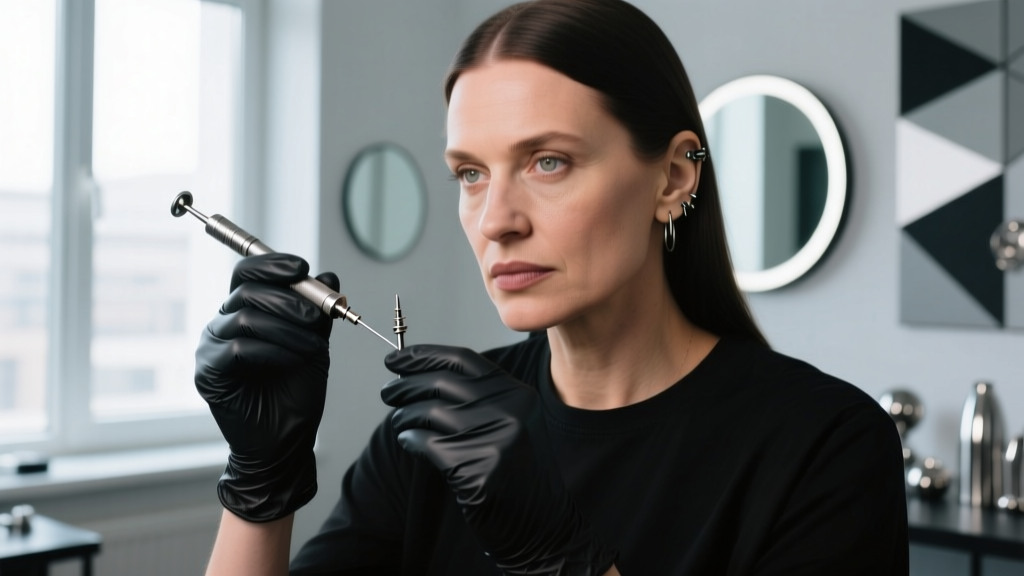
Getting your ears pierced is an exciting step toward self-expression, but the aftercare phase requires patience and precision. One of the most common questions beginners ask is: how long after getting ears pierced can you change earrings? The answer is not a simple one-size-fits-all number. The timeline depends heavily on the anatomical location of the piercing, the jewelry material, and your body's unique biological healing processes. Rushing to swap out your starter jewelry for a trendy hoop or dangle earring before the fistula (the tube of healed skin) has fully matured is the leading cause of irritation bumps, infections, and permanent scarring.
The Short Answer: Lobe vs. Cartilage Timelines
If you are wondering how long after getting ears pierced can you change earrings, you must first distinguish between soft tissue and cartilage. Earlobes are highly vascular, meaning they have a robust blood supply that delivers white blood cells and nutrients to the wound site rapidly. Because of this, standard earlobe piercings typically reach a baseline level of stability between 6 to 8 weeks. However, professional piercers strongly recommend waiting a full 12 weeks before introducing heavier jewelry or complex clasps.
Cartilage piercings—such as the helix, tragus, conch, or daith—are an entirely different biological environment. Cartilage lacks its own direct blood supply and relies on surrounding tissues for nutrient delivery. Consequently, cartilage heals much slower. You must wait a minimum of 6 to 12 months before changing cartilage jewelry. Attempting to change a helix piercing at the 3-month mark, even if it looks healed on the outside, will almost certainly cause micro-tears in the fragile inner tissue, resetting your healing clock and inviting complications.
The Biology of the Fistula: Why Rushing Causes Blowouts
When a hollow piercing needle removes a tiny core of tissue, your body immediately begins constructing a fistula—a protective tunnel of skin cells that lines the piercing channel. Understanding the phases of this construction explains why premature jewelry changes are so destructive.
Phase 1: The Inflammatory Stage (Weeks 1-4)
During the first month, the wound is in the inflammatory phase. Blood vessels become more permeable, allowing fluids and immune cells to enter the area. The piercing will likely be tender, slightly swollen, and may secrete lymph (a whitish-yellow fluid that dries into crusties). The fistula tube is practically non-existent at this stage; the tissue is raw and highly vulnerable to bacterial introduction.
Phase 2: The Proliferative Stage (Weeks 4-12+)
According to the Association of Professional Piercers (APP), the proliferative stage is when the body begins laying down a collagen matrix to form the actual fistula tube. This new tissue is incredibly delicate. If you remove the starter jewelry during this phase, the unformed tube can collapse within minutes. Furthermore, pushing a new piece of jewelry through a half-formed fistula acts like a blunt object scraping against wet tissue paper, causing micro-abrasions that lead to hypertrophic scarring (irritation bumps).
Material Science: What to Wear During the Healing Window
When you finally reach the milestone where you can change your earrings, the material of your new jewelry is just as critical as the timing. The Mayo Clinic warns against using cheap alloys that can trigger contact dermatitis. Here is the hierarchy of safe metals for newly healed piercings:
- Implant-Grade Titanium (ASTM F136): The gold standard for healing. It is entirely nickel-free, lightweight, and biocompatible. It is the exact same metal used in medical joint replacements.
- Niobium: A highly reactive metal that is safely anodized to create vibrant colors without using paints or dyes. Excellent for sensitive ears.
- 14k or 18k Solid Gold: Must be nickel-free and alloyed for biocompatibility. Avoid gold-plated or gold-filled jewelry, as the thin outer layer can wear away inside the fistula, exposing reactive base metals.
- Avoid "Surgical Steel": Often labeled as ASTM F138, surgical steel contains up to 10% nickel. While fine for scalpels, prolonged contact inside a healing ear canal frequently causes allergic reactions and chronic inflammation.
Healing Timelines & Jewelry Specifications
| Piercing Location | Minimum Wait Time | Ideal Wait Time | Standard Gauge Size | Best Starter Style |
|---|---|---|---|---|
| Standard Earlobe | 6 Weeks | 12 Weeks | 20G or 18G (0.8-1.0mm) | Flat-back labret stud |
| Upper Lobe / High Lobe | 8 Weeks | 16 Weeks | 18G or 16G (1.0-1.2mm) | Flat-back labret stud |
| Helix (Outer Cartilage) | 6 Months | 9-12 Months | 16G (1.29mm) | Flat-back labret stud |
| Tragus / Conch | 6 Months | 12 Months | 16G (1.29mm) | Flat-back labret stud |
| Daith / Rook | 9 Months | 12-18 Months | 16G (1.29mm) | Curved barbell / Clicker |
Step-by-Step: How to Safely Change Your Earrings for the First Time
Once you have confirmed that your specific timeline has passed, your first jewelry change requires meticulous hygiene and a gentle touch. Do not attempt this in a rush or in a poorly lit bathroom.
Preparation and Hygiene
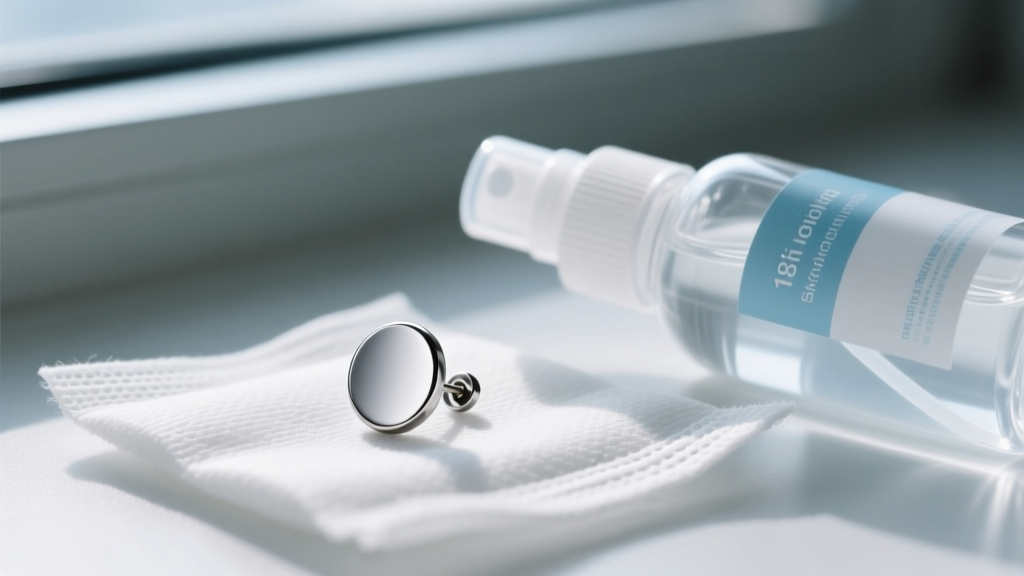
Begin by washing your hands thoroughly with antibacterial soap for at least 20 seconds. Lay out a clean paper towel on your counter to place your tools and new jewelry. Prepare a sterile saline wound wash (0.9% sodium chloride with no additives). Crucial Tip: Ensure your new jewelry is internally threaded or threadless (push-pin). Externally threaded jewelry has sharp ridges on the post that will scrape and damage the delicate inner lining of your newly healed fistula upon insertion.
The Insertion Technique
Gently remove the starter jewelry. Immediately spray the piercing hole with sterile saline to flush out any trapped sebum or dead skin cells. If the new jewelry post is dragging, do not force it. You can lubricate the post with a tiny drop of sterile saline or a water-based, piercing-safe lubricant. Never use petroleum jelly, Neosporin, or heavy oils, as these trap bacteria and block oxygen flow to the healing tissue. Slide the new post in slowly, following the exact angle of the original piercing channel. Secure the backing gently—do not overtighten, as this can restrict blood flow and cause tissue necrosis.
Troubleshooting: What If the Hole Closes or Bleeds?
Even if you wait the appropriate amount of time, the first jewelry change can sometimes present challenges. Here is how to handle common real-world scenarios:
- The Hole is Closing: If you removed your starter stud and cannot get the new one in within 60 seconds, the fistula may be shrinking. Take a warm shower to relax the tissue, apply a warm compress, and try again. If it still resists, reinsert your original starter jewelry and visit your piercer for assistance.
- Minor Bleeding: A single drop of blood is normal if a tiny capillary was disturbed. Apply gentle pressure with sterile gauze. If bleeding persists for more than 10 minutes, seek professional help.
- Irritation Bumps: If a small, flesh-colored bump appears near the jewelry after a few days, it is likely due to mechanical irritation (bumping the ear while sleeping) or moisture buildup. Switch back to a flat-back titanium stud, keep the area dry, and avoid sleeping on that side.
Expert Tips for Long-Term Piercing Health
Understanding how long after getting ears pierced can you change earrings is just the beginning of your piercing journey. Even fully healed piercings (those over a year old) can shrink or close if left empty for extended periods. To maintain your piercings, wear high-quality metals consistently, clean your jewelry regularly with mild soap and water to remove environmental buildup, and always consult a licensed, APP-certified professional if you experience persistent pain, heat, or unusual discharge. Treat your piercings as permanent modifications that require lifelong respect and care, and they will remain a beautiful, trouble-free part of your personal style.


