Top Clay Earrings Ideas for Beginners: Polymer & Hardware Guide
Discover beginner-friendly clay earrings ideas, from polymer marbling to hardware selection. Learn gauge sizes, baking temps, and sealing techniques.

Introduction to Polymer Clay Jewelry Making
Polymer clay has revolutionized the independent jewelry market, offering an accessible yet highly technical medium for creating bespoke accessories. If you are searching for beginner-friendly clay earrings ideas, you are likely drawn to the limitless color palettes and lightweight nature of the material. However, transitioning from crafting to creating durable, wearable jewelry requires a solid understanding of material science, hardware compatibility, and structural integrity. As we navigate the jewelry trends of 2026, the market heavily favors minimalist silhouettes, faux-natural stone effects, and hyper-lightweight comfort. This guide will bypass the generic fluff and provide you with actionable, expert-level frameworks for designing, baking, and assembling polymer clay earrings that will not snap, peel, or irritate sensitive earlobes.
Essential Hardware: Gauges, Metals, and Findings
Before you condition your first block of clay, you must select the right hardware. The most common point of failure for beginner clay jewelers is mismatching the earring post or wire gauge with the clay's thickness and weight. For standard lobe piercings, 20-gauge (0.81mm) wire is the industry standard. It provides enough structural rigidity to hold a clay dangle without bending, while still sliding comfortably through a healed piercing. For thicker, heavier clay components, you may need to step up to 18-gauge (1.02mm), though this requires pre-drilling your clay with a 1.2mm bit to prevent cracking during assembly.
Metal selection is equally critical. According to Rio Grande's earring findings catalog, material biocompatibility dictates customer retention. Avoid cheap 'surgical steel' alloys that contain nickel.
| Metal Type | Grade/Standard | Best For | Price Range (per pair) |
|---|---|---|---|
| Niobium | 99.9% Pure | Hypoallergenic hooks, anodizing | $1.50 - $3.00 |
| Titanium | Grade 23 (Ti6Al4V) | Implant-grade posts, sensitive ears | $2.00 - $4.50 |
| Surgical Steel | 316L ASTM F138 | Standard dangles, budget lines | $0.50 - $1.20 |
| Brass (Plated) | Gold/Silver Plated | Large hoops, lightweight bases | $0.80 - $2.00 |
5 Beginner-Friendly Clay Earrings Ideas
When conceptualizing your first collection, focus on techniques that yield high visual impact with low structural risk. Here are five distinct design frameworks to explore.
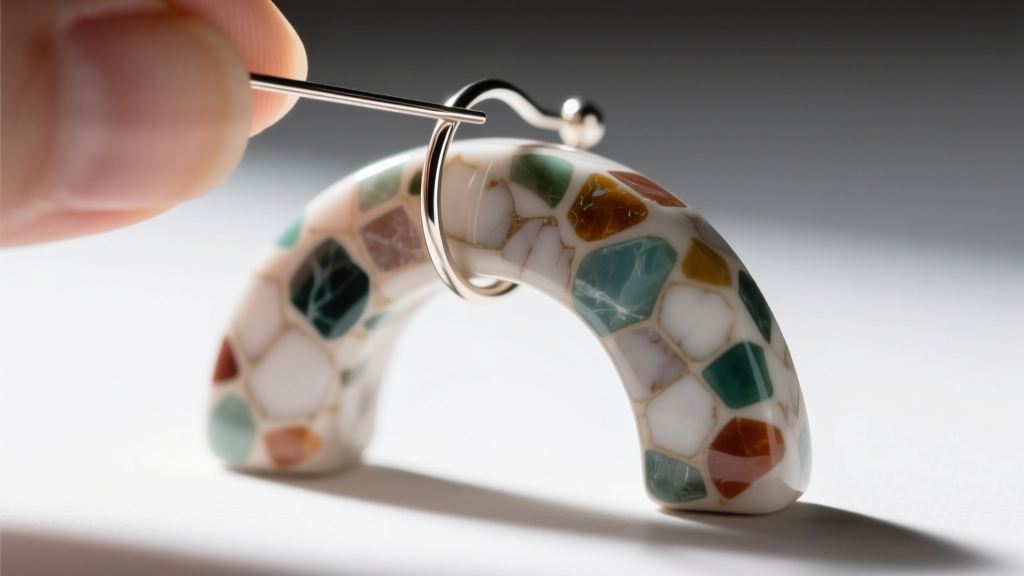
1. The Minimalist Terrazzo Arch
Terrazzo remains a dominant aesthetic in 2026. To achieve this, use a high-translucency base clay (like Sculpey Premo Translucent) and embed tiny, irregular chips of pre-baked, contrasting scrap clay. Roll the sheet to a uniform 2mm thickness using metal guide rings. Cut an arch shape using a brass cookie cutter, drill a 1mm hole at the top apex, and bake. The result is a modern, speckled dangle that mimics high-end composite stone.
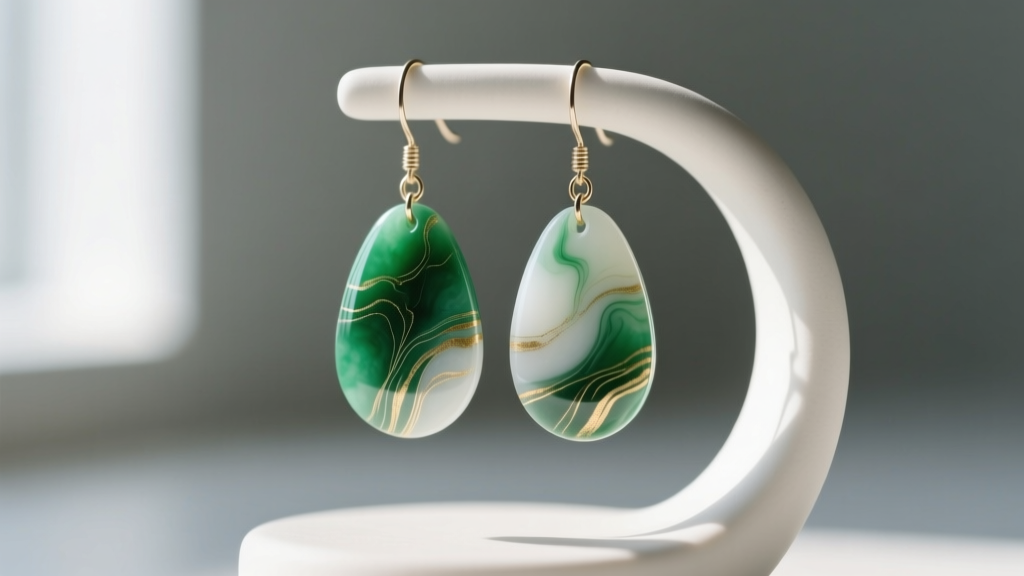
2. Faux Jade Marbled Drops
Faux jade requires blending translucent clay with alcohol inks (green, white, and a touch of black). Fold the clay repeatedly to create organic, vein-like striations, but do not over-blend, or the colors will turn muddy. Cut teardrop shapes and sand them post-baking up to 1000-grit wet/dry sandpaper. The natural translucency of the polymer will mimic the depth of real nephrite jade.
3. Botanical Impression Studs
For stud earrings, structural weight is less of an issue, allowing for intricate surface textures. Roll out a sheet of matte-finish clay (such as Fimo Professional in white or sage) and press real, veined leaves or silicone botanical stamps into the surface. Use a precision blade to trim around the impression, leaving a 1mm organic border. Embed a 20-gauge flat-pad earring post into the back using a small amount of liquid clay (TLS) as an adhesive before baking.
4. Geometric Color-Block Dangles
Color-blocking relies on the 'Skinner Blend' technique to create seamless gradients. Blend two complementary colors (e.g., terracotta and mustard) into a gradient sheet, fold it, and cut sharp geometric triangles. Stack the triangles to create a multi-tiered dangle earring, connecting the tiers with 2mm jump rings. This introduces kinetic movement to the earring, a highly sought-after trait in contemporary clay jewelry.
5. Textured Matte Hoops
While clay is often used for dangles, it can be adapted for huggies and small hoops. Use a clay extruder with a hollow tube disc to create uniform clay ropes. Wrap the rope around a 15mm wooden dowel to form a perfect circle. Before baking, use a wire brush or coarse sandpaper to score the surface, creating a raw, unglazed ceramic texture that pairs beautifully with brushed brass hardware.
Step-by-Step: Baking, Sealing, and Assembly
The difference between a hobbyist craft and a professional jewelry piece lies in the curing and finishing process. Polymer clay does not air dry; it requires precise thermal activation to fuse the PVC particles and plasticizers.
- Temperature Accuracy: Never trust your home oven's dial. Use an independent digital oven thermometer. According to Sculpey's official baking guide, Premo requires 275°F (135°C). Baking too low results in brittle clay that shatters upon impact; baking too high scorches the plasticizers, releasing toxic fumes and discoloring the piece.
- Time and Thickness: Bake for 30 minutes per 1/4 inch (6mm) of thickness. For standard 2mm earrings, a 30-minute bake is sufficient, but extending it to 45 minutes can actually increase the clay's flexibility and durability.
- Tenting: Always 'tent' your clay with a folded sheet of aluminum foil or a dedicated baking pan to prevent the oven's heating element from scorching the surface of your earrings.
Expert Tip: Skip the glossy polyurethane sprays. In 2026, the market prefers the tactile, organic feel of bare, wet-sanded polymer clay. If you must seal your pieces to protect metallic leafing or alcohol inks, use a UV-curing jewelry resin applied in a micro-thin layer, curing it under a 36W UV lamp for 60 seconds.
Troubleshooting Common Polymer Clay Failures
Even experienced jewelers encounter structural and aesthetic failures. Here is how to diagnose and fix the most common issues:
Brittle Earrings that Snap at the Drill Hole:
This is almost always a result of underbaking or drilling too close to the edge. Ensure your oven is calibrated correctly. When drilling, always use a sharp 1mm carbide bit and drill from both the front and back to prevent 'blowout' cracks on the exit side. Keep drill holes at least 2mm away from the edge of the clay.
Plaque or Translucent Frosting:
If your translucent or light-colored clays develop cloudy, grayish patches, moisture was trapped inside the clay during conditioning. To prevent this, store your clay blocks in sealed plastic bins, and if you live in a humid climate, 'leach' the clay by pressing it between paper towels for an hour before working to draw out excess moisture.
Hardware Falling Out:
Glue alone will eventually fail due to the natural flex of polymer clay and the oils from human skin. For earring posts, always score the flat metal pad with sandpaper, apply a thin layer of Bake & Bond (a specialized liquid clay adhesive), and bake the post directly into the clay. For ear wires, use a jump ring that is physically trapped inside a baked clay loop, rather than relying on glue.
Final Thoughts on Scaling Your Clay Jewelry
Mastering these clay earrings ideas is just the beginning. As you refine your techniques, invest in a pasta machine dedicated solely to clay conditioning to ensure uniform sheet thickness, and upgrade to professional-grade brass and niobium findings. By prioritizing material integrity, precise baking protocols, and biocompatible hardware, your polymer clay earrings will transition from fragile crafts to highly durable, premium accessories ready for the modern jewelry market.