How to Safely Clean Earring Studs and Hoops at Home
Learn how to safely clean earring studs, hoops, and backs based on material. Expert tips for titanium, gold, and silver to prevent tarnish and irritation.

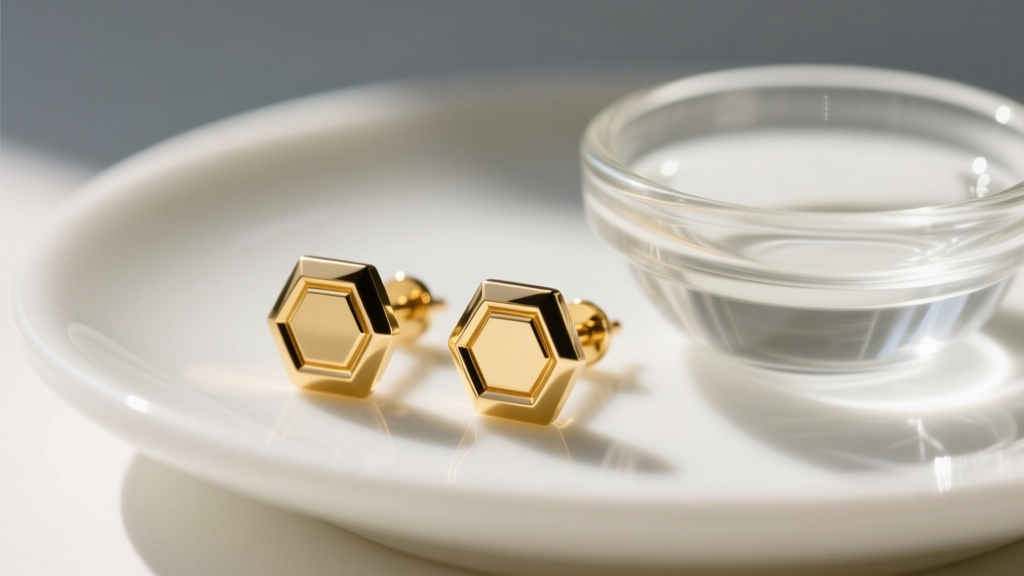
The Science of a Clean Earring: Biofilm vs. Tarnish
When beginners ask how to maintain their jewelry, they often conflate two entirely different chemical processes: biological buildup and metallic oxidation. A truly clean earring requires addressing both. The infamous "earring cheese" odor is caused by a biofilm of sebum (skin oils), dead keratinocytes, and cosmetic residue that accumulates along the post and inside the fistula (the piercing channel). Meanwhile, tarnish is a chemical reaction—most commonly seen in sterling silver or copper alloys—where sulfur compounds in the air or sweat create a dark surface layer.
Failing to remove this biofilm doesn't just smell unpleasant; it creates a breeding ground for staphylococcus bacteria, leading to localized contact dermatitis or low-grade infections. To establish a proper maintenance routine, you must first identify your jewelry's base metal and any gemstone inlays, as the wrong cleaning agent can permanently ruin porous stones or strip delicate plating.
Material-Specific Cleaning Protocols
Implant-Grade Titanium (ASTM F136)
Implant-grade titanium is the gold standard for both fresh piercings and everyday wear. Because it contains zero nickel and is highly corrosion-resistant, it is virtually indestructible in a home cleaning environment. You can safely boil titanium jewelry in distilled water for 10 minutes, submerge it in 70% isopropyl alcohol, or use an ultrasonic cleaner. This makes it the easiest metal to keep completely sterile.
Solid Gold (14k and 18k)
Solid gold requires a gentler approach. While pure 24k gold is non-reactive, jewelry is alloyed with metals like copper, zinc, and silver for durability. Never expose solid gold to chlorine (such as in swimming pools or harsh household bleach). Chlorine causes a microscopic reaction called "stress corrosion cracking," which permanently weakens the alloy and can cause prongs to snap, losing your gemstones. Instead, use a few drops of mild, phosphate-free dish soap (like Dawn) in warm water, gently agitating with a soft-bristled baby toothbrush.
Sterling Silver (925) and Plated Metals
Sterling silver contains 7.5% copper, which is highly reactive to sulfur and moisture. To maintain a clean earring made of silver, avoid soaking it in saline or saltwater, which accelerates oxidation. Use a dedicated micro-abrasive silver polishing cloth to remove tarnish. For gold-plated or PVD-coated jewelry, avoid ultrasonic cleaners and stiff brushes entirely, as the acoustic cavitation and friction will strip the microscopic outer layer, exposing the base brass or steel beneath.
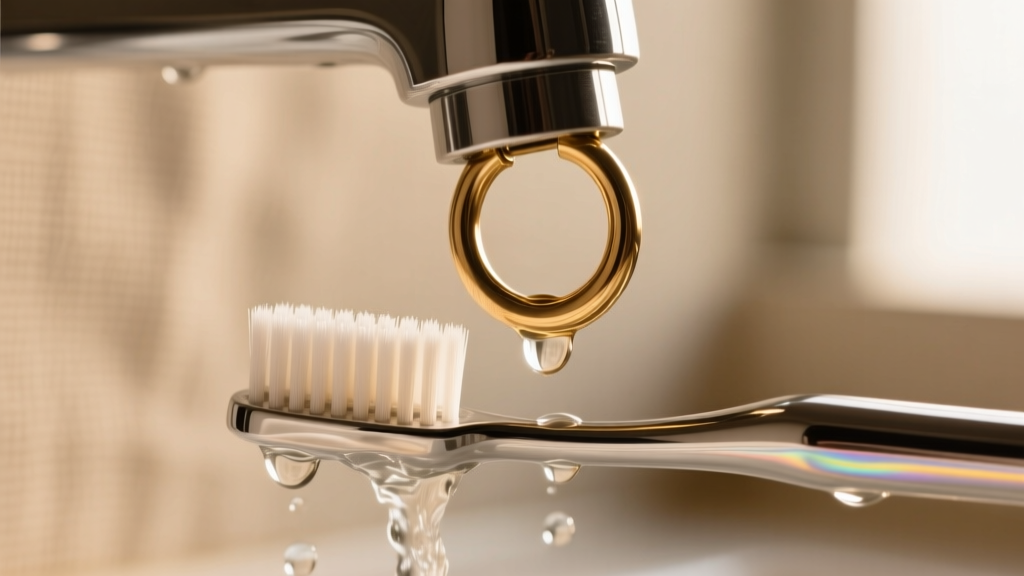
The Step-by-Step Soak and Scrub Method
For standard solid metals (gold, platinum, titanium, and surgical steel) without fragile gemstones, follow this deep-cleaning framework every two to four weeks:
- Prepare the Bath: Fill a small glass bowl with warm (not hot) water and add three drops of mild liquid dish soap.
- Soak: Submerge the earrings for 10 to 15 minutes. This softens hardened sebum and cosmetic buildup around the prongs and clasps.
- Agitate: Using an extra-soft baby toothbrush, gently brush the post, the back of the setting, and the clasp mechanism. Pay special attention to the grooves where the post meets the decorative head.
- Rinse and Dry: Rinse thoroughly under warm tap water. Pat dry with a lint-free microfiber cloth. Never use tissue paper or cotton balls, as the fibers will snag on prongs and thread grooves.
Cleaning Agents vs. Earring Materials
| Cleaning Agent | Safe For | Avoid Using On |
|---|---|---|
| 70% Isopropyl Alcohol | Titanium, Surgical Steel, Glass, Diamonds | Pearls, Opals, Emeralds, Plated Metals |
| Mild Dish Soap & Water | Solid Gold, Platinum, Titanium, Most Gems | Raw or unpolished porous stones |
| Sterile Saline (0.9%) | Fresh Piercings, All Body-Safe Metals | Not effective for heavy tarnish removal |
| Ultrasonic Cleaner (40kHz) | Diamonds, Solid Gold, Platinum, Titanium | Emeralds, Opals, Pearls, Onyx, Plated items |
| Silver Polish / Dip | Solid Sterling Silver (925) | Oxidized (blackened) silver details, Gold |
How to Clean Earring Backs and Threads
The back of the earring is the most overlooked component of jewelry hygiene. Traditional butterfly clutch backs act as microscopic traps for dead skin and hair. If you wear butterfly backs, use a wooden toothpick or a soft interdental brush to carefully dislodge debris from the coiled metal loops.
For modern, high-quality jewelry, you are likely dealing with internally threaded or threadless flat back labrets. Internally threaded jewelry (where the screw is on the post, common in 16g and 14g cartilage pieces) requires careful brushing of the screw grooves. If sebum hardens in the threads, forcing the top on can strip the metal. Soak the threaded post in warm soapy water for five minutes before attempting to unscrew it. For threadless (press-fit) jewelry, simply wipe the smooth pin with an alcohol pad to remove oils that might cause the tension fit to slip out prematurely.
Fresh Piercings vs. Healed Ears: A Critical Warning
"Cleaning the jewelry and cleaning the piercing are two entirely different medical protocols. Never remove jewelry from an unhealed fistula to clean it."
Beginners often confuse wound care with jewelry maintenance. If your piercing is less than 6 to 12 months old (the standard healing time for cartilage), your primary focus must be on the tissue, not just the metal. The Association of Professional Piercers (APP) strictly advises against using harsh chemicals like rubbing alcohol, hydrogen peroxide, or tea tree oil on healing tissue, as these destroy newly forming epithelial cells and delay healing.
For fresh piercings, your "clean earring" routine should consist solely of spraying the area twice daily with sterile, preservative-free 0.9% sodium chloride wound wash. Let the water from your daily shower gently rinse the post. Do not twist or rotate the jewelry, as this tears the fragile healing fistula and introduces surface bacteria deep into the wound channel.
Troubleshooting Common Earring Issues
- The Post is Stuck or Won't Unscrew: This is usually caused by dried sebum acting like glue in the threads, or cross-threading. Apply a warm, damp compress to the earring back for three minutes to soften the biological buildup. If it still won't budge, visit a professional piercer who can use sterilized hemostats and rubber grip pads to safely separate the components without bending the post.
- Green or Black Skin Discoloration: If your earlobe turns green or dark grey, you are experiencing a chemical reaction between your skin's natural acids and the copper or nickel in your jewelry. This is not necessarily an infection, but it is a definitive sign that your jewelry is not made of body-safe alloys. According to the Mayo Clinic, nickel allergies can develop at any age and present as itchy, red rashes (allergic contact dermatitis). Switch immediately to ASTM F136 implant-grade titanium or solid 14k/18k gold to halt the reaction.
- Dull Gemstones After Cleaning: If your diamonds or sapphires look cloudy even after washing, they likely have a film of hand lotion or hairspray trapped underneath the setting. Use a wooden toothpick (never metal, which can scratch the gold prongs) to gently scrape the underside of the gemstone, then rinse with warm water to restore light refraction.
Maintaining a clean earring collection is ultimately about matching the right chemistry to your specific metals. By abandoning harsh, one-size-fits-all cleaners and adopting material-specific protocols, you will extend the lifespan of your jewelry and keep your piercings healthy, comfortable, and brilliantly shiny for years to come.


