Guardian Earring Back Care: Cleaning & Maintenance Tips
Learn expert care, cleaning, and maintenance tips for your guardian earring back. Keep your diamond studs secure and free of lotion buildup.

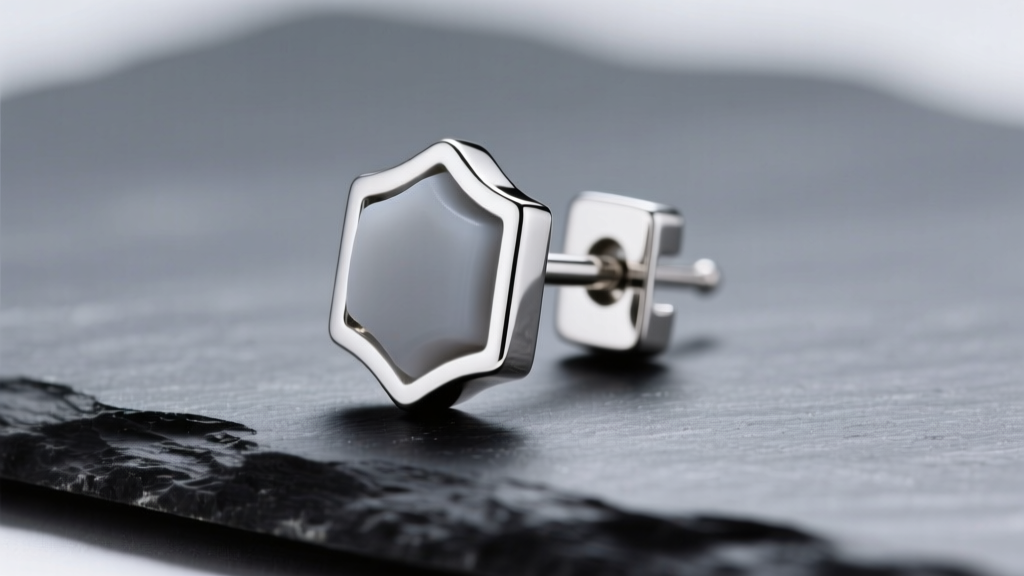
When you invest in high-carat diamond studs or precious gemstone earrings, securing them with standard friction clutches is a risk most collectors refuse to take. The guardian earring back—a premium locking mechanism engineered with internal micro-springs and high-friction silicone or Teflon sleeves—offers unparalleled security. However, this sophisticated micro-engineering comes with a specific maintenance burden. Because of their complex internal architecture, guardian locking backs are highly susceptible to trapping sebum, cosmetic lotions, and dead skin cells. Over time, this calcified buildup can compromise the locking mechanism, leading to a false sense of security or a permanently stuck clutch.
As a domain expert in fine jewelry maintenance, I have developed this comprehensive guide to cleaning, troubleshooting, and preserving the mechanical integrity of your guardian earring back systems. Proper care ensures your high-value earrings remain secure and your hardware functions flawlessly for decades.
The Anatomy of a Guardian Earring Back
To properly maintain your jewelry hardware, you must first understand its micro-engineering. Unlike standard butterfly clutches that rely on simple metal tension, a true guardian earring back features a multi-component internal architecture:
- Outer Shell: Typically cast in 14k/18k gold or platinum, housing the internal mechanism.
- Internal Collet & Micro-Spring: A stainless steel or titanium spring mechanism that applies outward pressure against the earring post.
- Friction Sleeve: A medical-grade silicone or Teflon O-ring (often rated at 60-70 Shore A hardness) that grips the earring post.
- Release Levers: The external metal tabs you pinch to compress the spring and release the post.
Standard earring posts are manufactured in specific gauge sizes, most commonly 20-gauge (0.81mm) or 18-gauge (1.02mm). The internal silicone sleeve of a guardian earring back is calibrated to these exact tolerances. When foreign debris infiltrates the collet, it alters these tolerances, leading to mechanical failure.
The Chemistry of Earring Back Buildup
Why do guardian backs get so dirty, and why is it so difficult to clean them? The culprit is a combination of human biology and cosmetic chemistry. The skin behind the earlobe produces sebum, an oily substance rich in squalene and triglycerides. When sebum mixes with dead keratinocytes (skin cells) and the polymers found in daily hairsprays and moisturizers, it creates a dense, waxy compound.
Because the guardian earring back features a sealed or semi-sealed internal chamber to protect the spring, this waxy compound gets pushed deep into the collet. Over months of wear, body heat bakes this mixture into a hardened, calcified mass. This mass mimics metal-on-metal friction, making the back feel 'stuck' on the post, or it coats the silicone sleeve, causing the back to slip off unexpectedly.
Step-by-Step Cleaning Protocol
Cleaning a guardian earring back requires a methodical approach to dissolve lipids without degrading the internal silicone components. According to the Gemological Institute of America (GIA), gentle, non-abrasive cleaning agents are paramount for preserving both gemstones and jewelry hardware.
Step 1: Dry Extraction
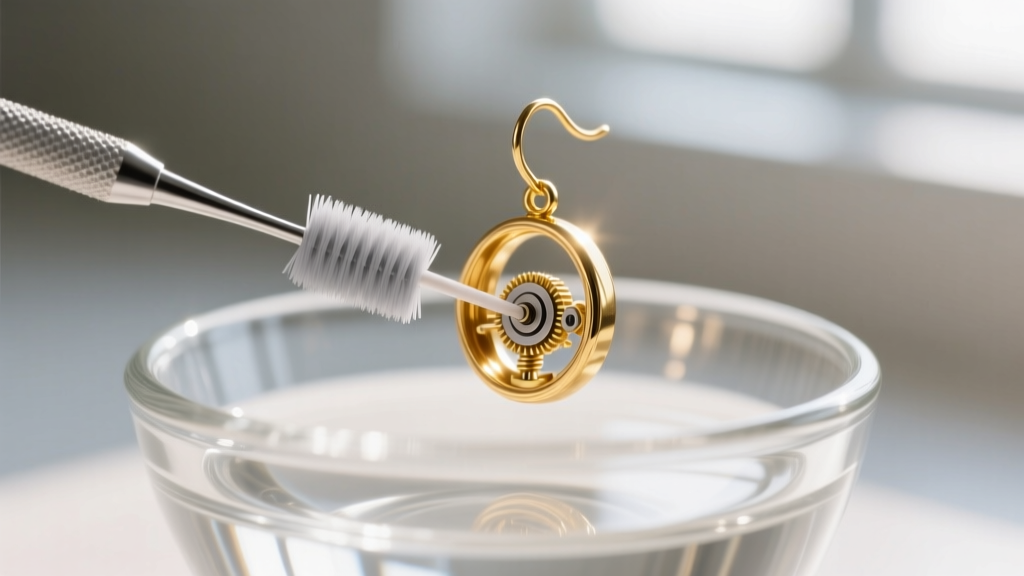
Before introducing any liquids, use a 0.4mm interdental brush (the kind used for braces or tight dental gaps). Gently insert the bristles into the openings of the guardian back where the post enters. Twist lightly to break up the superficial crust of lotion and skin cells. Never use metal needles or safety pins, as these will scratch the precious metal shell and potentially dislodge the internal spring.
Step 2: The Enzymatic Soak
Fill a small glass bowl with warm water (approximately 100°F or 38°C) and add three drops of an enzymatic dish soap, such as Dawn Platinum Powerwash. Enzymatic soaps are specifically designed to break down lipid bonds. Submerge the guardian backs (removed from the earrings) and let them soak for 20 to 30 minutes.
Step 3: The Ultrasonic Debate
Can you use an ultrasonic cleaner on a guardian earring back? Yes, but with strict parameters. A standard 40kHz to 45kHz ultrasonic frequency is safe for the solid gold or platinum shell and the steel spring. The cavitation bubbles will effectively blast microscopic debris from the internal collet. However, never place the earring and the back into the ultrasonic cleaner while they are attached, and never use ultrasonic waves if your earring features fracture-filled diamonds, emeralds, or opals. Clean the backs separately.
Step 4: The Drying Phase
Moisture trapped inside the collet can lead to skin irritation and degrade the silicone sleeve over time. After rinsing with distilled water, use a hairdryer on the 'cool' setting to blast air through the mechanism, ensuring the internal spring and silicone sleeve are completely dry before reattaching them to your earrings.
Maintenance Schedule and Lubrication
Routine maintenance prevents the need for deep cleaning and extends the life of the micro-springs. Follow this matrix to keep your hardware in peak condition:
| Frequency | Action Required | Tools / Agents | Critical Warnings |
|---|---|---|---|
| Weekly | Surface wipe and dry | Microfiber cloth, cool air | Never sleep with backs on; let earlobes breathe. |
| Monthly | Enzymatic soak and brush | 0.4mm brush, lipid-cutting soap | Do not use toothpaste; it is highly abrasive. |
| Bi-Annually | Ultrasonic deep clean | 40kHz ultrasonic, distilled water | Ensure silicone sleeves are not showing micro-tears. |
A Note on Lubrication: Never apply oil, WD-40, or silicone spray to a guardian earring back. These substances will attract dust, gum up the release levers, and cause the silicone O-ring to swell and fail. The mechanism is designed to operate dry, relying on the precision of the metal spring and the natural grip of the silicone sleeve.
Troubleshooting Common Guardian Back Failures
Even with meticulous care, mechanical issues can arise. Here is how to diagnose and resolve the most common problems associated with locking earring backs, as supported by insights from Jewelers Mutual regarding jewelry wear and tear.
1. The Back Slips Off the Post
Diagnosis: If the guardian back slides off a 20-gauge post with minimal resistance, the internal silicone friction sleeve has likely degraded, lost its elasticity, or become coated in a microscopic layer of lotion.
Solution: First, perform the enzymatic soak. If the grip does not return, the silicone sleeve has reached the end of its lifespan. Take the back to a jeweler to have the internal O-ring replaced (typically a $15 to $25 service).
2. The Back is Permanently Stuck
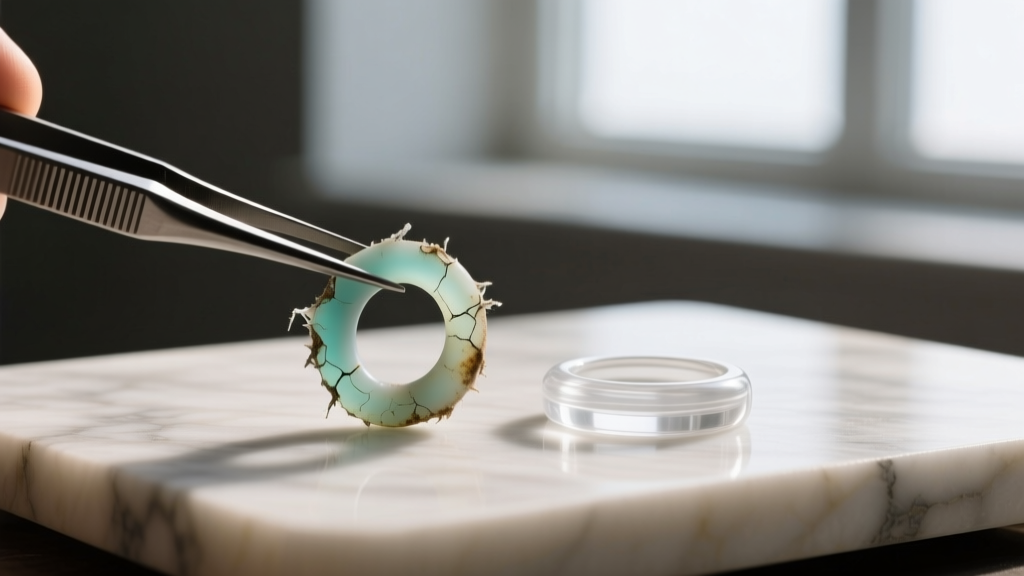
Diagnosis: You are pinching the release levers, but the back will not slide off the earring post. This is almost always caused by calcified sebum and lotion acting as a cement inside the collet.
Solution: Do not use pliers to force the back off; you will crush the outer gold shell and bend the earring post. Submerge the entire earring (if the gemstone allows) or just the back in warm enzymatic soap for up to 60 minutes. Gently work the release levers back and forth while submerged to allow the soap to penetrate the calcified mass.
3. The Release Levers Feel Loose or Asymmetrical
Diagnosis: Metal fatigue or spring failure. If one lever depresses easily while the other is stiff, the internal stainless steel micro-spring has snapped or slipped out of its housing.
Solution: This is not repairable at home. The guardian back must be replaced.
Guardian Backs vs. Screw Backs vs. Friction Backs
Understanding how guardian backs compare to alternatives helps contextualize their maintenance needs:
- Friction (Butterfly) Backs: High maintenance for security, low maintenance for cleaning. They trap debris but are easily replaced for under $5. They rely entirely on metal tension, which fatigues quickly.
- Screw Backs: Excellent security, but the threading is highly prone to cross-threading if debris is trapped in the grooves. They require careful cleaning with a soft brush to ensure the threads remain clear.
- Guardian Locking Backs: Superior security and ease of use (push-on, pinch-off). They require more deliberate cleaning due to the enclosed spring mechanism, but they do not suffer from the cross-threading risks of screw backs or the tension loss of friction backs.
When to Replace Your Guardian Earring Backs
Guardian earring backs are precision instruments, and they do not last forever. You should expect to replace high-quality solid gold or platinum guardian backs every 5 to 10 years, depending on wear frequency and chemical exposure (e.g., frequent swimming in chlorinated pools or wearing them in the shower).
Replacement pairs typically range from $40 to $90, depending on the metal weight and the specific brand (such as La Pousette or proprietary jeweler brands). If your guardian back shows visible warping on the release levers, if the internal spring rattles audibly, or if it fails to grip a brand-new, unworn earring post, it is time to retire the hardware. Never trust a compromised locking mechanism with a $10,000 diamond stud.
By adhering to this enzymatic cleaning protocol and avoiding harsh chemicals that degrade internal polymers, your guardian earring backs will provide reliable, invisible security for your most treasured earrings for years to come.


