How to Clean and Inspect Your Zale Earrings: A Step-by-Step Guide
Learn how to clean, inspect, and maintain your zale earrings with our expert step-by-step guide, ensuring your gold and diamond jewelry lasts.

The Anatomy of Fine Earring Maintenance
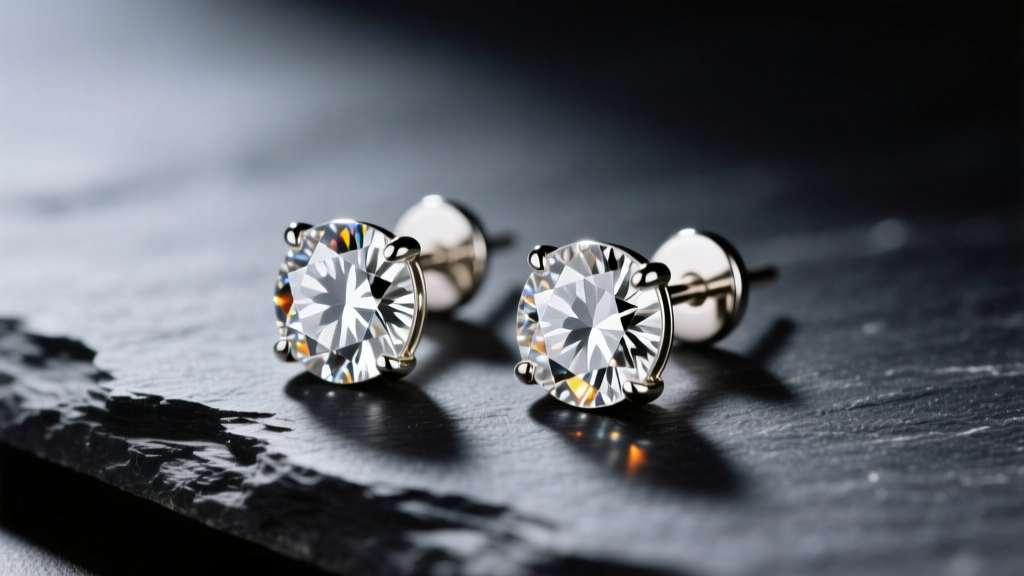
When consumers search for zale earrings online, they are typically seeking the classic, reliable fine jewelry pieces offered by legacy retailers, known for their brilliant diamond studs, elegant gold hoops, and gemstone drops. However, owning high-quality fine jewelry is only half the equation; maintaining its structural integrity and optical brilliance requires a disciplined, expert-level care routine. As of 2026, advancements in home ultrasonic technology and specialized cleaning chemistry have made professional-grade maintenance more accessible than ever. Yet, improper cleaning remains the leading cause of loose stones and degraded metal finishes.
This comprehensive, step-by-step guide will walk you through the exact protocols used by bench jewelers to inspect, clean, and secure your fine earrings. Whether you are dealing with 14k white gold diamond studs, 18k yellow gold huggies, or platinum drop earrings, these actionable steps will ensure your pieces remain secure and radiant for decades.
Step 1: Pre-Cleaning Structural Inspection
Never submerge damaged jewelry in a cleaning solution. If a stone is already loose, the cavitation bubbles from an ultrasonic cleaner or the agitation of a brush can dislodge it completely, leading to a lost diamond or gemstone. Before any liquid touches your earrings, you must perform a structural audit.
Verifying Prongs and Gallery Wires
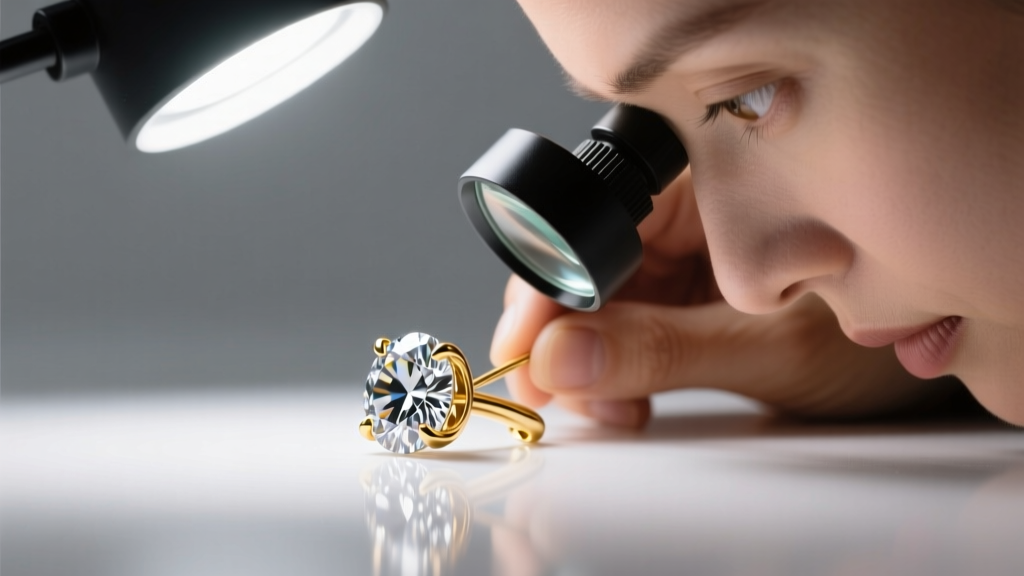
Using a 10x jeweler's loupe, examine the prongs holding your center stones. For a standard 4-prong or 6-prong martini or basket setting, ensure the metal is resting flush against the crown of the stone. Look for 'lifting' (where the prong pulls away from the stone) or 'wear' (where the metal has thinned due to friction against hair and clothing). If you can slide a piece of paper between the prong and the diamond, the setting requires professional retipping.
Checking Post Gauge and Threading
Fine earrings typically feature either an 18-gauge (1.0mm) or 20-gauge (0.8mm) post. Inspect the post for bending, which weakens the metal's crystalline structure through work-hardening. If your earrings feature screw-backs, examine the threading under magnification. Stripped threads will prevent the backing from securing properly, drastically increasing the risk of loss.
Step 2: Selecting the Right Cleaning Chemistry
Not all metals and gemstones react identically to cleaning agents. The Gemological Institute of America (GIA) strictly warns against using harsh chemicals on porous or fracture-filled stones. Understanding the chemistry of your cleaning solution is critical to avoiding irreversible damage.
| Material / Gemstone | Mohs Hardness | Ultrasonic Safe? | Recommended Cleaning Agent |
|---|---|---|---|
| Diamonds in 14k/18k Gold | 10 (Diamond) | Yes | Ammonia-based solutions or mild dish detergent |
| Sapphires & Rubies | 9 | Generally Yes (Avoid if heavily included) | Warm soapy water, soft brush |
| Emeralds | 7.5 - 8 | NO | Damp microfiber cloth only (Emeralds are typically oil-treated) |
| Pearls & Opals | 2.5 - 5.5 / 5.5 - 6.5 | NO | Mild, non-detergent soap; avoid soaking |
| Sterling Silver (No Stones) | N/A | Yes | Silver-specific dip or baking soda/aluminum foil bath |
For standard diamond and gold zale earrings, a solution of warm distilled water and a few drops of degreasing dish soap (like Dawn) is the safest, most effective baseline cleaner. Ammonia-based cleaners will yield a brighter shine on white gold and platinum but should be used in well-ventilated areas.
Step 3: The Soak, Agitate, and Rinse Protocol
Once you have confirmed the structural integrity and selected the appropriate chemistry, follow this exact cleaning sequence to remove sebum, cosmetics, and environmental dust.
- The Soak: Place your earrings in a small glass bowl (never use metal bowls, which can cause micro-scratches on softer gold alloys) filled with your chosen warm cleaning solution. Let them soak for 15 to 20 minutes. This softens hardened lotions and skin oils trapped beneath the gallery (the underside of the setting).
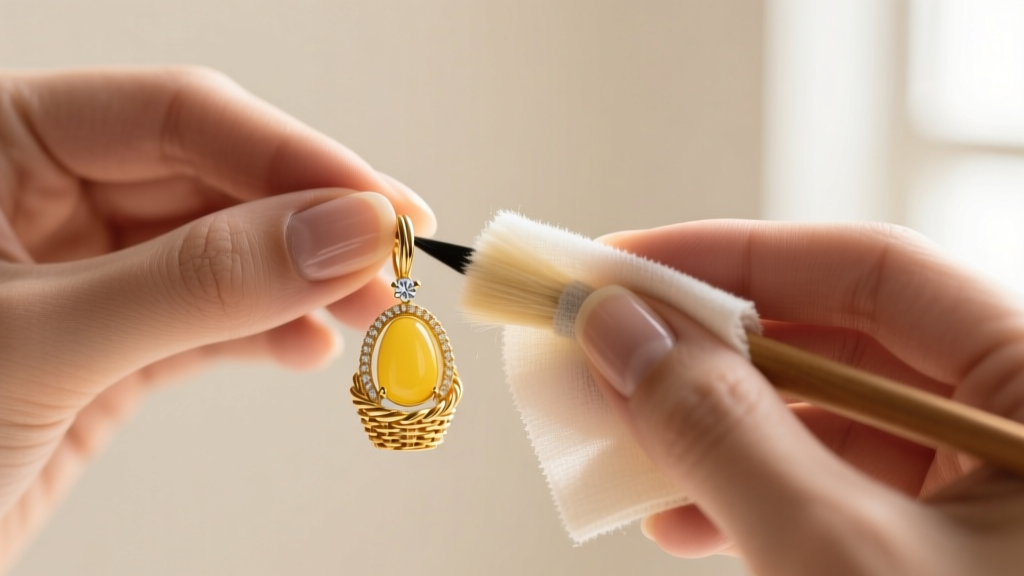
- The Agitation: Using an extra-soft baby toothbrush or a dedicated jewelry brush, gently sweep the bristles across the underside of the diamond. Diamonds are lipophilic, meaning they attract and hold onto grease. The pavilion (bottom facets) is where 90% of light-blocking grime accumulates. Brush in a circular motion, applying zero downward pressure.
- The Rinse: Rinse the earrings under a gentle stream of lukewarm distilled water. Crucial: Always place a rubber stopper in the sink drain or use a specialized jewelry rinsing basket to prevent accidental loss.
- The Dry: Do not use paper towels or tissue, as the wood fibers will leave microscopic lint on the prongs. Use a lint-free microfiber cloth or a blast of compressed air to dry the setting completely.
Step 4: Securing High-Value Earring Backs
Cleaning your earrings is futile if the securing mechanism fails. The Federal Trade Commission's Jewelry Guides emphasize the importance of proper findings in maintaining the longevity and security of precious metal jewelry. Upgrading or maintaining your earring backs is a vital step in your care routine.
Friction Backs vs. Screw Backs vs. La Pousette Backs
- Standard Friction (Butterfly) Backs: These rely on the tension of the metal loops against a notched post. Over time, the loops stretch out, reducing tension. Use a pair of nylon-jaw pliers to gently squeeze the loops back together to restore grip.
- Screw Backs: These thread onto a grooved post, offering superior security. However, cross-threading can ruin the post. Always align the backing perfectly straight before twisting. If a screw back becomes stuck due to dried soap or debris, do not use metal pliers. Put on a pair of textured rubber nitrile gloves to gain the friction needed to unscrew it safely.
- La Pousette (Locking) Backs: The gold standard for high-carat diamond studs. These feature a spring-loaded mechanism with two tiny metal tabs. When depressed, the backing slides smoothly over the post; when released, internal locking jaws bite into the post's groove. Keep the internal spring mechanism free of lint by occasionally blasting it with compressed air.
Troubleshooting Common Earring Emergencies
Even with meticulous care, fine jewelry encounters mechanical issues. Here is how to handle common problems without causing further damage:
Expert Warning: Never attempt to bend a crooked earring post back into place with your bare hands. 18k gold and platinum are dense, and uneven pressure can snap the post at the solder joint. Always use parallel-jaw pliers or visit a bench jeweler.
- Stuck Friction Backs: If a butterfly back is jammed due to a bent post or debris, apply a microscopic drop of mineral oil to the post. Let it sit for five minutes, then gently wiggle the back off using a twisting motion, not a pulling motion.
- Tarnished White Gold: If your white gold earrings are turning yellow, the rhodium plating has worn off. Cleaning will not fix this. The earrings must be sent to a jeweler for a fresh rhodium electroplating bath.
- Cloudy Diamonds After Cleaning: If a diamond still looks cloudy after a thorough soak and brush, it may have been subjected to a clarity-enhancement (fracture filling) that was damaged by heat or chemicals, or the grime is trapped inside a cracked stone. Consult a GIA-certified gemologist immediately.
Final Thoughts on Longevity
Treating your fine jewelry with the respect it deserves transforms it from a mere accessory into a lasting heirloom. By integrating this 15-minute inspection and cleaning protocol into your monthly routine, you protect both the financial and sentimental value of your collection. Proper gauge verification, chemistry-aware cleaning, and mechanical maintenance of your earring backs are the hallmarks of a true jewelry connoisseur. Keep your pieces secure, brilliant, and ready to be worn with absolute confidence.


