How to Clean Jewelry Made From Free Beaded Earring Patterns
Learn how to properly clean, maintain, and store handmade jewelry created using free beaded earring patterns without damaging wires or stones.

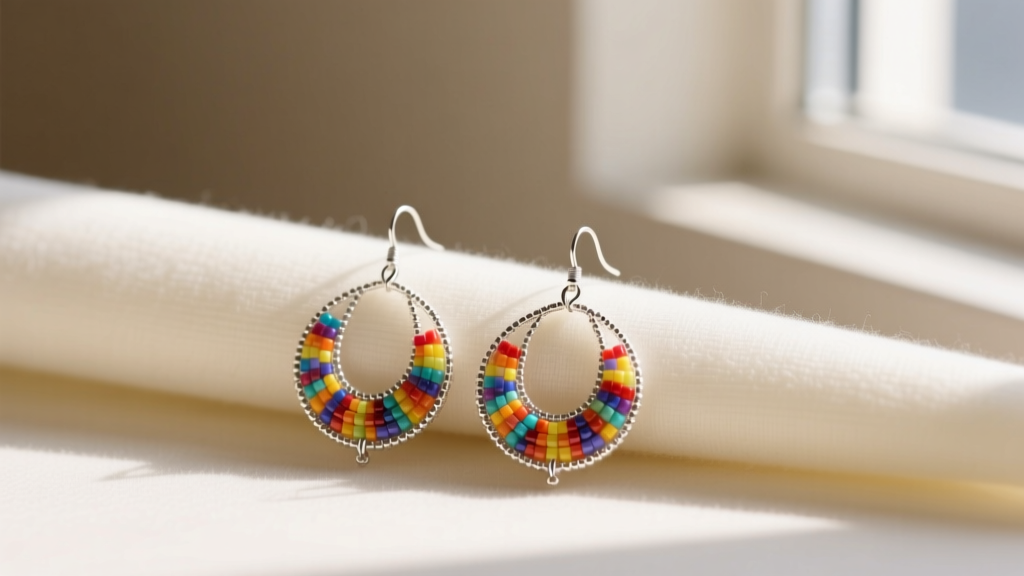
Creating your own jewelry using free beaded earring patterns is a rewarding way to express personal style and master intricate techniques like peyote stitch, right-angle weave, or wire-wrapping. However, handmade beaded earrings possess unique structural vulnerabilities that mass-produced, cast-metal jewelry simply does not have. The combination of delicate weaving threads, tension-dependent wirework, and varied bead coatings requires a highly specialized approach to care, maintenance, and cleaning.
If you have spent hours weaving Miyuki Delica beads or wrapping 24-gauge wire around natural gemstones, tossing your creations into a commercial jewelry dip or an ultrasonic cleaner will likely destroy them. This comprehensive guide details the exact protocols for preserving the structural integrity and visual brilliance of your handmade beaded earrings.
The Unique Vulnerabilities of Handmade Beaded Earrings
Unlike solid metal earrings, beaded earrings rely on a network of tension and friction to maintain their shape. The primary failure points in handmade earrings include:
- Thread Degradation: Beading threads like Nymo (nylon) or Silamide (waxed nylon) can break down when exposed to the natural oils from your skin, perfume, or harsh cleaning chemicals. Conversely, fused polyethylene threads like Fireline are highly resistant to oils but can become brittle if exposed to extreme heat.
- Wire Fatigue: Patterns that utilize dead-soft wire for structural loops are prone to work-hardening and eventual snapping if repeatedly bent during cleaning or storage.
- Coating Stripping: Many seed beads feature surface treatments, such as Aurora Borealis (AB), galvanized metallic, or dyed finishes. Friction from abrasive brushes or ammonia-based cleaners will strip these finishes, leaving you with dull, cloudy beads.
Material-Specific Cleaning Protocols
Because free beaded earring patterns often mix materials, you must clean the earrings based on the most delicate component in the design. Here is how to handle specific bead categories.
Glass and Crystal Seed Beads
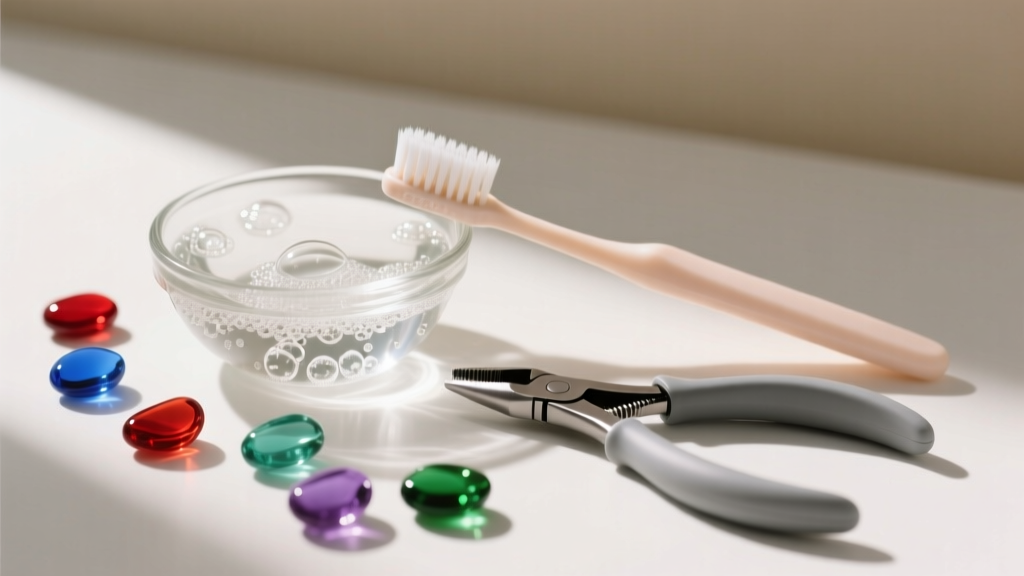
High-quality Japanese seed beads (Miyuki, Toho) and lead-free crystals (Preciosa) are highly durable. They can withstand mild, pH-neutral soap and water. However, you must avoid ultrasonic cleaners. The high-frequency vibrations can cause micro-fractures in glass beads, especially those with internal stress points from the manufacturing process. Always use a soft, extra-fine baby toothbrush to gently dislodge sebum and skin cells from the tight spaces between bead weaves.
Natural Gemstones and Porous Beads
If your pattern incorporates natural stones like turquoise, lapis lazuli, malachite, or freshwater pearls, you must avoid liquid cleaners almost entirely. According to the Gemological Institute of America (GIA), porous gemstones can absorb chemicals, soapy water, and even tap water minerals, leading to permanent discoloration or structural weakening. Clean these stones by gently wiping them with a dry, untreated microfiber cloth. Never use commercial silver dips on earrings featuring these stones, as the thiourea in the dip will permanently stain the porous surface.
Acrylic and Polymer Clay Components
Many modern beaded patterns incorporate polymer clay focal beads or acrylic spacer beads. These materials are highly sensitive to alcohol and acetone. Even a quick wipe with an alcohol prep pad to "sanitize" the earring will melt the surface of polymer clay, ruining the finish and making the bead sticky and prone to attracting dust.
Wire and Finding Maintenance: Preventing Tarnish and Breakage
The wire used to create ear wires, headpins, and structural weaving armatures requires distinct maintenance. A common flaw in some amateur free beaded earring patterns is the recommendation to use 24-gauge or 26-gauge wire for ear hooks. Standard ear piercings are typically 18-gauge to 20-gauge. Using wire thinner than 22-gauge for an ear hook guarantees that the wire will bend, warp, and eventually snap due to metal fatigue.
When maintaining the wire components of your earrings, you must identify the base metal and apply the correct polishing method. Below is a compatibility chart for common beading wires.
| Wire Material | Tarnish Rate | Recommended Cleaning Agent | Agents to Avoid |
|---|---|---|---|
| Sterling Silver (.925) | Moderate to High | Silver polishing cloth (treated), mild soap | Bleach, ammonia, rubber bands (sulfur) |
| Argentium Silver | Very Low | Mild soap, warm water, soft cloth | Abrasive pastes (removes germanium layer) |
| Copper / Brass | High (Oxidizes quickly) | Lemon juice & salt bath (rinse immediately) | Commercial silver dips |
| Enamel-Coated Craft Wire | N/A (Coated) | Damp microfiber cloth only | Silver polish, ultrasonic, abrasive pads |
Pro Tip: Always keep a pair of nylon jaw pliers in your maintenance kit. If a 20-gauge sterling silver ear wire becomes misshapen during wear or cleaning, use the nylon jaws to gently reshape the loop without marring or scratching the polished metal surface.
Proper Storage to Prevent Crushing and Tangling
Improper storage is the leading cause of damage to handmade beaded earrings. Dangle earrings with intricate fringe or right-angle weave drops will easily crush, tangle, and snap if thrown into a standard communal jewelry box.
- Use Anti-Tarnish Strips: Place 3M anti-tarnish tabs inside your storage containers. These tabs absorb sulfur compounds and hydrogen sulfide from the air, drastically slowing the oxidation of sterling silver and copper wire components.
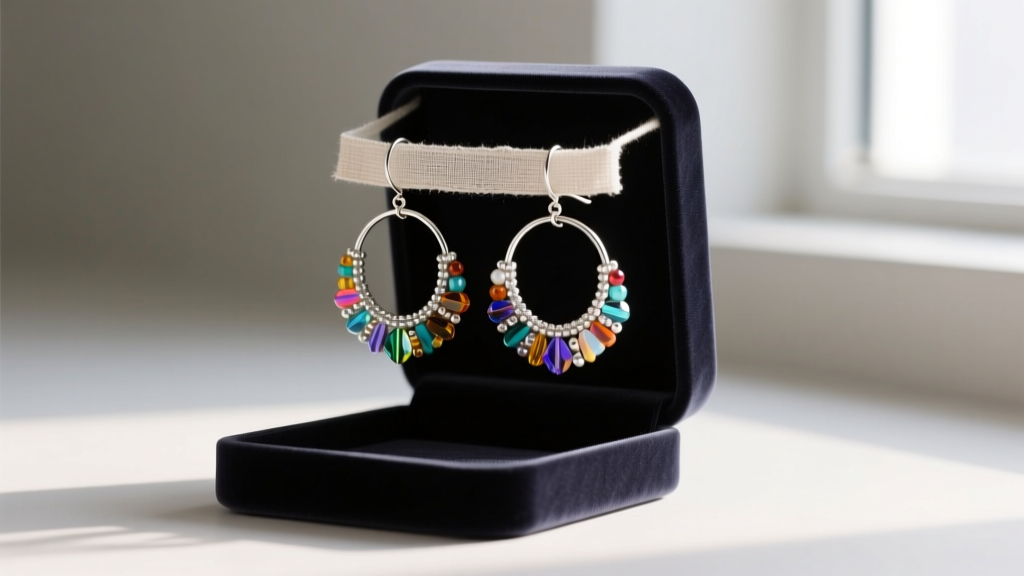
- Hang Dangles and Hoops: Utilize a jewelry organizer with individual fabric loops or hang them from a slotted display stand. This prevents the ear wires from bending under the weight of the beads and stops fringe beadwork from tangling.
- Isolate Hard Crystals: If your pattern uses Swarovski or Preciosa crystals alongside softer materials like pearls or polymer clay, store them in separate soft pouches. The faceted edges of cut crystals act like tiny blades and will scratch softer beads when they rub together in a drawer.
Step-by-Step Deep Cleaning Routine
For a thorough, safe cleaning of your glass-beaded and metal-wire earrings, follow this precise methodology recommended by experts at the Fire Mountain Gems Jewelry Making Encyclopedia:
- Prepare the Solution: Fill a small glass bowl with lukewarm (never hot) distilled water. Add two drops of pH-neutral, lotion-free dish soap (such as original blue Dawn). Avoid tap water, as the chlorine and hard minerals can leave a cloudy film on glass beads and accelerate copper oxidation.
- Targeted Agitation: Dip an extra-soft baby toothbrush into the solution. Do not submerge the entire earring if it contains glued components or porous stones. Gently brush the beadwork, paying special attention to the areas near the ear wire where skin oils and hair products accumulate.
- Rinse Quickly: Hold the earring under a gentle stream of lukewarm distilled water for no more than 5 seconds to rinse away the soap suds.
- Immediate Drying: Pat the metal findings dry with a lint-free microfiber cloth. Use a hair dryer on the cool setting to blow water out from between the tight seed bead weaves. Trapped moisture will cause the base metal of plated beads to rust from the inside out, leading to bead deterioration.
- Final Polish: Once completely dry, use a treated silver polishing cloth to gently buff only the exposed metal ear wires and headpins, avoiding contact with the beads themselves.
Troubleshooting Common Beading Failures
Even with meticulous care, handmade earrings may require minor repairs over time. Here is how to address common issues:
- Green Skin Discoloration: If your copper or brass ear wires are turning the wearer's skin green, it is a harmless chemical reaction between the metal and skin acidity. To prevent this, coat the ear wires with a microscopic layer of clear nail polish or a specialized jewelry shield like ProSeal, reapplying every few months.
- Frayed Weaving Thread: If you notice the tail end of a Fireline or Nymo thread fraying near the clasp, do not pull it. Apply a microscopic drop of flexible jewelry adhesive (such as E6000 or GS Hypo Cement) to the knot using a toothpick, let it cure for 24 hours, and carefully trim the excess with flush cutters.
- Loss of Tension in Peyote Stitch: Over time, beaded tubes can become "squishy" as the thread stretches. You can revive the structural rigidity by carefully weaving a new, taut line of Fireline through the existing beadwork, anchoring it at both ends to restore the tension.
By treating your handmade creations with the same level of care and technical precision that you applied while following those free beaded earring patterns, you ensure that your wearable art remains vibrant, structurally sound, and beautiful for years to come.


