How to Clean Pearl Earrings Safely: A Step-by-Step Guide
Learn how to clean pearl earrings safely with our step-by-step guide. Protect your nacre and metal settings from damage using expert jewelry care tips.

Pearls are among the most elegant and timeless gemstones you can wear, but their organic nature makes them uniquely vulnerable to damage. Unlike faceted stones such as diamonds or sapphires, pearls are born from living organisms. Learning how to clean pearl earrings properly is not just about maintaining their luster; it is about preserving the structural integrity of the nacre and the adhesives that hold your jewelry together. In this comprehensive guide, we break down the exact science of pearl care, the tools you need, and the step-by-step methods to keep your studs, drops, and dangles looking flawless.
The Science of Nacre: Why Pearls Require Special Care
To understand how to clean pearl earrings, you must first understand what they are made of. Nacre, the iridescent outer layer of a pearl, is composed of microscopic platelets of aragonite (a form of calcium carbonate) bound together by conchiolin, an organic protein. On the Mohs scale of mineral hardness, pearls rank between 2.5 and 4.5, making them exceptionally soft and prone to scratching.
Furthermore, calcium carbonate is highly reactive to acids. Even mild, everyday substances like citrus juice, vinegar, or the natural lactic acid in your sweat can slowly dissolve the nacre, leading to a dull, chalky appearance. According to the Gemological Institute of America (GIA), exposure to harsh chemicals, ultrasonic vibrations, and extreme heat can cause the nacre to crack or peel away from the nucleus entirely.
Essential Tools for Pearl Earring Maintenance
Before you begin cleaning, gather the correct materials. Using the wrong tools is the most common way jewelry owners accidentally ruin their pearls. Avoid toothbrushes, paper towels, and commercial jewelry dips at all costs.
| Category | Safe for Pearls | Strictly Avoid |
|---|---|---|
| Cloths | Untreated microfiber, soft cotton, chamois | Paper towels, tissue, abrasive polishing cloths |
| Liquids | Distilled water, pH-neutral phosphate-free soap | Tap water, ammonia, bleach, alcohol, ultrasonic solutions |
| Tools | Cotton swabs, soft-bristled makeup brushes | Toothbrushes, toothpicks, ultrasonic cleaners, steamers |
Step-by-Step Guide: How to Clean Pearl Earrings
For routine maintenance, you rarely need more than a simple dry or slightly damp wipe. Follow these steps after every wear to prevent the buildup of sebum and cosmetics.
Step 1: The Post-Wear Dry Wipe
Immediately after removing your pearl earrings, gently wipe each pearl with a clean, dry microfiber cloth. Use a light, circular motion to lift away surface oils, sweat, and microscopic makeup particles. This daily habit prevents acidic sweat from etching into the nacre over time.
Step 2: The Damp Cloth Technique
If the pearls feel slightly tacky or have visible residue, dampen a corner of your microfiber cloth with distilled water. Tap water contains chlorine and trace minerals that can leave a filmy deposit on the pearl's surface. Wring out the cloth until it is barely damp—never wet—and gently wipe the surface of the pearl.
Step 3: Air Drying and Adhesive Protection
Lay the earrings flat on a dry, soft towel to air dry completely. Never hang pearl earrings to dry. Most pearl studs and drops are constructed using a two-part epoxy or cyanoacrylate adhesive to bind the metal post or cap to the flat back of the pearl. If water seeps into the microscopic gap between the metal and the pearl, it will degrade the adhesive bond, eventually causing the pearl to pop off the setting.
Deep Cleaning: Tackling Sebum and Cosmetics Buildup
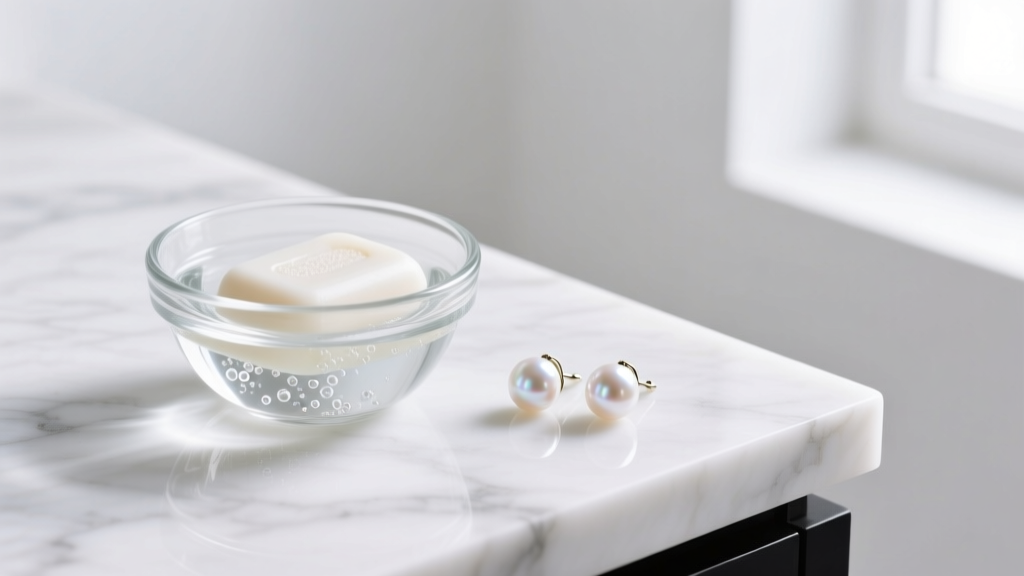
When a damp cloth is not enough to remove heavy buildup from hairspray, perfume, or body oils, you need a mild surfactant. Mikimoto, one of the world's most prestigious pearl cultivators, recommends using only the gentlest soaps.
- Mix the Solution: In a small glass bowl, combine one cup of distilled water with exactly one drop of pH-neutral, phosphate-free liquid dish soap (such as Dawn Free & Clear).
- Apply with a Swab: Dip a cotton swab or a soft, clean makeup brush into the solution. Dab off the excess moisture on a towel so it is not dripping.
- Clean the Nacre: Gently roll the damp swab over the surface of the pearl. Do not scrub.
- Clean the Post: Use a separate swab to clean the metal earring post and the earring backing, where dead skin and sebum accumulate heavily.
- Rinse the Swab: Wipe the pearl one last time with a swab dampened only with pure distilled water to remove any soap residue.
- Dry Thoroughly: Pat dry with a microfiber cloth and let them rest flat for at least two hours before storing.
Cleaning the Metal Settings Without Damaging the Pearl
Pearl earrings are often set in 14k or 18k gold, platinum, or sterling silver. While the pearls require gentle care, the metal settings may need more aggressive polishing—especially silver, which is prone to tarnishing.
The Golden Rule: Never use liquid silver dip cleaners or tarnish-removing solutions on sterling silver pearl earrings. These chemical baths will instantly strip the nacre off your pearls. Instead, use a treated silver polishing cloth to gently buff the metal components. Fold the cloth to a fine point to reach the crevices around the pearl cup, but ensure the treated cloth does not rub against the pearl itself. For gold and platinum settings, a simple wipe with a damp microfiber cloth and a dry polish is usually sufficient to restore the metal's shine.
Troubleshooting Common Pearl Earring Issues
Yellowing and Drying Out
Pearls are organic and contain a small amount of water. If stored in an airtight plastic bag or a safety deposit box for years, they will dehydrate, leading to a yellowish tint and surface cracking. To prevent this, pearls need to 'breathe' and absorb ambient moisture. Wear them regularly; the natural oils from your skin actually help maintain their luster.
Loose Posts and Rattling
If the metal post feels loose or you hear a faint rattle when shaking the earring, the adhesive has likely failed due to moisture exposure or age. Do not attempt to glue it back yourself with household superglue, as the fumes can cloud the nacre. Take them to a professional jeweler who specializes in pearl re-tipping and epoxy bonding.
The 'Last On, First Off' Storage Framework
Proper storage is the final, crucial step in pearl maintenance. Adopt the 'Last On, First Off' rule: put your pearl earrings on after you have applied makeup, perfume, and hairspray, and take them off first when you return home.
'Pearls should be stored separately from other jewelry to prevent scratching. Keep them in a soft cloth pouch or a lined jewelry box, away from direct heat and excessive dryness.' — Gemological Institute of America (GIA)
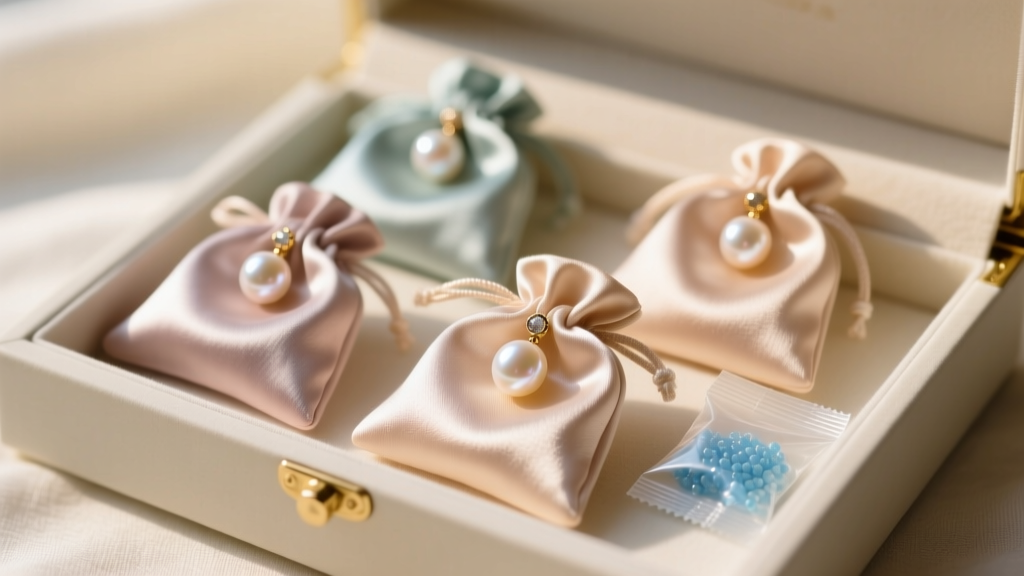
Store your pearl earrings in individual soft silk or cotton pouches. Avoid plastic bags, which can emit trace chemicals that degrade the nacre, and keep them away from direct sunlight or heat sources like radiators. By following this meticulous, step-by-step framework, your pearl earrings will retain their breathtaking orient and luster for generations to come.


