Step-by-Step Guide to Crafting Secure Beaded Stud Earrings
Learn how to craft secure beaded stud earrings with our step-by-step guide. Discover the best titanium posts, epoxies, and techniques for lasting wear.

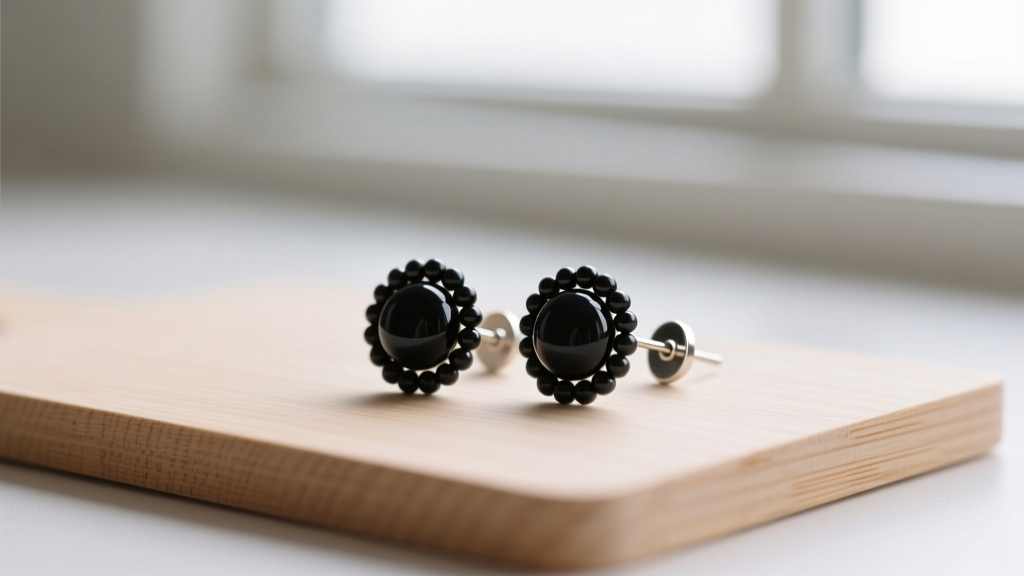
Commercially manufactured beaded stud earrings often suffer from a frustrating flaw: the beads pop off after a few weeks of wear. This failure is rarely due to the bead itself, but rather the combination of smooth metal post pads, inappropriate adhesives, and poor surface preparation. Whether you are a jewelry maker looking to elevate your product quality or a hobbyist wanting to create custom, hypoallergenic earrings for sensitive ears, mastering the mechanics of jewelry adhesion is critical.
In this comprehensive guide, we break down the exact materials, chemical adhesives, and step-by-step assembly techniques required to craft beaded stud earrings that withstand daily wear, moisture, and the natural oils of the skin. We will also cover specific sizing frameworks for lobe versus cartilage placements to ensure comfort and prevent piercing migration.
The Anatomy of a Durable Beaded Stud Earring
The foundation of any stud earring is the post and pad assembly. For beaded studs, you will encounter two primary pad styles: cup pads and flat pads. While cup pads might seem intuitive for holding round beads, they are a major trap for moisture and skin oils, leading to adhesive degradation and bacterial buildup. Furthermore, if a bead is even a fraction of a millimeter smaller than the cup, it will rattle and eventually break the adhesive bond.
Flat pads are vastly superior for crafting secure beaded stud earrings. A 3mm or 4mm flat pad provides a stable, easily cleanable surface. According to the Association of Professional Piercers (APP), the safest and most biocompatible metal for earring posts is implant-grade titanium (ASTM F-136). Unlike 316L surgical steel, which contains trace amounts of nickel that can trigger contact dermatitis, ASTM F-136 titanium is completely nickel-free and ideal for both healed lobes and sensitive cartilage piercings.
Essential Materials and Tools
Before beginning assembly, gather the following specialized materials. Do not substitute these with generic craft supplies, as the chemical requirements for skin-safe jewelry are strict.
| Adhesive Type | Best Use Case | Shear Strength | Drawbacks |
|---|---|---|---|
| Two-Part Epoxy (e.g., Devcon 5-Minute) | Gemstone, glass, or ceramic to metal | High (Excellent for daily wear) | Requires precise 1:1 mixing; 24-hour full cure time |
| Cyanoacrylate (Super Glue) | None (Avoid for jewelry) | Low (Brittle under impact) | "Blooms" white on porous stones; degrades with skin oils |
| UV-Curing Resin | Encapsulation or glass-to-glass | Medium | Poor adhesion to opaque metals without mechanical scuffing |
Step-by-Step Assembly Guide
Step 1: Surface Preparation and Scuffing
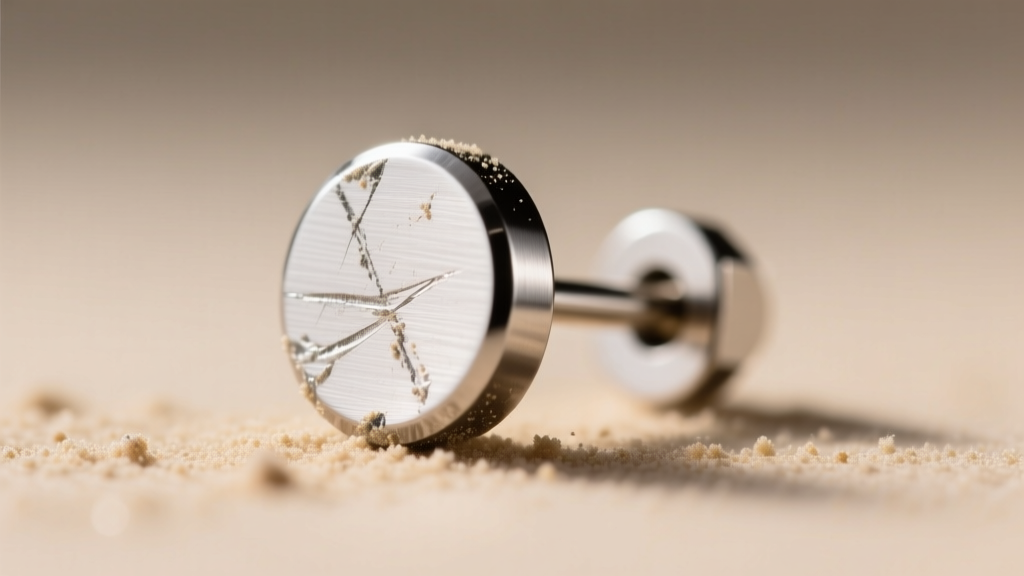
Metal post pads are manufactured with a smooth, polished finish that prevents adhesives from achieving a mechanical grip. To solve this, use 400-grit sandpaper or a fine diamond file to gently scuff the top surface of the titanium flat pad. You only need to create a matte, cross-hatched texture. After scuffing, wipe the pad and the flat bottom of your chosen bead with a lint-free swab soaked in 99% isopropyl alcohol. This removes microscopic metal dust and manufacturing oils that cause adhesive failure.
Step 2: Selecting and Prepping the Bead
For flat-pad posts, you must use beads with a flat bottom, such as cabochons, or round beads that have been professionally ground flat on one side. If you are using a standard round bead, the contact surface area with the 3mm pad will be less than 1mm, guaranteeing the bead will snap off under minor pressure. Ensure the bead's hole (if it is a top-drilled cabochon) is clean and free of stone dust.
Step 3: Mixing and Applying the Epoxy
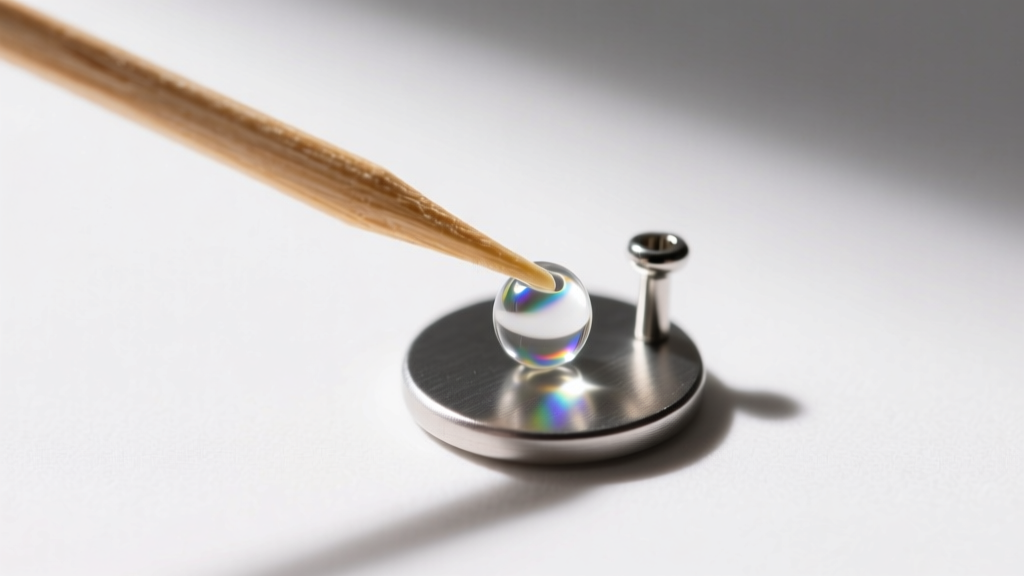
Dispense equal parts of the resin and hardener from your two-part epoxy onto a disposable palette. Mix thoroughly for 60 seconds with a wooden toothpick until the mixture is completely clear and free of striations. Pick up a microscopic drop of epoxy—roughly the size of a pinhead—and apply it to the center of the scuffed metal pad. When you press the bead down, the epoxy should spread outward but stop 0.5mm short of the bead's edge to prevent visible squeeze-out.
Step 4: Curing and Quality Control
Place the assembled earrings upright in a floral foam block or a specialized bead-drying tray to ensure they remain perfectly level while the epoxy sets. While 5-minute epoxies achieve an initial tack in minutes, they require a full 24 hours at room temperature (70°F/21°C) to reach maximum shear strength. Do not expose the curing epoxy to high humidity, as moisture can interfere with the cross-linking polymerization process.
Lobe vs. Cartilage: Sizing Your Beaded Studs
When crafting beaded stud earrings, the intended piercing location dictates your post length and bead weight. Earlobes are composed of soft tissue and can comfortably support heavier beads (8mm to 12mm) and longer posts (6mm to 8mm). The tissue wraps securely around the post, distributing the weight evenly.
Cartilage piercings, such as the helix or tragus, require a much more precise approach. Cartilage is rigid and lacks the elasticity to absorb the leverage of a heavy, oversized bead. For cartilage studs, limit your bead size to 3mm–6mm and use shorter posts (4mm to 5mm). If the post is too long, the earring will droop and cause pressure necrosis on the back of the ear. If the bead is too heavy, it can cause the piercing channel to migrate or reject over time. Always opt for lightweight materials like acrylic, porous gemstones (turquoise, opal), or hollow glass when designing cartilage-specific beaded studs.
Troubleshooting Common Failure Modes
Even with meticulous preparation, issues can arise. Here is how to troubleshoot the most common problems encountered when crafting beaded stud earrings:
- The Bead Spins on the Post: This occurs when the epoxy layer is too thick, creating a lubricated barrier rather than a bond. Next time, apply less adhesive and press the bead down firmly to squeeze out the excess.
- White Haze on Porous Stones: Known as "blooming," this happens when cyanoacrylate fumes react with ambient moisture and settle on the stone. Always use two-part epoxy for porous stones like pearls, turquoise, and malachite, as noted in gemstone care guidelines by the Gemological Institute of America (GIA).
- Misaligned Bead Removal: If a bead cures at a crooked angle, do not attempt to twist it off, as you will bend the titanium post. Instead, submerge the earring head in a glass jar of 100% pure acetone for 20 minutes. The acetone will dissolve the epoxy bond, allowing the bead to slide off cleanly without damaging most gemstones (avoid this for dyed stones or pearls).
Expert Insight: Always store your finished beaded stud earrings in a low-humidity environment. While the epoxy itself is waterproof, prolonged exposure to lotions, perfumes, and sweat can slowly degrade the bond at the microscopic edge where the bead meets the metal. Advise your wearers to clean their earrings with a simple saline solution rather than harsh chemical jewelry dips.
Crafting secure, high-quality beaded stud earrings is a marriage of material science and precision handiwork. By selecting ASTM F-136 titanium posts, properly scuffing the contact surfaces, and utilizing the correct two-part epoxy, you can create custom ear jewelry that is not only beautiful but built to last a lifetime of daily wear.


