Mastering Crochet Earring Patterns: A Step-by-Step Guide
Learn to craft lightweight, hypoallergenic jewelry with our step-by-step micro crochet earring patterns guide, featuring cotton thread and titanium hooks.

The Renaissance of Micro-Crochet Jewelry
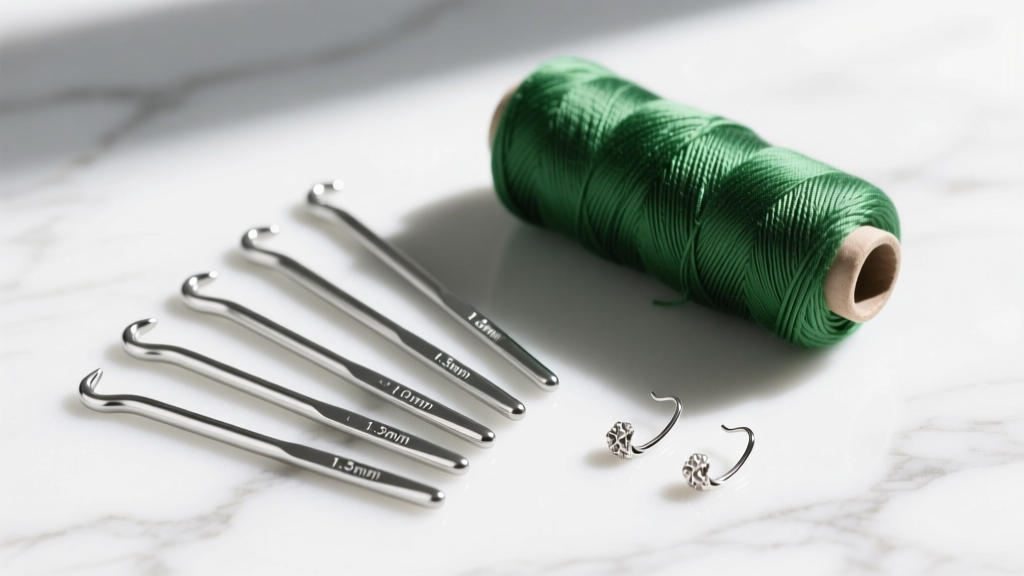
In 2026, the jewelry landscape has seen a massive shift toward artisanal, lightweight, and hyper-personalized accessories. Among the most exciting trends is the resurgence of micro-crochet jewelry. Unlike the bulky, acrylic-based crafts of the past decade, modern crochet earring patterns utilize ultra-fine mercerized cotton threads and precision steel hooks to create delicate, lace-like structures that rival high-end filigree. This step-by-step guide will walk you through the exact materials, tension techniques, and hardware integrations required to craft professional-grade, hypoallergenic crochet dangle earrings that are both structurally sound and visually stunning.
Sourcing the Right Materials: Thread, Hooks, and Hardware
The success of any micro-crochet jewelry project hinges entirely on material selection. Standard worsted weight yarns are far too heavy and prone to fraying when scaled down to earring proportions. Instead, you must look to the Craft Yarn Council standards for lace and thread weights.
| Thread Type | Weight/Size | Recommended Steel Hook | Finished Drape & Structure |
|---|---|---|---|
| Mercerized Cotton (e.g., Lizbeth Cordonnet) | Size 10 | 1.50mm - 1.75mm | Crisp, holds stiffener well, ideal for geometric shapes |
| Mercerized Cotton (e.g., Aunt Lydia's Fashion) | Size 20 | 1.25mm - 1.40mm | Lace-like, fluid, requires heavy blocking |
| Silk Blend Thread | Size 30 | 1.00mm - 1.15mm | Ultra-fine, high sheen, advanced tension control needed |
For hardware, avoid standard craft-store base metals which often contain nickel and copper alloys that cause contact dermatitis. Sourcing jewelry-grade metals from specialized suppliers ensures you are working with ASTM F67 commercially pure titanium or anodized niobium, which are universally hypoallergenic.
Step-by-Step Guide: The Mercerized Teardrop Dangle
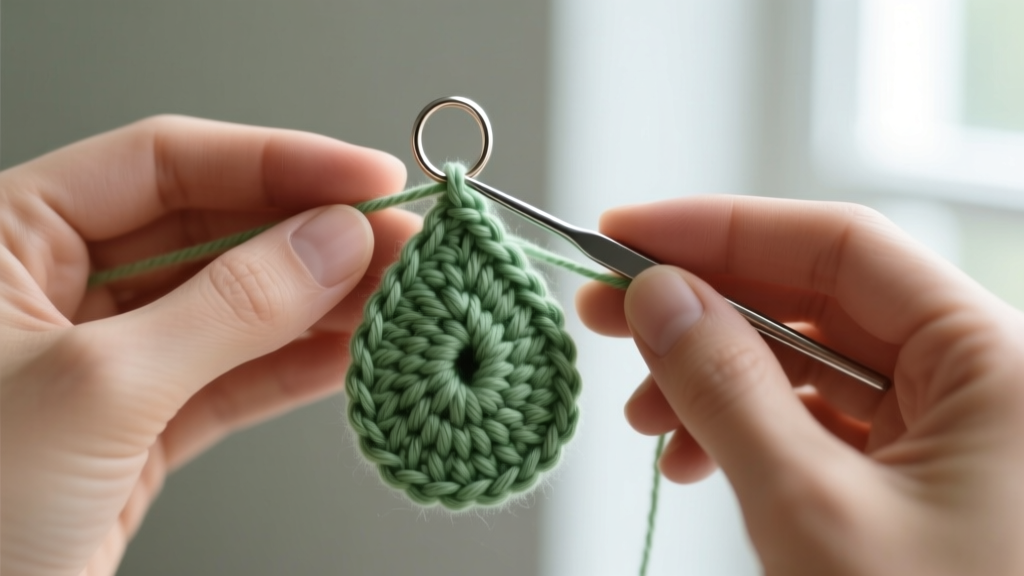
This foundational pattern creates a lightweight, hollow teardrop that catches the light beautifully. We will be using Size 10 sage green mercerized cotton and a 1.5mm steel hook.
Step 1: The Foundation and Jump Ring Integration
Unlike traditional crochet where you chain and join, earring patterns require integrating the metal hardware directly into the foundation to ensure structural integrity.
- Take a 4mm, 22-gauge titanium jump ring.
- Create a slip knot on your 1.5mm hook, leaving a 4-inch tail.
- Insert the hook through the center of the jump ring, yarn over, and pull through to create your first chain stitch directly onto the metal.
- Chain 4 more stitches, then slip stitch into the first chain to form a tight, secure loop around the jump ring.
Step 2: Shaping the Teardrop Body
The shaping relies on graduated stitch heights to create the natural swell of the teardrop.
- Round 1: Chain 1 (does not count as a stitch). Work 6 single crochets (sc) into the center of the foundation loop. Do not join; work in a continuous spiral.
- Round 2: Work 2 double crochets (dc) in each stitch around (12 dc total).
- Round 3: *1 dc in the next stitch, 2 dc in the next stitch*. Repeat from * to * around (18 dc total).
- Round 4 (The Elongation): Chain 4 (counts as first treble crochet). Work 1 treble crochet (tr) in each of the next 5 stitches. Work 1 dc in the next 6 stitches. Work 1 tr in the remaining 6 stitches. Slip stitch to the top of the starting chain 4.
Step 3: The Slip Stitch Finish and Tail Management
Cut the thread, leaving a 3-inch tail. Pull the tail completely through the final loop to lock the stitch. Using a fine-tapestry needle (size 22 or 24), weave the tail back through the post of the treble crochets on the final round. Apply a microscopic drop of flexible fabric glue to the woven tail to prevent unraveling over time.
Selecting and Attaching Hypoallergenic Ear Wires
The connection point between your crochet piece and the ear is critical for both comfort and longevity.
Understanding Wire Gauges and Metal Grades
For the ear wire itself, 20-gauge titanium is the industry standard. It is thick enough to hold its fishhook shape under the weight of the earring, yet thin enough to glide comfortably through a standard lobe piercing (which typically heals around 18g to 16g). For the connecting jump ring, use a 22-gauge, 4mm titanium ring.
Pro-Tip on Jump Ring Closure: Never pull jump rings apart side-to-side, as this warps the circle and weakens the metal. Always use two pairs of flat-nose pliers to twist the ring open and closed in a lateral motion, ensuring the cut ends meet perfectly flush so the fine crochet thread cannot slip through the gap.
Blocking, Stiffening, and Structural Integrity
Crochet thread, even when mercerized, lacks the inherent rigidity required for standalone jewelry. Blocking and stiffening are non-negotiable steps in professional crochet earring patterns.
The 1:1 PVA Dilution Method
While commercial fabric stiffeners exist, a custom mixture offers superior control without leaving a cloudy, plastic-like residue on fine cotton threads.
- Mix 1 part high-quality PVA glue (such as Mod Podge Matte) with 1 part distilled water in a small glass dish.
- Submerge the finished crochet teardrops completely, massaging the solution into the fibers to eliminate air bubbles.
- Gently squeeze out the excess liquid—do not wring or twist, as this will distort the stitch alignment.
- Pin the damp teardrops onto a foam blocking board using rust-proof T-pins, stretching them slightly to open up the lacework.
- Allow to cure for 24 hours in a low-humidity environment.
Troubleshooting Tension and Warping
Micro-crochet amplifies every tension inconsistency. If your finished earring is warping or curling inward like a bowl, your foundation chain or initial single crochet round was worked too tightly. Conversely, if the piece feels flimsy and the stitches look sloppy, your working tension is too loose.
To fix uneven tension without frogging the entire piece, utilize the wet-blocking pinning technique. Dampen the piece with plain water, pin it into the exact desired geometric shape on your blocking board, and let it dry completely. The hydrogen bonds in the cotton fibers will reset, effectively flattening minor warps. For severe curling, you may need to weave a hidden armature wire (28-gauge dead-soft titanium) into the final round of slip stitches to force the perimeter into a perfect teardrop shape.
Final Thoughts on Wearability
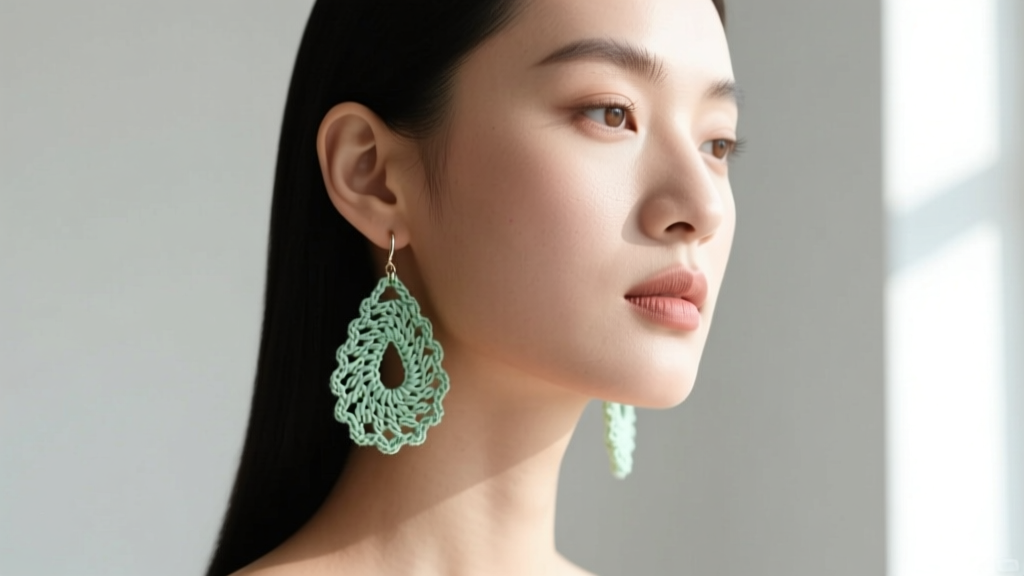
Mastering crochet earring patterns requires patience, precise material sourcing, and an understanding of jewelry mechanics. By combining Size 10 mercerized cotton, 1.5mm steel hooks, and hypoallergenic 20-gauge titanium hardware, you elevate a simple craft into a highly sought-after, wearable art form. Whether you are designing for an online boutique or creating bespoke gifts, these structural foundations will ensure your micro-crochet earrings remain lightweight, durable, and breathtakingly beautiful for years to come.


