DIY Picture Frame Earring Holder: Step-by-Step Guide
Learn how to build a custom picture frame earring holder. Step-by-step guide on mesh gauges, tarnish prevention, and organizing studs, hoops, and dangles.

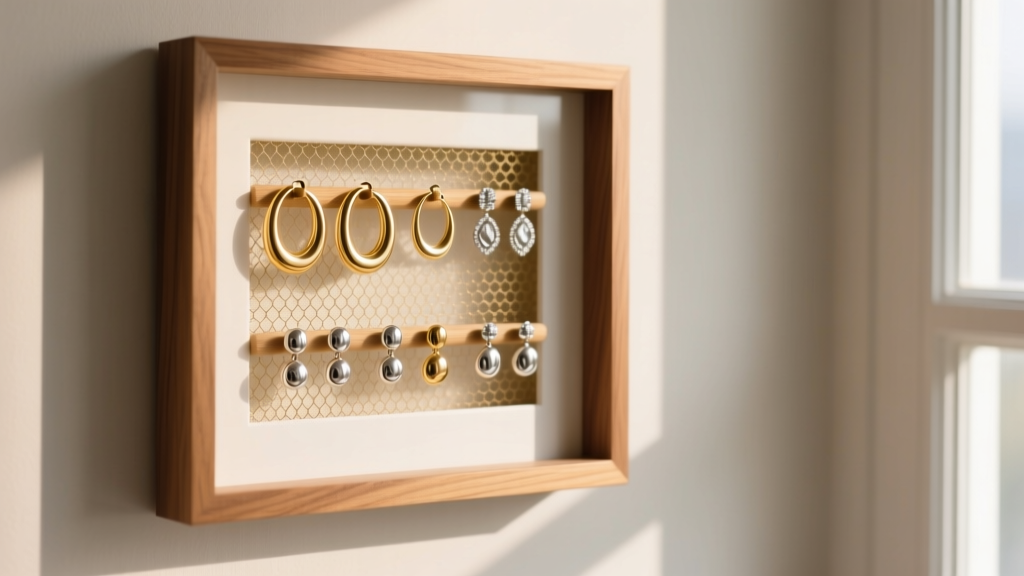
The Engineering of Jewelry Organization
Tangled chains, lost friction backs, and scratched precious metals are the universal plagues of jewelry storage. While velvet-lined boxes protect your pieces, they hide them from view and make daily selection tedious. Enter the picture frame earring holder: a highly customizable, visually striking storage solution that transforms your collection into functional wall art. However, a truly effective DIY organizer requires more than just stuffing chicken wire into an old frame. It demands an understanding of metallurgy, weight distribution, and material science to ensure your jewelry remains untarnished and secure.
In this comprehensive guide, we will walk through the exact specifications, material grades, and step-by-step assembly required to build a professional-grade picture frame earring holder that protects your investment while showcasing your style.
Material Selection: Mesh Gauges and Frame Chemistry
The most critical component of your picture frame earring holder is the wire mesh. Standard earring posts typically range from 0.8mm (20-gauge) to 1.0mm (18-gauge) in thickness. If your mesh grid is too large, heavy drop earrings will tilt and slip through; if the wire is too thick, standard butterfly backs won't fit through the gaps.
Wire Mesh Specification Guide
| Mesh Type | Wire Gauge | Grid Size | Best Use Case | Drawbacks |
|---|---|---|---|---|
| Hardware Cloth | 19-Gauge | 1/2 inch | Large statement hoops, ear cuffs | Grid too large for standard studs; posts slip through. |
| Woven Brass | 23-Gauge | 1/4 inch | Lightweight studs, delicate huggies | Flimsy; sags under the weight of heavy dangles. |
| Galvanized Steel | 19-Gauge | 1/4 inch | The Goldilocks zone: fits all posts, holds heavy weight | Requires edge-filing to prevent scratching jewelry. |
| PVC-Coated Wire | 18-Gauge | 1/4 inch | High-tarnish environments, coastal humidity | PVC coating can degrade and become sticky over time. |
For a permanent, high-quality build, 19-gauge galvanized steel with a 1/4-inch grid is the optimal choice. It provides the structural rigidity needed for heavy brass or gemstone dangles while keeping the apertures small enough to securely hold 0.8mm sterling silver posts.
The Hidden Danger of Wood Tannins
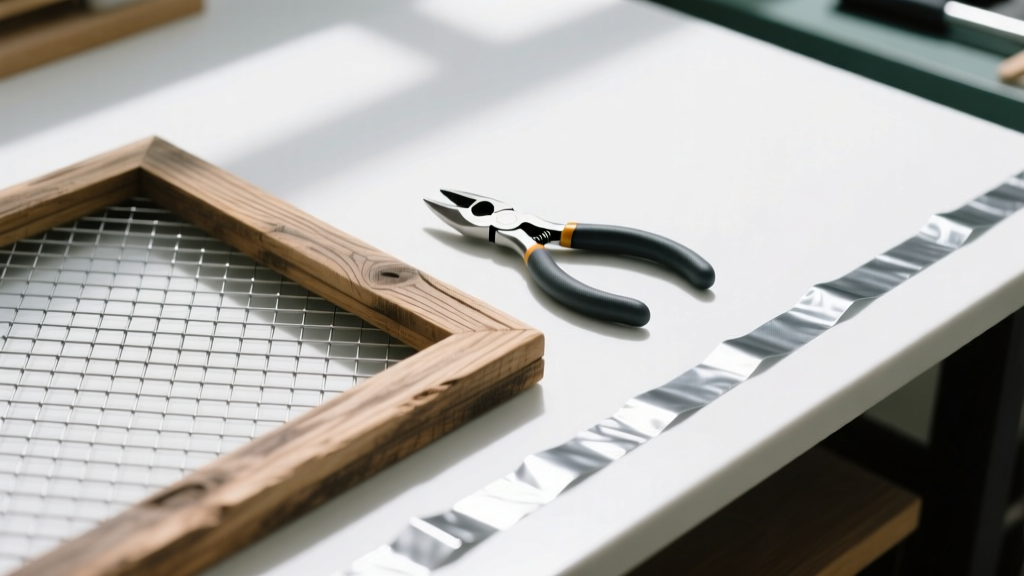
Not all picture frames are safe for fine jewelry. Unsealed wood, particularly oak and mahogany, releases acidic tannins and volatile organic compounds (VOCs) that accelerate the oxidation of silver and copper alloys. According to the Gemological Institute of America (GIA), environmental pollutants and acidic off-gassing are primary culprits behind rapid silver tarnish. Always seal the interior rabbet of your wooden frame with a water-based polyurethane to create an inert barrier between the wood and your jewelry.
Step-by-Step Assembly Instructions
Follow these precise steps to construct a durable and jewelry-safe picture frame earring holder.
- Prep and Seal the Frame: Remove the glass and backing board. Sand the interior edges lightly. Apply two coats of water-based polyurethane to the inner lip where the mesh will sit. Allow 24 hours to cure completely.
- Cut the Mesh: Using aviation snips, cut your 19-gauge 1/4-inch wire mesh to the exact dimensions of the frame's inner lip, plus a 1/2-inch overhang on all sides. Safety Note: Wear heavy leather gloves, as cut wire edges are razor-sharp.
- File the Edges: Run a metal file along the cut perimeter of the mesh. This prevents sharp wire burrs from scratching gold plating or catching on delicate chain links.
- Secure the Mesh: Place the mesh into the back of the frame. Using a heavy-duty staple gun, secure the mesh every two inches along the outer edge. For a cleaner look, you can also use glazing points and a point driver, folding the excess mesh flat against the back.
- Integrate Tarnish Protection: Before sealing the back, adhere 3M Anti-Tarnish strips to the rear of the mesh or the backing board. These strips absorb airborne sulfur compounds, extending the time between necessary polishing sessions.
Pro Tip: If you are hanging the frame on the wall, install D-ring hangers on the left and right sides of the frame rather than the top center. This distributes the weight of heavy statement earrings evenly and prevents the frame from pulling away from the drywall anchor over time.
Organizing by Earring Type: Weight and Spacing Strategies
A well-designed picture frame earring holder isn't just a random assortment of hooks; it is a carefully curated display that respects the physical properties of different earring styles.
Top Rows: Studs, Huggies, and Ear Cuffs
Reserve the top third of your frame for lightweight pieces. Standard butterfly backs and friction backs fit perfectly through the 1/4-inch grid. Because these pieces have a low center of gravity, they sit flush against the mesh. Group your diamond studs, pearl solitaires, and tight huggie hoops here. The visual density of small studs creates a solid, sparkling header for your display.
Middle Rows: Drop Earrings and Dangles
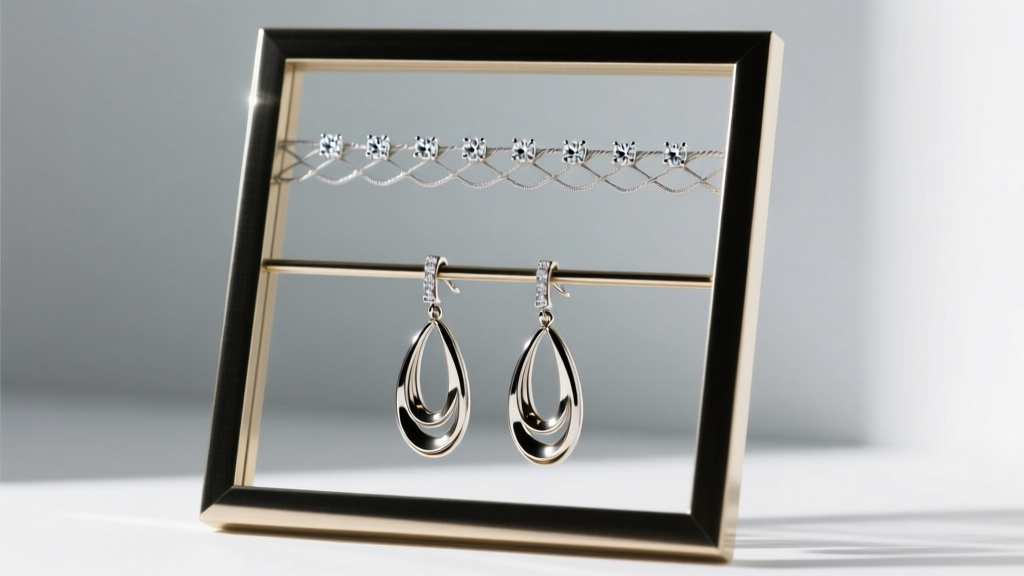
Drop earrings require vertical clearance. When placing a dangle earring on the mesh, ensure the wire hook rests on a horizontal wire, not a vertical one, to prevent the earring from spinning and facing the wall. Stagger your placement: place longer chandelier earrings on the horizontal grid lines that are spaced furthest apart to prevent the metal components from clinking together and scratching when the room vibrates (such as from a closing door).
Bottom Row: Heavy Statement Hoops
Large, thick-gauge hoops (such as 14k gold rope hoops or heavy brass shields) carry significant mass. If you are using a freestanding easel back rather than wall-mounting your picture frame earring holder, placing heavy hoops at the bottom lowers the center of gravity, preventing the frame from tipping forward. Furthermore, large hoops require wide lateral spacing; utilize the outer edges of the bottom row to allow their full diameter to hang unobstructed.
Long-Term Maintenance and Jewelry Care
Even with anti-tarnish strips and sealed wood, environmental factors will eventually affect your jewelry. The Jewelers Mutual care guidelines emphasize that jewelry stored in open-air environments is exposed to household aerosols, perfumes, and humidity fluctuations.
- Monthly Dusting: Use a soft, dry microfiber cloth to gently wipe down the wire mesh and the top edges of your earring hooks. Dust accumulation can trap moisture against the metal.
- Bi-Annual Polishing: Remove all sterling silver and copper-alloy pieces every six months for a gentle polish. Do not use abrasive dips; use a treated polishing cloth designed for precious metals.
- Replace Tarnish Strips: 3M Anti-Tarnish strips typically last 6 to 12 months depending on your local humidity and air quality. When the indicator square on the strip turns from white to dark brown, it is saturated and must be replaced.
Conclusion
Building a custom picture frame earring holder is a rewarding weekend project that merges interior design with practical jewelry care. By selecting the correct 19-gauge mesh, sealing wood tannins, and strategically organizing your pieces by weight and drop-length, you create a functional display that protects your collection. Stop digging through tangled jewelry boxes and start your day by selecting your earrings from a beautifully organized, gallery-style frame.


