How to Make Clay Flower Earrings: A Step-by-Step Guide
Learn how to make stunning clay flower earrings with our step-by-step guide. Master polymer clay conditioning, shaping, and hardware assembly.

The Renaissance of Handcrafted Polymer Clay Jewelry
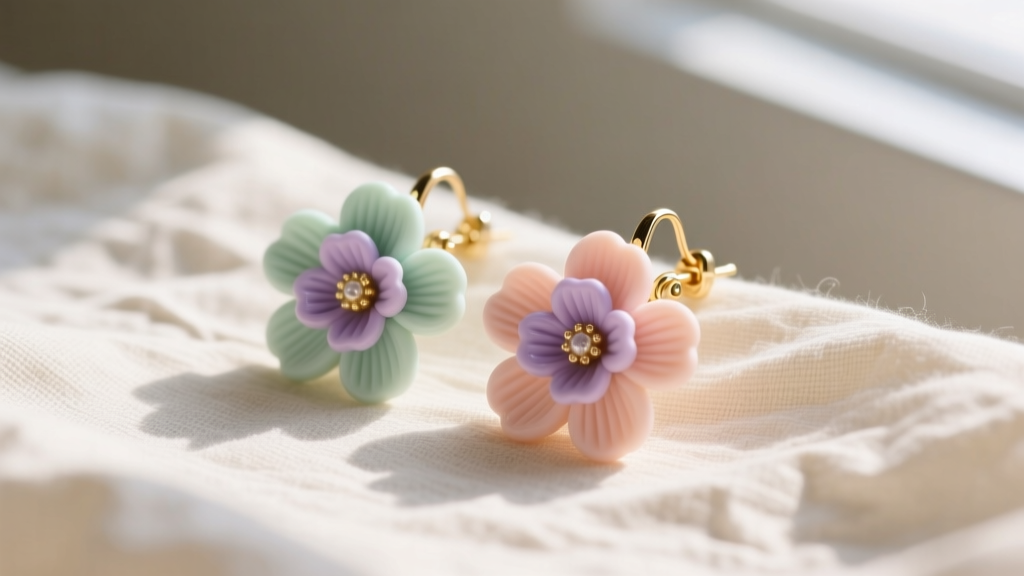
As we navigate the jewelry trends of 2026, the demand for hyper-personalized, tactile accessories has pushed polymer clay to the forefront of indie jewelry design. Crafting your own clay flower earrings is not just a relaxing hobby; it is a precise chemical and artistic process. Unlike metalworking, which requires expensive kilns and torches, polymer clay modeling relies on the careful manipulation of PVC particles and plasticizers. This guide will walk you through the exact material grades, curing temperatures, and assembly techniques required to produce professional-grade botanical earrings that withstand daily wear.
Essential Tools and Material Grades
Before shaping a single petal, you must select the correct clay body. Not all polymer clays are created equal; their varying plasticizer ratios dictate their flexibility, translucency, and curing requirements. For intricate floral designs, you need a clay that holds crisp edges but remains flexible enough to survive a drop onto a hard floor.
| Clay Brand | Best Use Case | Curing Temp | Durability Profile |
|---|---|---|---|
| Premo Sculpey | Skinner blends, soft petals | 275°F (135°C) | Highly flexible, impact-resistant |
| Fimo Professional | Crisp canes, detailed stamen | 230°F (110°C) | Firm, holds sharp edges perfectly |
| Cernit Number One | Translucent layers, water effects | 265°F (130°C) | Extremely flexible, slight waxy finish |
Required Hardware & Tools:
- Pasta Machine: An Atlas 150 (or dedicated craft machine) for uniform sheeting.
- Tissue Blade: A flexible, ultra-sharp blade for slicing petals without distortion.
- Earring Posts: 20-gauge or 21-gauge stainless steel or titanium flat-pad posts. Avoid plated brass, as the plating will eventually wear and cause contact dermatitis.
- Abrasive: 400-grit and 800-grit wet/dry sandpaper for hardware prep and finishing.
Step 1: Conditioning and the Skinner Blend
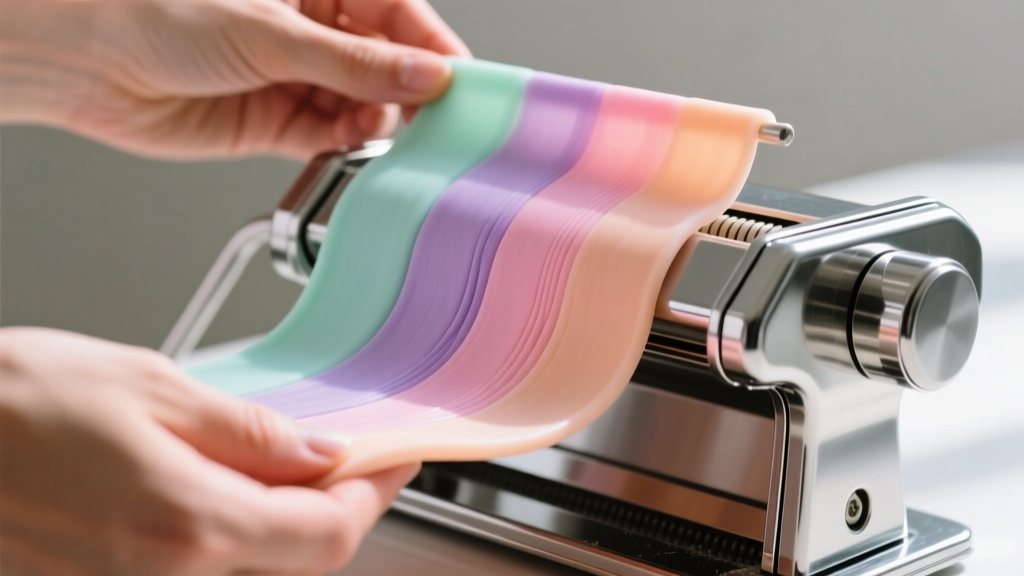
Polymer clay straight from the package is often crumbly. You must condition it to evenly distribute the plasticizers and align the polymer chains. Run your clay through the pasta machine on the thickest setting (usually #1), fold it in half, and run it through again. Repeat this 15 to 20 times until the clay folds without cracking at the edges.
Creating a Gradient for Botanical Depth
To give your clay flower earrings a realistic, organic fade, use the Skinner Blend technique. Cut a sheet of white clay and a sheet of your chosen petal color (e.g., soft blush) into identical right-angled triangles. Place them together to form a rectangle. Fold the rectangle in half, run it through the pasta machine, and repeat. After 20 passes, the harsh diagonal line will melt into a seamless gradient. Thin the sheet down to setting #4 (approximately 1.5mm) for ideal petal thickness.
Step 2: Shaping the Botanical Elements
For a classic five-petal blossom, use a circular cutter (around 12mm in diameter) to punch out your gradient sheet. Take a rounded needle tool and gently thin the edges of the circle by rolling the tool outward toward the perimeter. This creates the delicate, paper-thin ruffled edge seen in real flower petals.
Use a ball stylus to gently cup the center of the circle, then make five small indentations around the edge to define the petal separations. For the flower's center, roll a tiny 2mm sphere of contrasting clay (like mustard yellow or deep ochre) and texture it with a stiff-bristled toothbrush to mimic a flower's stamen. Press the stamen gently into the cupped center of your petals.
Step 3: The Science of Curing and Baking
Baking polymer clay is not a drying process; it is a heat-activated cross-linking of PVC molecules. If you underbake, the plasticizers will not fully fuse, resulting in brittle earrings that snap under minimal pressure. According to Sculpey's official baking guidelines, clay must reach the exact manufacturer-specified temperature and hold it for at least 30 minutes per 1/4 inch of thickness.
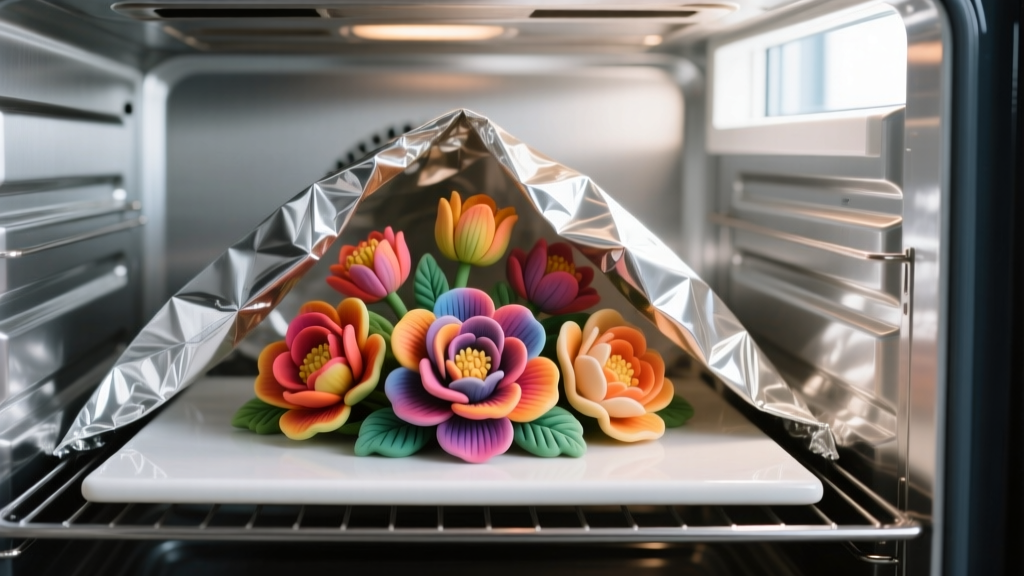
Critical Baking Protocol:
- Use an Oven Thermometer: Built-in oven dials are notoriously inaccurate, sometimes fluctuating by up to 30°F. Place a standalone thermometer inside the oven to verify the true ambient heat.
- Tent Your Clay: The radiant heat from the oven's exposed heating elements can scorch the surface of light-colored clay before the core is cured. Create a "tent" out of aluminum foil and place it over your ceramic baking tile to deflect direct radiant heat.
- Cooling Phase: Do not handle the earrings immediately after baking. Polymer clay remains slightly pliable when hot and only achieves its final structural rigidity upon cooling to room temperature.
Step 4: Hardware Assembly and Adhesive Chemistry
The most common failure point in handmade clay flower earrings is the bond between the clay and the metal post. To ensure a permanent hold, you must create a mechanical tooth on the metal and choose the correct chemical adhesive.
Prepping the Metal Pad
Take your 20-gauge stainless steel flat-pad posts and vigorously sand the flat surface with 400-grit sandpaper. This removes any manufacturing oils and creates microscopic scratches for the glue to grip. Wipe the pad clean with isopropyl alcohol to remove metal dust.
Choosing Your Adhesive
When sourcing findings from suppliers like Rio Grande jewelry findings, you'll notice jewelry makers rely on two primary adhesives:
- E6000 Industrial Strength: A solvent-based adhesive that cures flexible over 24 to 72 hours. This is ideal for drop earrings that experience kinetic shock, as the flexible bond absorbs impact rather than transferring it to the clay.
- UV Resin (Hard Type): Cures in 60 seconds under a 36W UV lamp. It creates a rigid, glass-like bond. However, it requires a perfectly flat surface and can yellow over time if exposed to direct sunlight without a UV-inhibitor additive.
Pro Tip: If using E6000, apply a microscopic dot to the sanded metal pad, press the clay flower onto it, and use a piece of painter's tape to hold the post upright while it cures. Wipe away any squeeze-out immediately with a cotton swab dipped in rubbing alcohol.
Troubleshooting Common Failure Modes
Even experienced artisans encounter structural issues. Here is how to diagnose and fix the most common problems when making clay flower earrings:
| Issue | Root Cause | Solution |
|---|---|---|
| Petals snap cleanly when bent | Underbaked clay; plasticizers did not cross-link. | Re-bake the piece for an additional 20 minutes, verifying temp with a thermometer. |
| White, chalky spots on clay | Water contamination or trapped air bubbles. | Pop surface bubbles with a needle tool before baking. Never use water to smooth polymer clay. |
| Earring post pulls off easily | Smooth metal pad or expired adhesive. | Always sand the pad with 400-grit paper. Check adhesive expiration dates; replace annually. |
| Dark, scorched edges on petals | Direct radiant heat from oven element. | Always use an aluminum foil tent or bake inside a lidded roasting pan. |
Final Finishing and Sealing
Once your hardware is securely bonded and the adhesive has fully cured, inspect the edges of your clay flowers. If there are any fingerprints or rough spots, wet-sand the clay using 800-grit sandpaper and a drop of water. Buff the surface with a piece of denim or a muslin wheel on a rotary tool to bring up a natural, satin sheen. While polymer clay is inherently water-resistant, applying a thin coat of polyurethane varnish (like Varathane Water-Based) will protect your Skinner blends from UV fading and cosmetic oils, ensuring your clay flower earrings remain vibrant and wearable for years to come.


