How to Make Genuine Turquoise Beaded Earrings: Step-by-Step Guide
Learn how to make genuine turquoise beaded earrings with our step-by-step wire-wrapping guide. Includes wire gauge tips and bead grading.

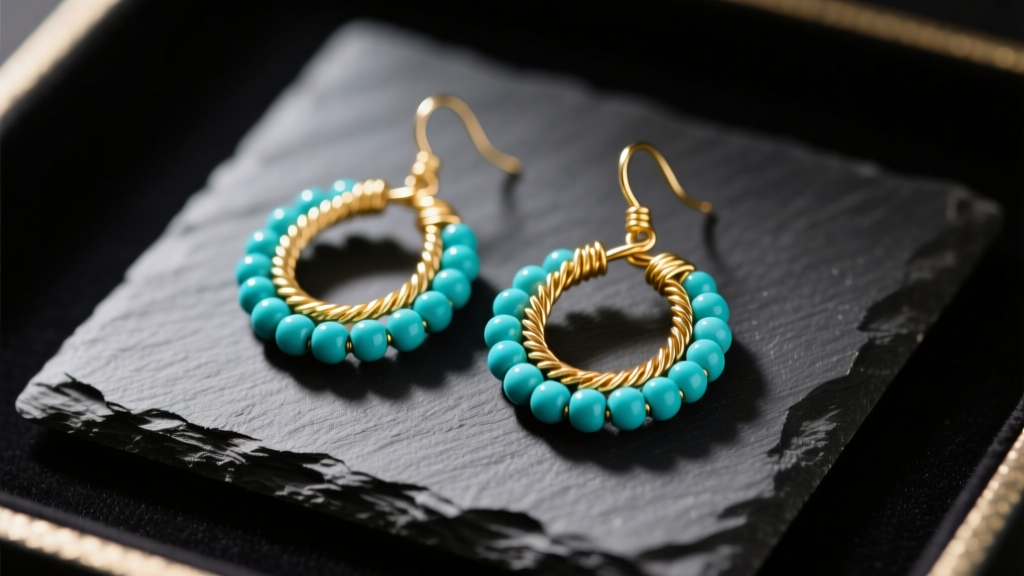
The Art of Crafting Turquoise Beaded Earrings
Turquoise has captivated jewelry makers for millennia, prized for its striking blue-to-green hues and intricate matrix webbing. As we navigate the jewelry trends of 2026, there is a profound shift toward artisan-crafted, transparently sourced pieces. Learning how to make genuine turquoise beaded earrings at home allows you to control the quality of the materials, avoid the saturated market of dyed imitations, and create custom silhouettes that flatter your unique style. This comprehensive guide will walk you through the gemological nuances of sourcing authentic beads, selecting the correct wire gauges, and executing a professional wrapped-loop technique that ensures your earrings are both beautiful and structurally sound.
Material Selection: Sourcing Genuine Turquoise Beads
The most critical step in creating high-quality turquoise beaded earrings is verifying the authenticity and treatment of your stones. According to the Gemological Institute of America (GIA), natural turquoise is a porous, hydrous phosphate of copper and aluminum with a Mohs hardness of just 5 to 6. Because of this relative softness, the vast majority of turquoise on the commercial market undergoes some form of treatment.
Stabilized vs. Natural vs. Imitation
Do not be alarmed by the term "stabilized." In the bead-making industry, stabilization is an accepted and necessary practice. It involves impregnating the porous stone with a clear epoxy resin under pressure, which hardens the gem, prevents it from absorbing oils or cracking during drilling, and locks in the vibrant color. However, you must fiercely avoid dyed howlite or magnesite, which are cheap white minerals chemically dyed blue to mimic turquoise. Reconstituted turquoise (pulverized turquoise dust glued together) is another low-grade material to avoid if you want heirloom-quality earrings.
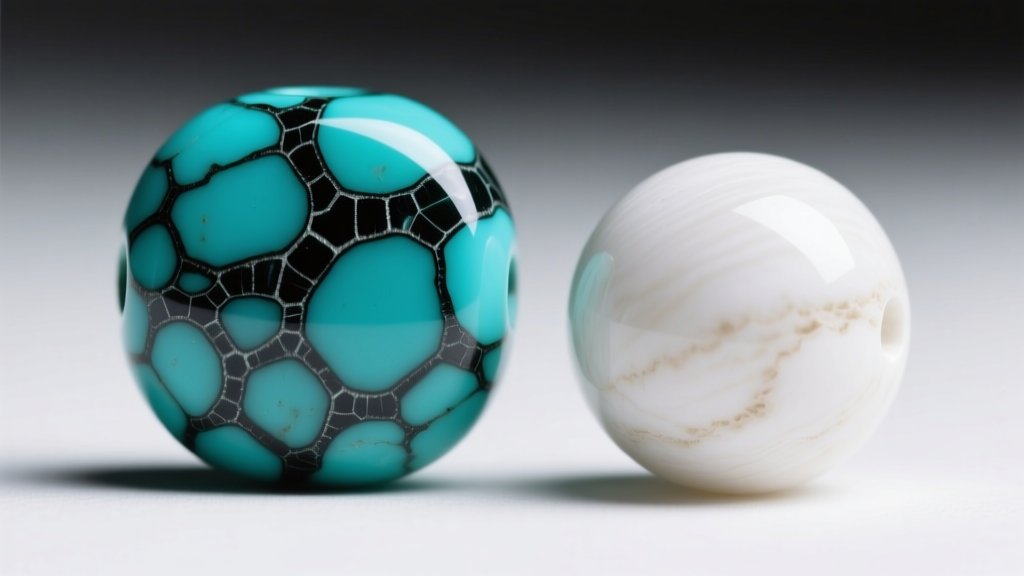
| Material Type | Treatment Method | Durability for Beading | Avg. Price per 15" Strand |
|---|---|---|---|
| Natural High-Grade (e.g., Sleeping Beauty) | None | Low (Prone to cracking) | $150 - $450+ |
| Stabilized Genuine Turquoise | Epoxy Resin / Zachery | High (Ideal for jewelry) | $45 - $120 |
| Reconstituted Turquoise | Pulverized Dust + Glue | Medium (Can chip) | $15 - $30 |
| Dyed Howlite / Magnesite | Chemical Dye | High | $4 - $12 |
Essential Tools and Wire Gauges for Beaded Earrings
Working with gemstone beads requires precision tools and an understanding of wire metallurgy. The standard bead hole for an 8mm turquoise bead is typically drilled at 0.8mm to 1.0mm. Therefore, your wire must easily pass through the stone without forcing it, which causes micro-fractures.
- Wire: 24-gauge (0.51mm) dead-soft wire is the gold standard for bead stacking. It is thin enough to pass through most gemstone beads but thick enough to hold a wrapped loop. Use 14k gold-filled or .925 sterling silver.
- Headpins: If you prefer not to make your own eye loops, use 24-gauge sterling silver headpins with a 2mm flat pad.
- Pliers: Flush cutters (for clean, flat cuts), chain-nose pliers (for gripping and bending), and round-nose pliers (for forming loops).
- Spacer Beads: 2mm to 3mm metal spacer beads (gold or silver) are crucial. They act as bumpers, preventing the turquoise beads from grinding against each other and chipping over time.
Step-by-Step: Wire-Wrapping Turquoise Beaded Drop Earrings
This technique creates a secure, professional-grade drop earring that dangles elegantly from a standard French ear wire.
Step 1: Preparing the Wire and Bead Stack
Cut a 3-inch length of 24-gauge dead-soft wire using your flush cutters. Thread on a 2mm metal spacer bead, followed by your focal 8mm stabilized turquoise bead, and cap it with another metal spacer bead. Slide the beads down until they rest about 1 inch from the bottom of the wire. The metal spacers will protect the delicate edges of the turquoise from friction against the wire loop.
Step 2: Creating the 90-Degree Bend
Using your chain-nose pliers, grip the wire directly above the top spacer bead. Bend the wire at a strict 90-degree angle. This step is vital; if you do not bend the wire tightly against the bead, your finished turquoise beaded earrings will have an unsightly gap where the wire stem looks disconnected from the stone.
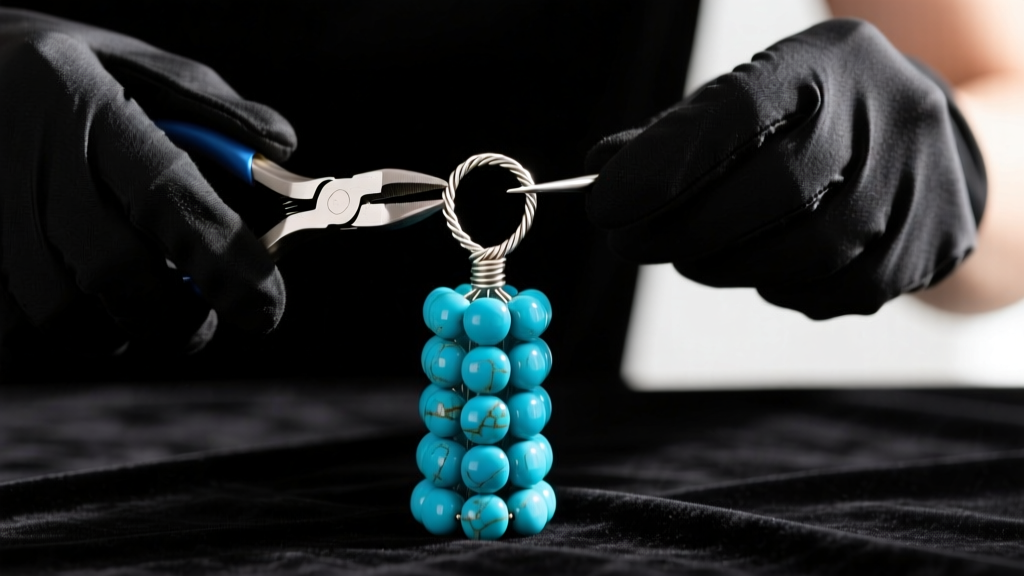
Step 3: Forming and Wrapping the Loop
Grip the horizontal wire with your round-nose pliers about 1/4 inch from the bend. Roll the pliers away from you to form a complete loop. Before removing the pliers, grab the tail end of the wire with your chain-nose pliers and wrap it tightly around the stem wire (the wire directly above the bead). Make 3 to 4 tight, adjacent coils. Snip off the excess tail wire with flush cutters, and use the chain-nose pliers to gently squeeze the final coil inward so no sharp ends protrude.
Step 4: Attaching the Ear Wire
Open the loop on your French ear wire by twisting it sideways (never pull it apart, as this weakens the metal). Slide the wrapped loop of your turquoise beaded drop onto the ear wire and close the ear wire loop securely. Repeat the entire process for the second earring, ensuring your wire coil counts match for perfect symmetry.
Troubleshooting Common Beading Failures
Expert Insight: "The most common failure mode I see in beginner beading is thermal shock and mechanical stress. Never force a 22-gauge wire through a bead drilled for 24-gauge wire. The internal pressure will cause the turquoise to split down the matrix line, often hours after you finish the piece."
Wire Snapping During Wrapping: Dead-soft wire work-hardens rapidly as you bend it. If you bend the wire back and forth too many times while trying to perfect your loop, the metal's crystalline structure will fatigue and snap. Always commit to your bends and use smooth, continuous motions with your round-nose pliers.
Bead Discoloration: As noted by the Mindat.org Mineral Database, turquoise is highly sensitive to chemicals. If you drop your finished earrings into a commercial silver dip to clean the wire, the harsh acids will permanently strip the polish from the turquoise and turn it a sickly pale green. Always clean the wire components before assembling the beads.
Care and Maintenance for Turquoise Jewelry
To ensure your handmade turquoise beaded earrings last a lifetime, proper care is non-negotiable. Turquoise is porous and will absorb skin oils, lotions, and perfumes, which can alter its color over time. Always put your earrings on after applying cosmetics and hairspray. When it is time to clean them, never use ultrasonic cleaners or steamers. Instead, gently wipe the beads with a slightly damp, lint-free microfiber cloth, and use a dry polishing cloth specifically designed for precious metals to buff the wire components. Store your earrings in a soft pouch away from direct sunlight and harder gemstones that could scratch the stone's surface.


