Earring Back Stuck in Ear: Expert Technical Removal Guide
Discover expert clinical protocols for an earring back stuck in ear. Learn biomechanical failure modes, safe removal steps, and fistula recovery.

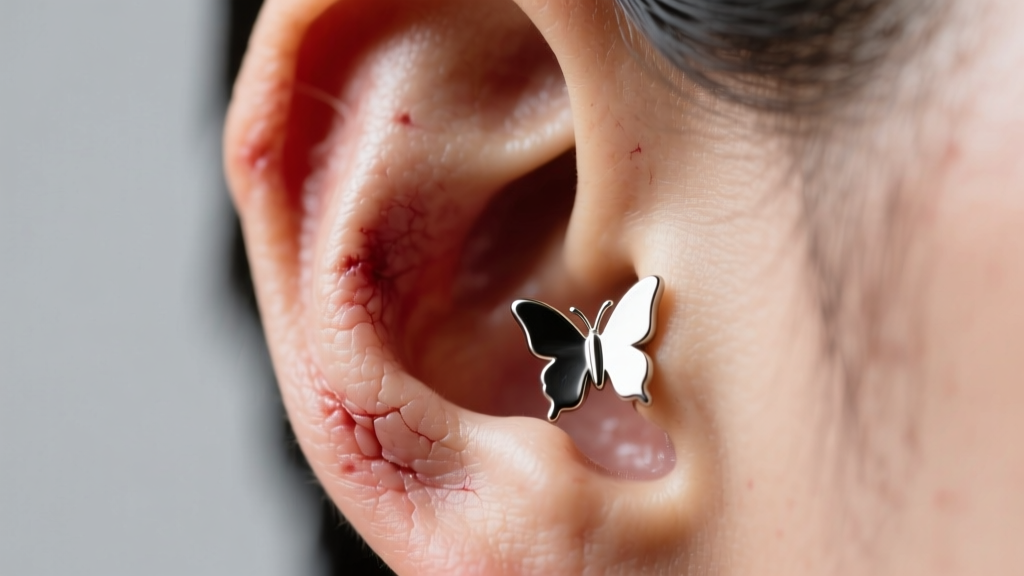
Dealing with an earring back stuck in ear is a highly stressful experience that bridges the gap between minor daily annoyance and acute medical urgency. When a friction clutch, screw-back, or silicone O-ring becomes impacted against the posterior earlobe or cartilage, the immediate instinct is to pull, twist, or force the jewelry out. As domain experts in jewelry mechanics and piercing anatomy, we strongly advise against brute force. Forcing a bound earring back can cause severe fistula tearing, embed the metal into the dermal layer, and introduce pathogenic bacteria into the wound bed.
This comprehensive technical guide breaks down the biomechanics of jewelry impaction, provides a diagnostic matrix for different earring back types, and outlines clinical, step-by-step removal protocols to safely resolve the issue while preserving the integrity of your piercing tract.
The Biomechanics of Impaction: Why Earring Backs Bind
To safely remove an earring back stuck in ear, you must first understand the physiological and mechanical forces at play. Impaction is rarely a singular event; it is usually the result of a compounding failure across three vectors:
- Tissue Edema (Swelling): The piercing fistula is a tube of healed epithelial tissue. When subjected to micro-trauma (sleeping on the ear, snagging on clothing), the body releases histamines, causing localized vasodilation and edema. A standard 20-gauge (0.81mm) post with a 2mm clearance gap can quickly lose that clearance as the earlobe expands, effectively swallowing the earring back.
- Epithelialization (Embedding): If swelling persists unchecked for 12 to 24 hours, the body may begin to heal over the earring back, treating it as a foreign body to be encapsulated. This is most common with small, flat-backed labret studs or tight butterfly clutches.
- Mechanical Cross-Threading and Debris: For screw-back earrings, sebum, dead skin cells, and cosmetic residues can calcify within the micro-threads of the post. Furthermore, applying uneven torque when securing the back can cause cross-threading, mechanically locking the components together independent of tissue swelling.
Diagnostic Matrix: Identifying Your Failure Mode
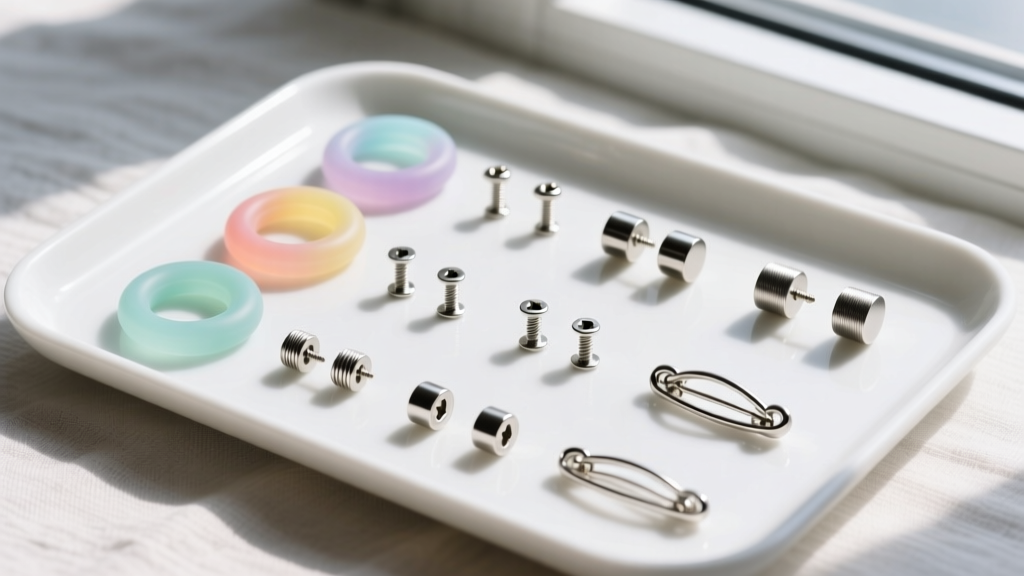
Different earring backs utilize distinct retention mechanisms. Identifying your specific hardware is critical before attempting removal. Refer to the diagnostic table below to understand the failure modes associated with your jewelry type.
| Back Type | Material Composition | Standard Gauge | Primary Failure Mode | Removal Difficulty |
|---|---|---|---|---|
| Butterfly (Friction) | Base metal, Nickel-silver | 20G - 18G | Tension prongs dig into post groove; swelling engulfs wings. | Moderate |
| Screw-Back | 14k/18k Gold, 316L Steel | 20G - 16G | Cross-threading; sebum calcification in micro-threads. | High |
| Silicone O-Ring | Medical-grade Silicone | 16G - 12G | Hydrolysis (degradation from oils); high friction grip. | Moderate |
| La Tiend (Locking) | Implant-grade Titanium | 16G - 14G | Safety clasp mechanism jams due to debris or bent tension arm. | Very High |
Clinical Removal Protocols
Before attempting any of the following protocols, wash your hands thoroughly with antimicrobial soap and don nitrile gloves if available. This ensures a sterile field and provides better grip on smooth metal surfaces.
Protocol A: Vasoconstriction and Lubrication (For Swelling/Butterfly Backs)
If the earring back stuck in ear is caused by tissue edema, your primary goal is to reduce the volume of the tissue.
- Apply Cold Therapy: Wrap an ice pack or a bag of crushed ice in a sterile paper towel. Apply it to the anterior and posterior of the earlobe for 5 to 7 minutes. The cold induces vasoconstriction, shrinking the engorged blood vessels and reducing tissue volume.
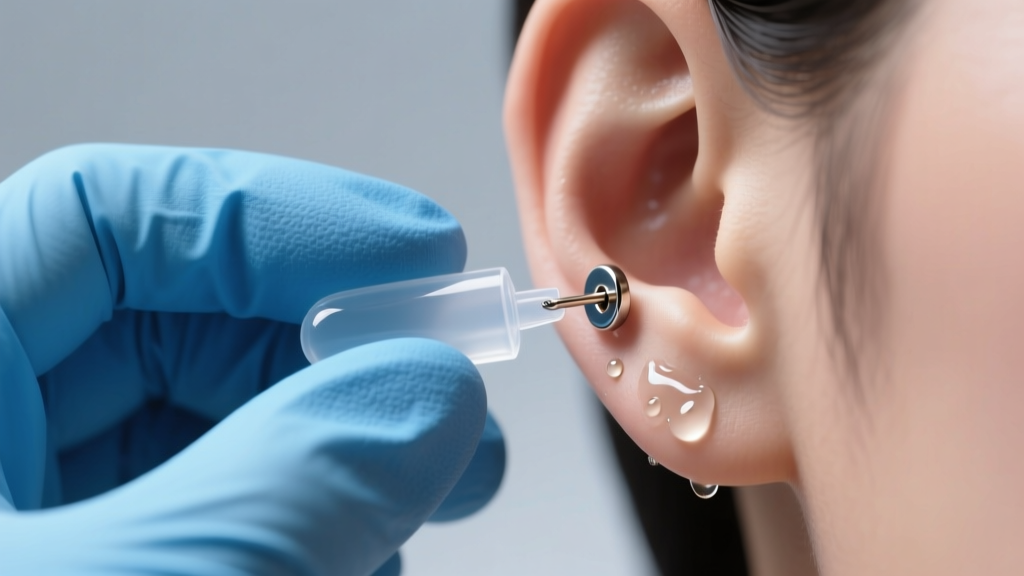
- Introduce Lubrication: Apply a generous amount of sterile saline solution or a water-based, hypoallergenic personal lubricant to the post and the junction where the back meets the skin. Never use petroleum jelly (Vaseline) or heavy oils, as these can degrade silicone components and trap bacteria in the fistula.
- The Compression Slide: Using your thumb and index finger, gently compress the earlobe directly in front of the earring back to push the skin away from the clutch. With your other hand, grip the earring front firmly and pull the back straight off the post along the exact axis of the metal rod. Do not twist, as twisting will cause the butterfly prongs to catch and tear the swollen tissue.
Protocol B: Thermal and Mechanical Leverage (For Stuck Screw-Backs)
When dealing with a cross-threaded or calcified screw-back, tissue swelling is often secondary to mechanical binding.
- Solvent Application: If sebum buildup is suspected, apply a drop of sterile saline or a mild, fragrance-free liquid soap directly to the threaded junction. Allow it to sit for 3 minutes to break down lipid bonds.
- Counter-Torque Grip: Grip the front of the earring (the stud or gem setting) with a pair of smooth-jawed hemostats or rubber-tipped pliers. This prevents your fingers from slipping and protects the gemstone from the oils on your skin. Grip the earring back with your gloved fingers.
- Micro-Reverse Threading: Instead of pulling, apply gentle inward pressure toward the earlobe while turning the back counter-clockwise. The inward pressure helps realign the cross-threaded micro-grooves. If it refuses to budge after 60 seconds, stop immediately to avoid snapping the post inside the ear.
Protocol C: Destructive Removal (When All Else Fails)
If the earring back is deeply embedded in the tissue, or if a locking mechanism has completely jammed, preserving the jewelry is no longer the priority—preserving your tissue is. In this scenario, the post must be cut. This requires heavy-duty flush cutters or orthodontic wire cutters. Slide the cutting jaws between the earring back and the earlobe, applying a protective barrier (like a sterile gauze pad) to the skin to prevent pinching. Snip the post, which will instantly relieve the tension and allow the back to fall away. Note: This will destroy the earring.
Material Science: Preventing Future Impaction
A significant percentage of earring back stuck in ear emergencies are directly caused by Allergic Contact Dermatitis (ACD). According to the Mayo Clinic, nickel is one of the most common triggers for ACD. Many commercial "surgical steel" (316L) earrings contain 8-12% nickel. When the skin sweats or is exposed to moisture, nickel ions leach from the metal, triggering an aggressive immune response that results in rapid, severe swelling, effectively trapping the earring back.
To prevent this biological failure mode, upgrade your jewelry to ASTM F136 Implant-Grade Titanium or Niobium. These materials are entirely nickel-free, highly biocompatible, and do not trigger histamine responses, ensuring that your tissue remains calm and dimensionally stable, keeping the earring back easily removable.
Post-Removal Fistula Rehabilitation
Once the earring back is removed, the fistula tract will likely be irritated, micro-torn, or inflamed. Proper aftercare is essential to prevent hypertrophic scarring or infection.
- Saline Flushing: Spray the area with a 0.9% sterile sodium chloride solution twice daily. This mimics the body's natural osmotic balance and gently flushes out cellular debris without damaging new tissue.
- Downsizing the Gauge: If your earlobe was stretched or traumatized by the impaction, re-inserting a standard 18G or 20G post may cause further irritation. Consider inserting a biocompatible 16G or 14G titanium labret stud with a flat back to provide structural support to the healing fistula without the risk of a butterfly clutch digging into the skin.
- Avoid Re-Insertion of Friction Backs: For the first 14 days post-removal, avoid using standard butterfly backs. Opt for flat-back titanium labrets or secure silicone O-rings, which distribute pressure evenly across the back of the earlobe.
When to Seek Professional Intervention
If the earring back is completely submerged beneath the skin (epithelialized), or if you observe signs of systemic infection (red streaks radiating from the ear, fever, purulent discharge), do not attempt home removal. Seek immediate assistance from a licensed medical professional or a highly reputable piercer certified by the Association of Professional Piercers (APP). A professional can administer a local anesthetic and use a sterile scalpel to perform a minor release incision, safely extracting the embedded hardware with minimal scarring.
By understanding the mechanical and biological reasons behind jewelry impaction, you can safely resolve an earring back stuck in ear without causing long-term damage to your piercing anatomy. Always prioritize tissue health over jewelry preservation, and invest in high-grade materials to ensure your piercings remain comfortable and complication-free.


