Earring Hole Infection Treatment: Expert Healing & Care Guide
Discover expert earring hole infection treatment methods, safe cleaning routines, and the best hypoallergenic metals to prevent flare-ups.

The Diagnostic Framework: Irritation vs. True Infection
Before initiating any earring hole infection treatment, it is critical to differentiate between a localized irritation bump and a true bacterial infection. Misdiagnosing an irritation as an infection often leads to the use of harsh, cytotoxic chemicals that delay healing and cause tissue scarring. According to the Association of Professional Piercers (APP), the vast majority of post-piercing complications are mechanical irritations or contact dermatitis, not systemic infections.
Signs of Mechanical Irritation or Allergy
- Discharge: Clear, white, or pale yellow fluid (lymph) that dries into a crust.
- Sensation: Itching, mild tenderness, or a feeling of localized heat.
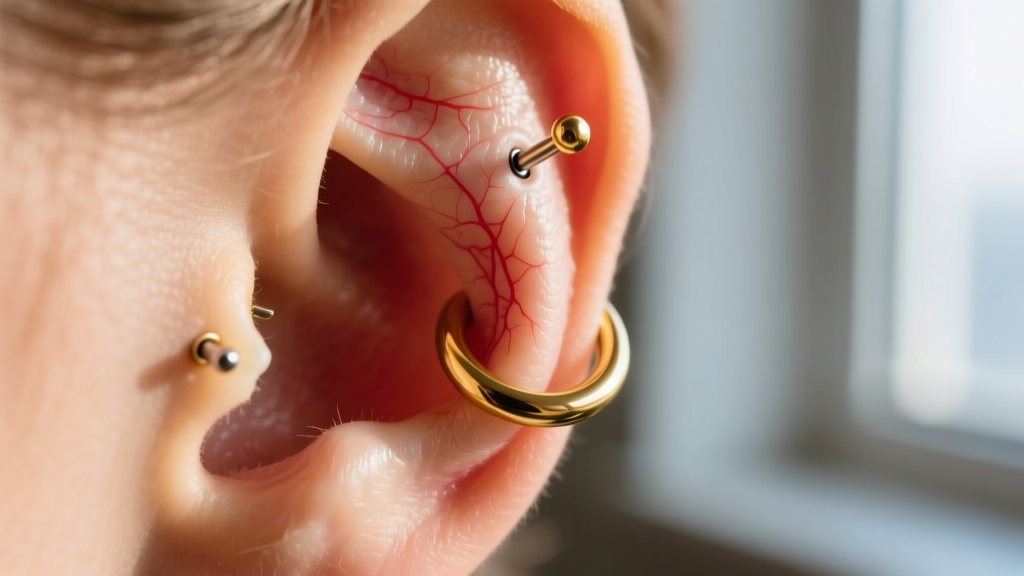
- Visuals: A small, localized bump (hypertrophic scarring or granuloma) directly adjacent to the jewelry.
- Culprits: Sleeping on the piercing, snagging on hair, or nickel allergies from low-grade metals.
Signs of a True Bacterial Infection
- Discharge: Thick, opaque yellow, green, or brown pus with a foul odor.
- Sensation: Throbbing pain, radiating heat, and extreme sensitivity to touch.
- Visuals: Spreading redness (erythema) extending far beyond the immediate puncture site, severe swelling.
- Systemic Symptoms: Fever, chills, or swollen lymph nodes in the neck or jaw.
If you exhibit systemic symptoms or spreading redness, bypass home treatment and consult a physician immediately, as cartilage infections (perichondritis) can lead to permanent ear deformation if left untreated.
Step-by-Step Earring Hole Infection Treatment Protocol
For mild to moderate localized infections, a disciplined, sterile approach to aftercare is required. This protocol focuses on flushing the fistula (the piercing canal) without destroying the delicate fibroblast cells responsible for tissue regeneration.
Phase 1: Immediate Triage (First 24-48 Hours)
- Hand Hygiene: Wash hands thoroughly with antibacterial soap before touching the ear or jewelry.
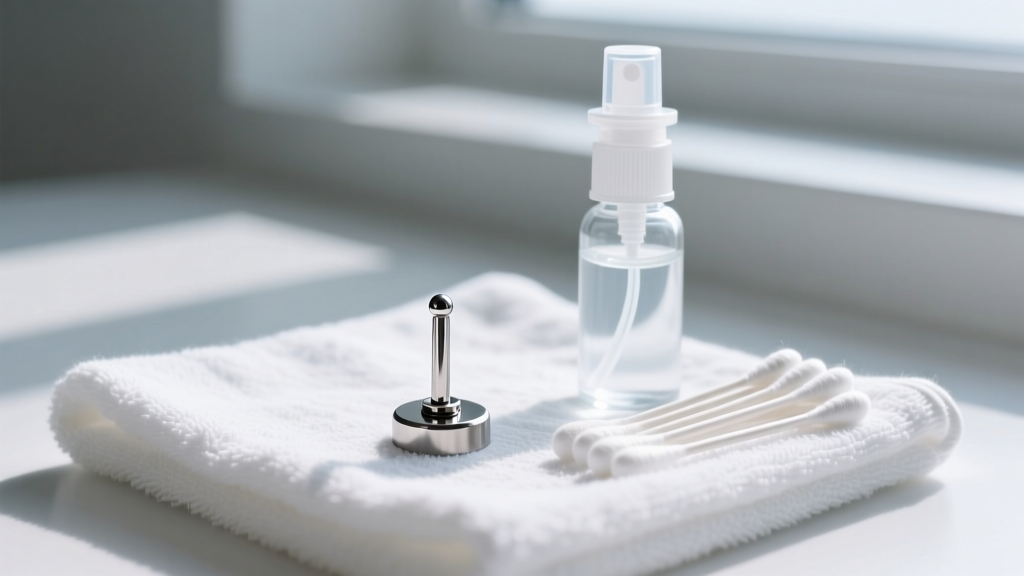
- Sterile Saline Flushing: Apply a 0.9% sterile sodium chloride wound wash (ensure there are no additives like benzalkonium chloride). Spray directly onto the entry and exit points twice daily.
- Warm Compresses: Soak a clean, non-woven gauze pad in warm distilled water or sterile saline and apply to the ear for 5-10 minutes. This increases local blood flow, drawing white blood cells to the site and encouraging natural drainage.
- Dry Thoroughly: Moisture breeds bacteria. Gently dry the area using a hairdryer on the lowest, coolest setting or by gently patting with non-woven gauze. Avoid cotton swabs or cotton balls, which leave microscopic fibers trapped in the fistula.
Phase 2: The Cytotoxicity Trap (What to Avoid)
Many outdated home remedies actively sabotage the healing process. The Mayo Clinic warns against using harsh astringents on open wounds. You must strictly avoid the following:
- Rubbing Alcohol & Hydrogen Peroxide: These agents are highly cytotoxic. They kill bacteria but also destroy newly formed, healthy skin cells, effectively resetting the healing clock and causing chemical burns.
- Antibiotic Ointments (Neosporin, Bacitracin): Ointments are petroleum-based. They create an occlusive barrier that blocks oxygen to the wound and traps anaerobic bacteria inside the fistula, worsening the infection.
- Tea Tree Oil & Essential Oils: Highly concentrated and known to cause severe contact dermatitis and chemical burns on compromised tissue.
The Jewelry Material Matrix: Identifying the Culprit
A persistent 'infection' that refuses to heal is frequently a nickel allergy masquerading as a bacterial issue. The American Academy of Dermatology notes that nickel allergy is the most common cause of allergic contact dermatitis. If your jewelry contains nickel, no amount of saline will cure the flare-up. You must upgrade to biocompatible materials.
| Material Grade | Biocompatibility | Nickel Content | Best Use Case |
|---|---|---|---|
| Implant-Grade Titanium (ASTM F136) | Excellent | 0% (Nickel-Free) | Initial piercings, active infections, sensitive skin |
| Niobium (Unalloyed) | Excellent | 0% (Nickel-Free) | Hypoallergenic alternative to titanium, safe for healing |
| 14k or 18k Solid Gold (Yellow/White) | Very Good | Trace (Alloy dependent) | Fully healed piercings; avoid white gold (contains nickel) |
| 'Surgical Steel' (316L) | Poor to Fair | 8% - 12% | Avoid for healing or infected ears; high allergy risk |
| Acrylic / Bioplast / Silicone | Poor | 0% | Strictly avoid; porous materials harbor bacteria and biofilm |
To Remove or Not to Remove the Earring?
One of the most debated topics in earring hole infection treatment is whether to take the jewelry out. The general medical and professional piercing consensus is to leave the jewelry in unless instructed otherwise by a doctor.
"Removing jewelry from an actively infected piercing allows the surface entry and exit holes to heal over rapidly, trapping the abscess and infection inside the tissue where it can spread systemically."
The jewelry acts as a drain, allowing pus and lymphatic fluid to escape. If the jewelry is removed, the fistula can close within hours, leading to an abscess that requires surgical lancing. However, if the jewelry itself is the source of a severe allergic reaction (e.g., cheap steel causing blistering), it must be swapped out for implant-grade titanium by a professional piercer or medical provider to allow the tissue to calm down.
Preventative Maintenance: Long-Term Ear Care
Once the infection has cleared, implementing a rigorous maintenance routine prevents recurrence. This involves both jewelry selection and physical care.
1. The Importance of Downsizing
When ears are initially pierced, longer posts (typically 5/16" or 8mm for lobes, 3/8" or 10mm for cartilage) are used to accommodate swelling. If you do not return to your piercer after 4-6 weeks to 'downsize' to a shorter post (e.g., 1/4" or 6mm), the excess metal will catch on hair and clothing, causing continuous mechanical irritation that mimics infection.
2. Internally Threaded vs. Externally Threaded Jewelry
For standard 20-gauge (0.8mm) or 18-gauge (1.0mm) lobe piercings, the threading mechanism matters. Externally threaded jewelry (where the screw pattern is on the post) acts like a microscopic file, tearing the delicate fistula lining every time it is inserted. This micro-trauma invites bacteria. Always opt for internally threaded jewelry (where the screw is on the back of the earring) or threadless (push-pin) systems, which glide smoothly through the tissue without causing damage.
3. Routine Cleaning for Healed Ears
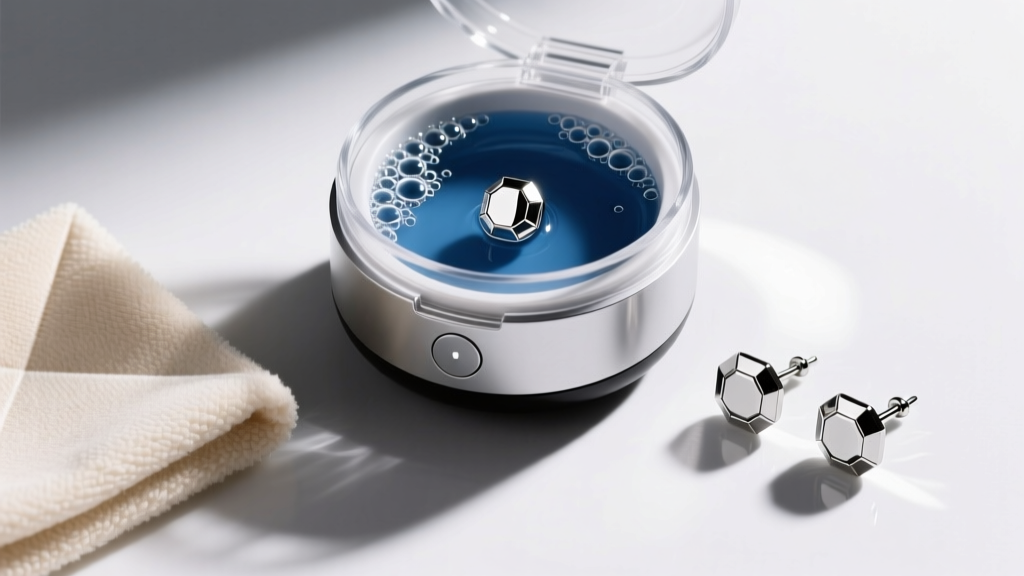
Even fully healed earring holes accumulate dead skin cells, sebum, and environmental debris, leading to the notorious 'earring cheese' odor. Clean your jewelry every two weeks by soaking it in a small ultrasonic jewelry cleaner filled with warm water and a drop of mild, fragrance-free dish soap. This removes microscopic biofilm that regular wiping leaves behind, keeping the metal polished and the piercing channel pristine.


