Earring on Which Side is Gay? History, Myths & Modern Ear Care
Discover the history behind the 'earring on which side is gay' myth, and learn expert 2026 care, cleaning, and maintenance tips for all piercings.

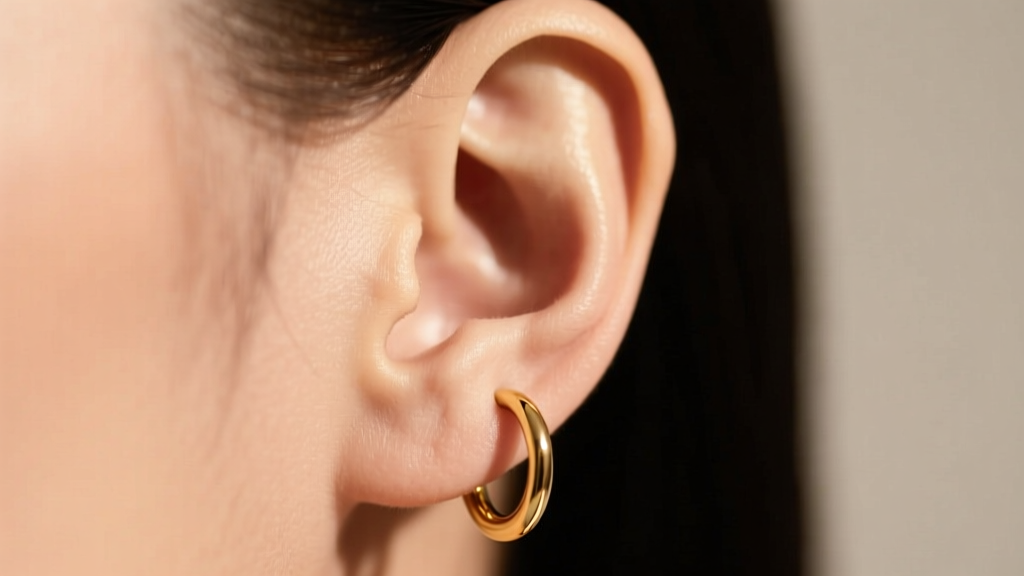
For decades, a persistent cultural whisper has surrounded men's jewelry, prompting the question: earring on which side is gay? Rooted in the coded language of the late 20th century, this myth dictated that a single earring on the right ear signaled homosexuality, while the left ear indicated heterosexuality. Today, in 2026, the landscape of body modification and jewelry has completely evolved. Piercings are a universal form of self-expression, entirely divorced from outdated sexual signaling. Men, women, and non-binary individuals proudly sport asymmetrical setups, curated single-ear projects, and bilateral symmetry alike.
However, whether you are rocking a single right-ear huggie, a dual-lobe diamond stud setup, or a complex cartilage constellation, the biology of your ear tissue remains the same. The true focus for modern jewelry enthusiasts is not which side you pierce, but how you maintain it. Asymmetrical wearers and single-ear curators face unique maintenance challenges, from uneven friction to distinct cleaning routines. This comprehensive guide debunks the historical myth and dives deep into the science of earring care, maintenance, and hygiene.
The "Gay Ear" Myth: A Brief History of Coded Jewelry
To understand the "earring on which side is gay" query, we must look back to the 1970s and 1980s. During an era when LGBTQ+ individuals faced severe marginalization and lacked mainstream representation, subtle visual codes were necessary for community recognition. The "hankie code" and specific jewelry placements became covert signals. The popular schoolyard rhyme, "left is right, right is wrong" (where "right" meant heterosexual and "wrong" was a derogatory nod to homosexuality), cemented the right ear as the "gay ear" in pop culture.
By the 1990s and early 2000s, mainstream icons like George Michael and Harrison Ford blurred these lines, and the code began to dissolve. According to cultural historians and archives documented by organizations like GLAAD, the rigid gender and sexuality norms that birthed these codes have largely been dismantled. Today, asking which side is "gay" is considered anachronistic. The modern ear canvas is about aesthetics, facial symmetry, and personal style.
Asymmetrical Earring Care: Managing Single-Side vs. Dual-Side Piercings
When you abandon the outdated rules of earring placement, you open the door to asymmetrical styling—wearing a heavy, curated ear on one side and a minimalist lobe stud on the other. This creates a unique maintenance dynamic that dual-side wearers rarely consider.
The "Sleeper Side" Friction Factor
Most people have a dominant sleeping side. If your heavily curated ear is on your "sleeper side," you are subjecting those piercings to 6 to 8 hours of continuous pressure, friction, and heat buildup every night. This can lead to pressure necrosis, delayed healing in newer piercings, and irritation bumps (hypertrophic scarring).
- The Silk Pillowcase Solution: Switch to a 22-momme mulberry silk pillowcase. Silk creates significantly less friction against metal and skin than cotton, reducing the drag on huggies and dangles.
- The Travel Pillow Hack: For side-sleepers with fresh cartilage piercings, sleep with your ear in the center hole of a U-shaped travel pillow to eliminate direct pressure.
- Nighttime Removal: If you wear intricate ear cuffs or heavy drop earrings on your sleeper side, remove them before bed to prevent the metal from warping or the skin from tearing.
Uneven Environmental Exposure
If you frequently drive with the window down or hold a smartphone against one ear for hours, that side is exposed to more environmental pollutants, sweat, and bacteria. The "phone ear" requires more frequent sanitization of both the skin and the jewelry post-call to prevent contact dermatitis and localized breakouts.
Material-Specific Maintenance for Statement & Subtle Studs
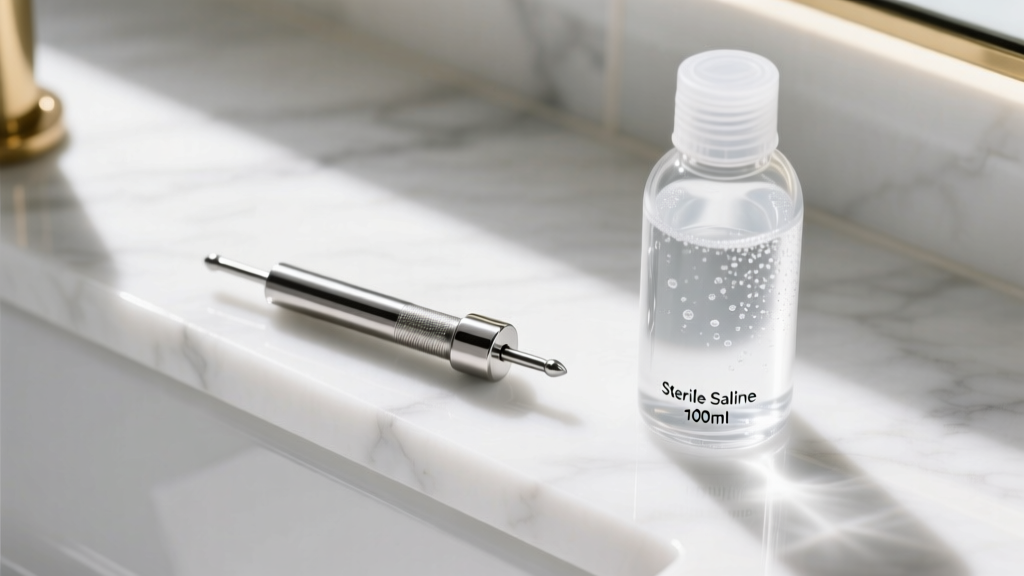
The longevity of your jewelry and the health of your piercing tract depend heavily on the material grade. Cheap alloys trap bacteria and degrade, while implant-grade metals resist corrosion. Below is a professional maintenance matrix for common earring materials.
| Material Grade | Tarnish / Corrosion Risk | Ideal Cleaning Agent | Ultrasonic Safe? |
|---|---|---|---|
| ASTM F136 Implant-Grade Titanium | Zero | Sterile Saline (0.9% NaCl) | Yes |
| 14k / 18k Solid Gold (Nickel-Free) | Very Low | Mild Dish Soap & Warm Water | Yes (Avoid soft gems) |
| Surgical Stainless Steel (316L) | Low (Can pit over time) | Sterile Saline or Jewelry Wipes | Yes |
| Niobium | Zero | Sterile Saline | Yes |
| Sterling Silver (925) | High (Oxidizes with sulfur) | Polishing Cloth & Silver Dip | No (Can accelerate tarnish) |
As recommended by the Association of Professional Piercers (APP), you should avoid harsh chemicals like rubbing alcohol, hydrogen peroxide, and tea tree oil. These agents destroy the delicate epithelial cells lining the fistula (the piercing tunnel), leading to dryness, cracking, and increased susceptibility to infection.
Step-by-Step Deep Cleaning Protocol for Hoops and Huggies
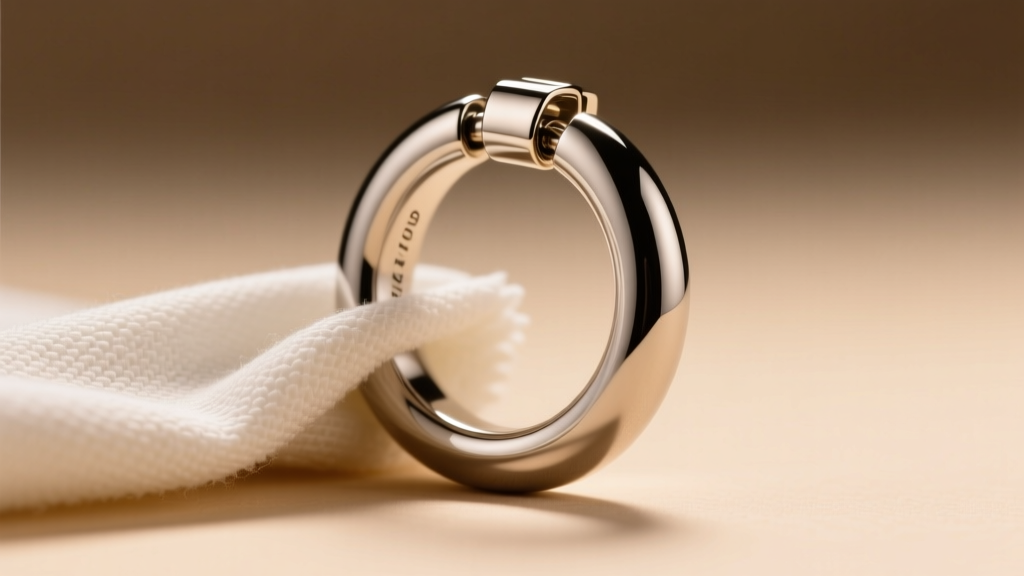
Huggies, clickers, and seamless hoops are notoriously difficult to clean because their moving parts—hinges, clasps, and segment joints—act as magnets for sebum, dead skin cells, and cosmetic residue. A simple wipe-down is insufficient. Follow this deep-cleaning protocol every two weeks.
- Removal and Inspection: Carefully remove the hoop. Inspect the hinge and clasp for any signs of metal fatigue or bending. A compromised clicker can snap or harbor rust-causing moisture.
- The Soak: Fill a small glass bowl with warm water and a few drops of pH-neutral, fragrance-free dish soap. Submerge the jewelry for 10 minutes to soften accumulated sebum.
- Detailing the Hinge: Use a soft-bristled interdental brush (the kind used for braces) to gently scrub inside the hinge mechanism and the tiny divot where the clasp locks. This is where odor-causing bacteria thrive.
- The Rinse: Rinse thoroughly under distilled or filtered water. Tap water contains trace minerals and chlorine that can leave microscopic deposits on high-polish metals.
- Drying: Pat dry with a lint-free microfiber cloth. Never use cotton swabs or tissue paper, as the tiny fibers can snag on the clasp or get left behind in the piercing tract upon reinsertion.
Troubleshooting Common Piercing Issues on Either Side
Regardless of whether you subscribe to historical myths or modern aesthetics, biological reactions to jewelry are universal. Here is how to troubleshoot the most common issues encountered by earring wearers.
Hypertrophic Scarring vs. Keloids
If you notice a bump forming near your piercing, it is most likely a hypertrophic scar—a localized buildup of scar tissue caused by friction, pressure, or harsh cleaning chemicals. It stays within the boundary of the piercing. True keloids are genetic, grow beyond the piercing site, and require dermatological intervention. For standard irritation bumps, downsize the jewelry post with a professional piercer and switch to warm sterile saline compresses twice daily.
Moisture Trapping and "Piercing Odor"
The infamous "earring cheese" odor is simply a mix of oxidized sebum, dead skin cells, and bacteria trapped in the fistula. This is especially common in thicker gauge piercings (14g or 12g) or when wearing O-rings and tight huggies that restrict airflow. To combat this, clean the piercing tract itself, not just the jewelry. During your shower, let warm water run through the hole, and gently massage the tissue to encourage the expulsion of trapped debris.
Allergic Contact Dermatitis
If your earlobe becomes itchy, red, and flaky specifically where the earring post touches the skin, you are likely reacting to nickel. Even "surgical steel" contains trace amounts of nickel. The only foolproof solution is to upgrade to ASTM F136 implant-grade titanium or high-palladium 14k/18k gold, which are entirely biocompatible and nickel-free.
Final Thoughts on Expression and Ear Health
The cultural obsession with the "earring on which side is gay" is a relic of a bygone era. In 2026, the only rule for earring placement is what makes you feel confident and aligned with your personal aesthetic. Whether you choose a single right-ear diamond stud to balance your facial asymmetry, or a fully curated left-ear constellation of titanium clicks and cuffs, your primary responsibility is to the health of your tissue. By understanding the mechanics of your jewelry, respecting the biology of your piercings, and committing to a rigorous, material-appropriate cleaning routine, you ensure that your ears remain as healthy as they are stylish.


