How Earring Sizes Dictate Your Cleaning and Care Routine
Discover how earring sizes dictate your cleaning routine. Expert care tips for gauge thickness, post lengths, and hoop diameters to prevent damage.

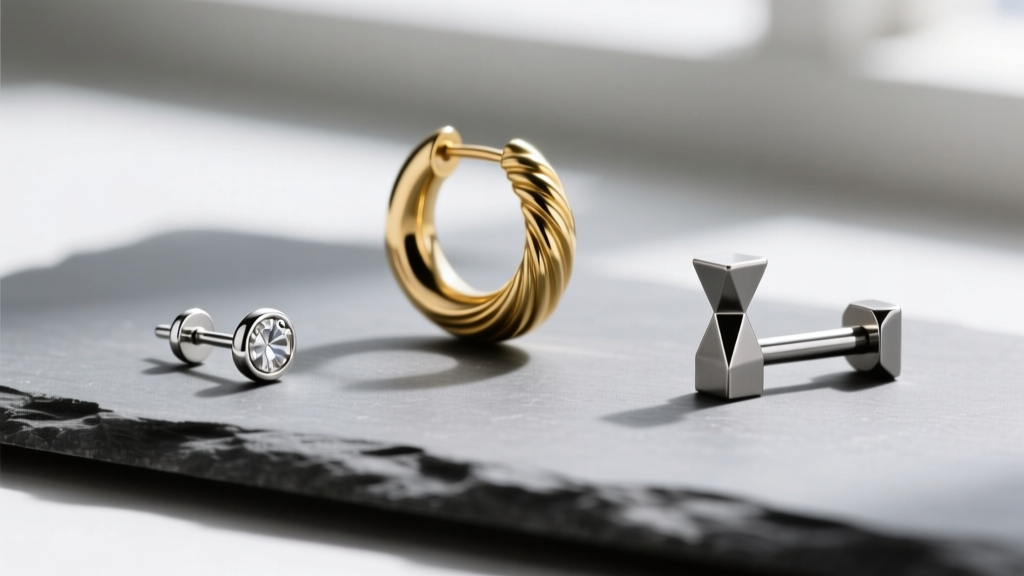
When building a comprehensive jewelry care regimen, most enthusiasts focus entirely on metal composition and gemstone porosity. However, the physical dimensions of your jewelry—specifically gauge thickness, post length, and overall diameter—play an equally critical role in determining how, when, and with what tools your pieces must be cleaned. The structural footprint of an earring dictates its surface area, mechanical stress points, and the microscopic crevices where sebum, cosmetic residue, and environmental pollutants accumulate.
Ignoring the correlation between physical dimensions and maintenance protocols is a primary cause of premature metal fatigue, localized skin irritation, and clasp failure. According to the Association of Professional Piercers, improper cleaning techniques that fail to account for jewelry dimensions can lead to micro-abrasions in the piercing channel and degraded structural integrity of the jewelry itself. This guide breaks down exactly how to tailor your cleaning and storage routines to the precise earring sizes in your collection.
Gauge Thickness: Cleaning Protocols for 20G to 14G Posts
The gauge of an earring refers to the thickness of the post or wire that passes through the piercing channel. Standard lobe earrings typically range from 20-gauge (0.81mm) to 18-gauge (1.02mm), while cartilage and structural pieces usually sit between 16-gauge (1.29mm) and 14-gauge (1.63mm). The thickness of the metal fundamentally changes how you must approach mechanical cleaning.
Thin Gauges (20G - 18G): The Bending Hazard
Thin posts are highly susceptible to warping. When scrubbing 20G or 18G butterfly-back studs, applying lateral pressure with a stiff brush will permanently bend the post, making insertion painful and causing the earring to sit at an awkward angle. For these delicate sizes, avoid manual scrubbing entirely. Instead, utilize a chemical-first approach: soak the pieces for five minutes in a solution of warm water and a few drops of phosphate-free dish detergent, then gently agitate the liquid. Dry them by pressing them flat between two microfiber cloths rather than rubbing.
Thick Gauges (16G - 14G): Thread and Crevices
Thicker gauges, often used for cartilage flats, tragus piercings, and industrial bars, frequently feature internal or external threading. When cleaning a 14G (1.63mm) internally threaded titanium barbell, the threaded receiver inside the decorative end is a prime trap for biological buildup. Standard soaking fails to dislodge this debris. You must use a 40kHz ultrasonic cleaner with a mild surfactant to create cavitation bubbles small enough to penetrate the thread pitch. If an ultrasonic cleaner is unavailable, use a 0.4mm interdental brush dipped in 70% isopropyl alcohol to manually clear the threads, taking care not to cross-thread the components upon reassembly.
Post Length and Surface Area: Tackling the Dead Space
Post length is another dimensional variable that drastically alters maintenance requirements. Standard earring posts are typically 6mm (1/4 inch) long, designed for healed, standard-thickness earlobes. However, long posts ranging from 8mm (5/16 inch) to 10mm (3/8 inch) are required for initial healing, thicker lobes, or stretched piercings.
The primary maintenance challenge with longer posts is the creation of 'dead space'—the exposed section of the post between the back of the earlobe and the earring backing. This exposed metal acts as a condensation rod for hairspray, dry shampoo, and natural skin oils, forming a hardened, cement-like cylinder of debris over time. To clean 8mm and 10mm posts effectively, you must remove the backing and slide a saturated cotton swab down the length of the post. For stubborn buildup on 14k gold long posts, avoid harsh chemical dips which can strip the alloyed copper and zinc; instead, use a dedicated gold polishing cloth wrapped tightly around the post and twist gently.
Hoop Diameters and Hinge Mechanics: Maintenance by Millimeter
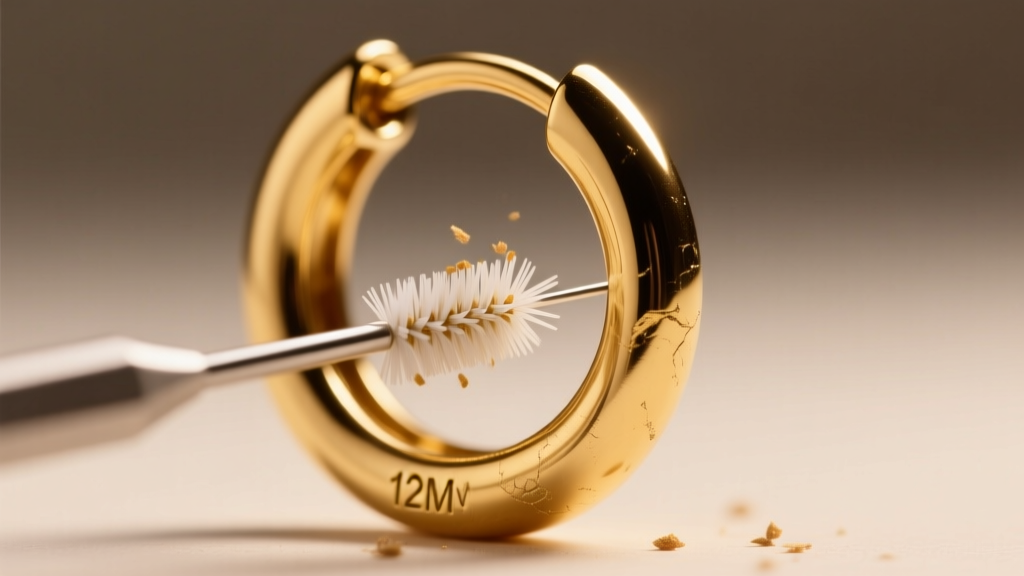
Hoops introduce complex mechanical joints—hinges, clasps, and clickers—that are entirely dependent on the diameter of the ring. The larger the hoop, the more leverage and torque are applied to these microscopic joints during daily wear, necessitating rigorous and specific maintenance to prevent mechanical failure.
| Hoop Diameter | Common Style | Primary Failure Point | Recommended Cleaning Tool | Maintenance Frequency |
|---|---|---|---|---|
| 10mm - 12mm | Huggies | Micro-hinge friction | 0.4mm interdental brush | Bi-weekly |
| 15mm - 20mm | Standard Clickers | Clicker latch groove | Wooden toothpick & saline | Weekly |
| 25mm - 40mm | Seamless / Hinged | Joint warping & gap | Ultrasonic (40kHz) | Monthly |
| 50mm+ | Statement Hoops | Wire thinning at base | Soft bristle brush & soap | Post-wear |
The Huggie Hinge Dilemma
Huggies (10-12mm) sit tightly against the earlobe, meaning their hinges are in constant contact with the skin's microbiome and sebum output. The hinge mechanism on a high-quality 14k gold huggie contains a microscopic pin and tension spring. When sebum infiltrates this joint, it oxidizes and creates friction, resulting in a stiff hinge that eventually snaps when forced open. To prevent this, apply a single drop of 70% isopropyl alcohol directly into the hinge seam using a syringe or precision dropper, open and close the clasp ten times to work the solvent through, and then blow it dry with compressed air. Never use oil-based lubricants, as they will attract dust and create an abrasive paste.
Large Statement Hoops and Metal Fatigue
Hoops exceeding 50mm in diameter act as levers. If caught on clothing or hair, the torque transfers directly to the post or the base of the wire where it meets the decorative element. While cleaning these large pieces, you must simultaneously inspect the base for micro-fractures. Clean large hoops by laying them flat on a towel and using a soft-bristled baby toothbrush with a mild saline solution. Never hold a large hoop by the post while scrubbing the ring, as the lateral pressure can snap the solder joint.
Storage Solutions Scaled to Your Earring Sizes
Proper storage is the final pillar of size-specific maintenance. Tossing mixed-size earrings into a single compartment guarantees damage. Thin 20G posts will become hopelessly tangled in large 40mm chain dangles, while heavy cartilage barbells will dent and scratch delicate hollow-form hoops.
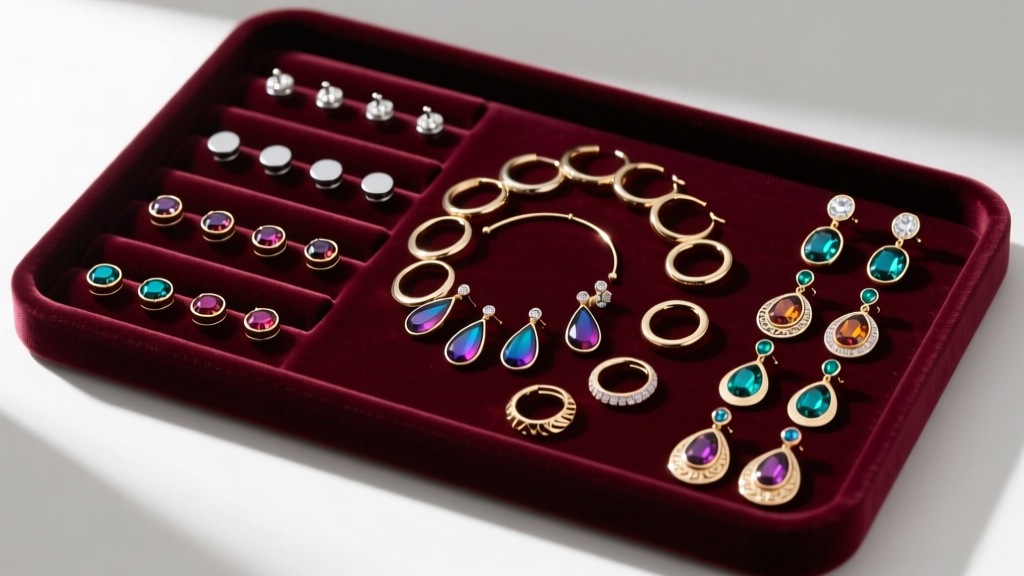
For flat-back labrets and short studs (6mm-8mm), utilize shallow, velvet-lined trays with individual dimples. This prevents the decorative gems from pressing against hard surfaces, which can fracture tension-set stones. For medium hoops (15mm-25mm), hanging storage or slotted rolls are essential to maintain their perfect circular geometry; laying them flat in a crowded drawer invites warping. Large statement pieces and heavy chandeliers must be stored in individual soft pouches or hung from dedicated T-bars to prevent the delicate wire-wrapping and jump rings from bearing the weight of the piece while in storage.
Expert Troubleshooting: When Size-Specific Care Fails
Even with meticulous care, the physical realities of certain earring sizes can lead to specific mechanical and chemical failures. Understanding these failure modes allows you to intervene before the jewelry is permanently ruined.
Stripped Threads on Heavy 14G Jewelry
Large, heavy decorative ends on 14G (1.63mm) posts place immense shear stress on internal threads. If you notice the decorative end loosening throughout the day, the threads may be stripped due to cross-threading during cleaning reassembly. Do not attempt to fix this with superglue, which will permanently ruin the jewelry and cause severe allergic reactions in the piercing channel. Take the piece to a professional jeweler who can re-tap the internal threads or replace the decorative end.
Oxidation in Deep Crevices of Sterling Silver
Sterling silver (.925) is highly prone to sulfur-induced oxidation. In large, heavily textured statement earrings, the deep crevices will turn black rapidly. While a standard silver dip will remove the tarnish, it often leaves a white, chalky residue trapped in the deep grooves of large pieces. Instead, create a paste of baking soda and distilled water, apply it with a soft silicone brush to gently lift the tarnish from the crevices, and rinse thoroughly. The Gemological Institute of America strongly advises against using harsh commercial silver dips on pieces with porous gemstones, as the chemicals will permanently cloud stones like turquoise or opals often set in large statement pieces.
"The longevity of your jewelry is directly proportional to your understanding of its physical architecture. Treating a delicate 20G lobe stud with the same aggressive mechanical cleaning used for a 14G industrial barbell is a guaranteed path to structural failure."
By aligning your cleaning chemicals, mechanical tools, and storage environments with the exact earring sizes in your collection, you transition from reactive damage control to proactive preservation. This dimensional awareness ensures that every piece, from the smallest micro-huggie to the largest statement drop, remains structurally sound, hygienically pristine, and visually flawless for decades.


