How to Fix a Broken Hoop Earring: DIY Repair & Buyer Guide
Learn how to fix a broken hoop earring at home. Our buyer guide covers repair kits, hinge replacements, and what to look for in durable hoops.

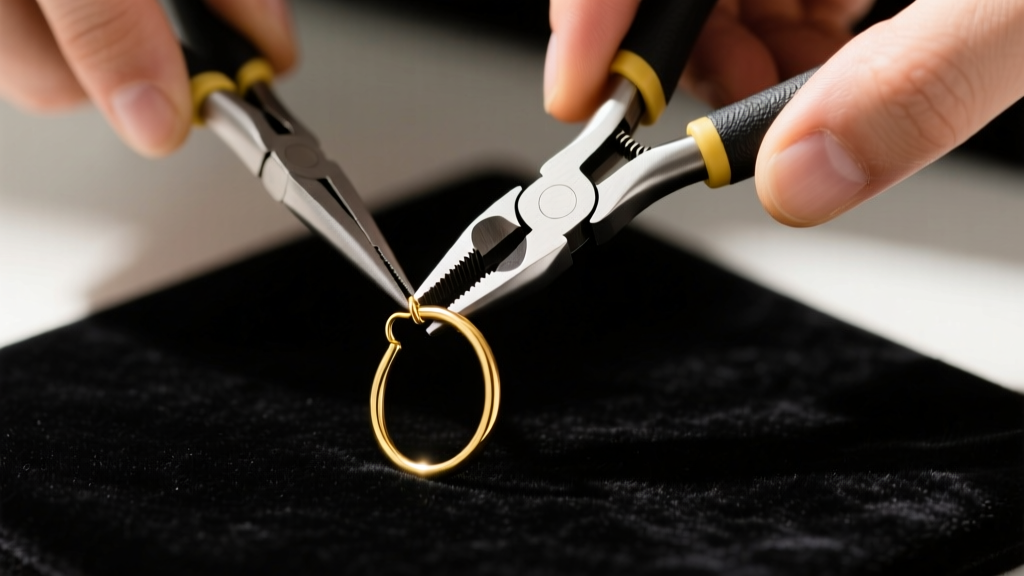
There are few jewelry emergencies more frustrating than reaching for your favorite everyday hoops, only to find the wire snapped or the hinge completely detached. Whether you are dealing with a vintage heirloom or a modern minimalist huggie, understanding how to fix a broken hoop earring requires a blend of mechanical troubleshooting and material science. However, as a smart jewelry buyer, you also need to know when a DIY repair is merely a temporary band-aid and when it is time to invest in structurally superior replacements. This comprehensive guide bridges the gap between at-home salvage operations and informed purchasing decisions for long-lasting ear accessories.
The Anatomy of a Hoop Earring Failure
Before attempting any repair, you must diagnose the exact failure point. Hoop earrings generally break in one of three specific areas, each requiring a different approach:
- The Hinge Pin Shear: Common in huggies and medium-sized hoops, the microscopic steel or gold pin connecting the hinge barrel snaps under lateral torque. This is rarely fixable at home without laser welding.
- Clasp Spring Fatigue: The thin wire that clicks into the clasp loses its 'spring temper' over time, resulting in a loose fit that easily pulls out of the ear.
- Wire Fatigue Cracking: Continuous hoops or French wire styles often snap at the point of highest curvature due to repeated bending and metal fatigue, particularly in lower-karat gold alloys or plated brass.
Step-by-Step: How to Fix a Broken Hoop Earring at Home
If your hoop has suffered minor deformation, a loose clasp, or a detached jump ring, you can often salvage it without a trip to the jeweler. Here is how to execute the most common at-home repairs safely.
1. Reshaping a Bent Hoop Body
Never use standard steel pliers directly on gold or silver, as the hardened steel teeth will permanently gouge the precious metal. Instead, use nylon-jaw pliers. Grip the warped section gently and apply slow, even pressure to coax the 18-gauge or 20-gauge wire back into a perfect circle. Work in millimeter increments to avoid over-bending.
2. Tightening a Loose Tension Clasp
If the post wire no longer 'clicks' securely into the clasp cup, the wire has lost its temper. Using round-nose pliers, introduce a microscopic upward bend (about 2 degrees) to the post wire just before it enters the clasp. This increases the tension against the clasp wall. Warning: Do this only once. Repeated bending causes work hardening, which will cause the wire to snap instantly.
Buying Guide: What to Look for in a Jewelry Repair Kit
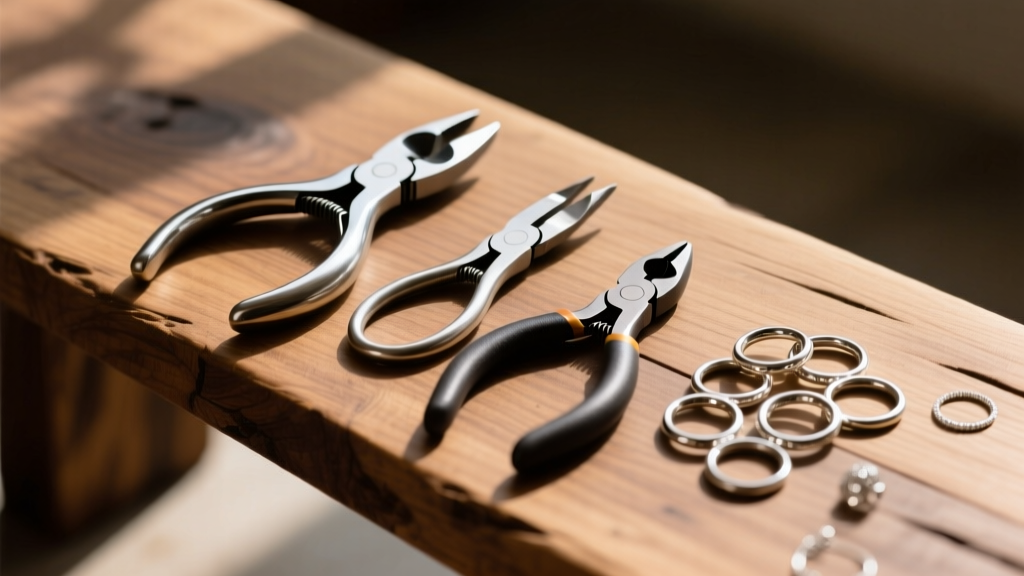
If you plan to maintain your own jewelry collection, buying the right tools is critical. Cheap, mass-market repair kits often feature soft steel tools that chip and mar your jewelry. When shopping for a kit to fix hoop earrings, look for the following specifications:
| Tool / Component | Required Specification | Purpose in Hoop Repair |
|---|---|---|
| Nylon-Jaw Pliers | Non-marring, replaceable polyurethane jaws | Reshaping bent hoop bodies without scratching the metal finish. |
| Flush Cutters | Carbon steel or tungsten carbide edges | Cleaning up jagged edges on a snapped wire before soldering. |
| Round-Nose Pliers | Smooth, polished conical jaws | Creating perfect loops for jump rings or adjusting clasp tension. |
| Jump Rings | 18-gauge or 20-gauge, dead-soft sterling silver or 14k gold | Reattaching charms or replacing missing connector links on dangle hoops. |
According to the jewelry supply experts at Rio Grande, investing in high-carbon steel hand tools ensures clean cuts and precise bends, which is essential when working with the tight tolerances of earring clasps and hinges.
When to Stop Repairing and Buy New: Soldered vs. Hinged
Knowing how to fix a broken hoop earring is valuable, but recognizing when a design is fundamentally flawed is a crucial buyer skill. If your hinged hoops break at the hinge repeatedly, the issue is likely the design itself. When shopping for replacements, you must choose between hinged and continuous (soldered) constructions.
The Case for Continuous (Soldered) Hoops
Continuous hoops feature a seamless circle where the wire passes directly through a hollow receiving tube, or the ends are permanently soldered together. Because there is no mechanical hinge to fail, they are virtually indestructible under normal wear. The buying trade-off? They require more dexterity to put on and take off, as you must gently twist the wire laterally to open the gap, rather than pulling it apart.
The Case for Hinged Hoops
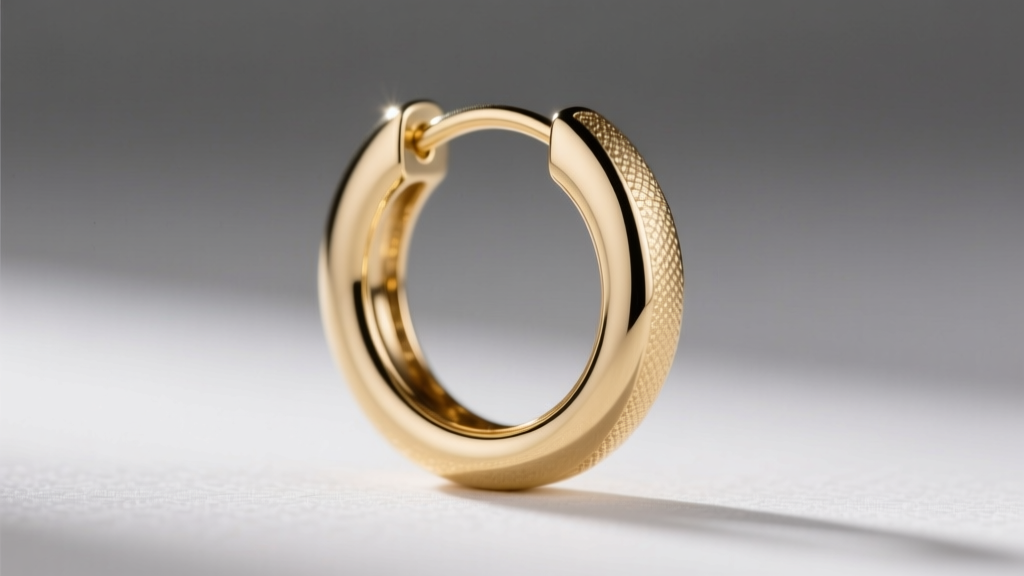
Hinged hoops (often seen in huggies and clickers) offer superior ease of use. However, as a buyer, you must inspect the hinge quality. Look for brands that use laser-welded hinge pins rather than traditional friction pins, which are prone to pushing out over time. High-end clickers will feature a satisfying, audible 'snap' indicating a precision-machined clasp.
Material Durability: Choosing Unbreakable Hoops
The metal alloy you choose dictates the structural integrity of the hoop. The Gemological Institute of America (GIA) notes that pure 24k gold is far too soft for jewelry mechanics, which is why alloying is necessary. Here is what to look for based on your durability needs:
- 14k Gold (58.5% Pure): The gold standard for hinged hoops. The higher copper and zinc content provides excellent tensile strength, allowing the clasp wire to maintain its spring temper for years without fatiguing.
- 18k Gold (75% Pure): Softer and more luxurious, but prone to bending if the hoop diameter exceeds 30mm. Best reserved for small, thick huggies where the structural mass compensates for the softer alloy.
- Grade 23 Titanium (Ti-6Al-4V ELI): The ultimate choice for cartilage hoops and sleepers. It possesses an incredibly high strength-to-weight ratio and will not bend, snap, or tarnish. However, because it is so hard, it cannot be resized or easily repaired at home if damaged.
Expert Buyer Tip: Avoid gold-plated brass or copper hoops if you want longevity. The base metals are highly susceptible to stress-corrosion cracking, meaning the hoop will snap cleanly in half without warning, often resulting in a lost earring.
Cost Analysis: Professional Repair vs. Replacement
Before attempting a risky DIY fix on a valuable piece, weigh the costs. If a 14k gold hoop has snapped cleanly at the body, a professional jeweler will typically charge between $35 and $60 for a laser solder repair. This process fuses the metal without leaving a weak, discolored seam like traditional torch soldering.
However, if the hinge barrel is stripped or the clasp cup is deformed, the repair cost can easily exceed $85, at which point replacing the earring is the more financially sound decision. When buying new, allocate your budget toward solid 14k gold or implant-grade titanium from reputable piercing studios rather than hollow-tube fashion jewelry, ensuring your next pair lasts a lifetime.


