Earrings Cross-Threaded? Troubleshooting Stuck Screw-Back Studs
Are your screw-back earrings stuck? Learn expert troubleshooting steps to safely remove cross-threaded studs without tearing your piercing.

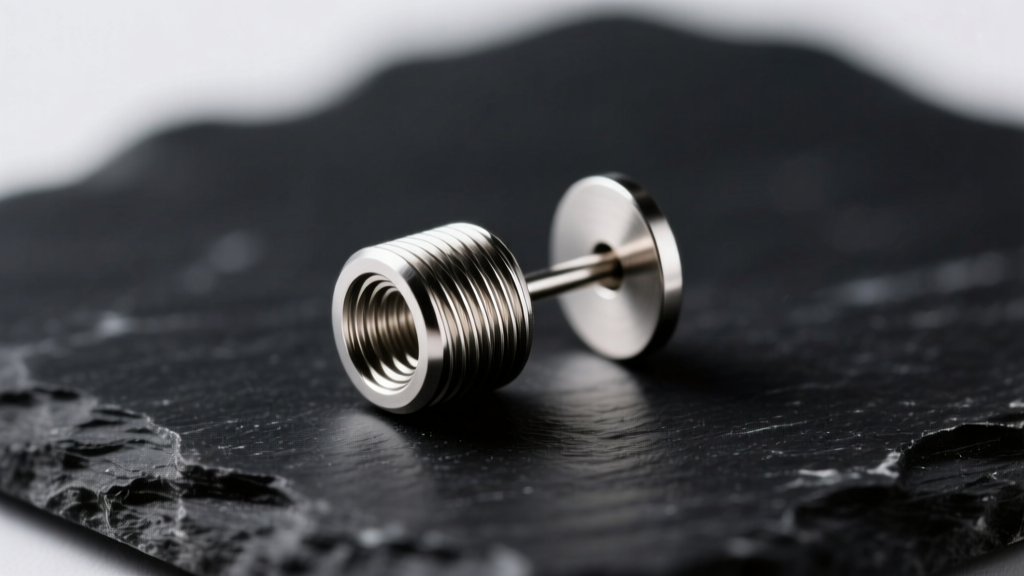
There are few things more panic-inducing in a jewelry lover's routine than twisting a flat-back earring and realizing it simply will not budge. When your earrings cross-thread, the delicate screw mechanism jams, trapping the decorative end to the post inside your piercing. Forcing the jewelry can lead to stripped metal, bent posts, or worse, severe trauma to the fistula (the piercing channel). Whether you are wearing a high-end 14k gold labret or a reliable titanium cartilage stud, understanding the mechanics of your jewelry is the first step toward a safe removal.
In this comprehensive troubleshooting guide, we will break down exactly why screw-back earrings jam, the step-by-step methods to safely extract them, and how to maintain your threading to prevent future disasters.
The Anatomy of a Cross-Threaded Earring
To troubleshoot the problem, you must first understand the hardware. High-quality body jewelry typically utilizes internal threading. This means the screw is located on the decorative end (the top), and the post that passes through your ear is smooth with a hollow, threaded interior. This design, championed by the Association of Professional Piercers, protects your piercing channel from the sharp, abrasive threads that would otherwise scrape through the delicate tissue during insertion.
Cross-threading occurs when the male screw (on the gem or ball) is forced into the female receiver (inside the post) at an incorrect angle. Instead of the threads interlocking smoothly, the metal edges catch against one another. This creates a false sense of tightness. If you continue to twist, you are essentially carving new, misaligned grooves into the soft metal, permanently stripping the threading.
Common Culprits of Thread Failure
- Dried Sebum and Lymph Fluid: The body naturally produces lymph and sebum. When this fluid dries inside the tiny 16-gauge or 18-gauge threading, it acts like a biological superglue.
- Angled Insertion: Pushing the decorative top in at a slight tilt rather than perfectly straight.
- Over-Tightening: Using pliers or excessive finger torque during the last insertion, warping the microscopic thread grooves.
- Debris Buildup: Microscopic lint, dead skin cells, or cosmetic powders lodged in the female receiver.
Step-by-Step Troubleshooting: How to Remove Stuck Earrings
If your jewelry is currently stuck in your ear, do not yank it. Follow this progressive troubleshooting protocol to safely break the seal without damaging the metal or your tissue.
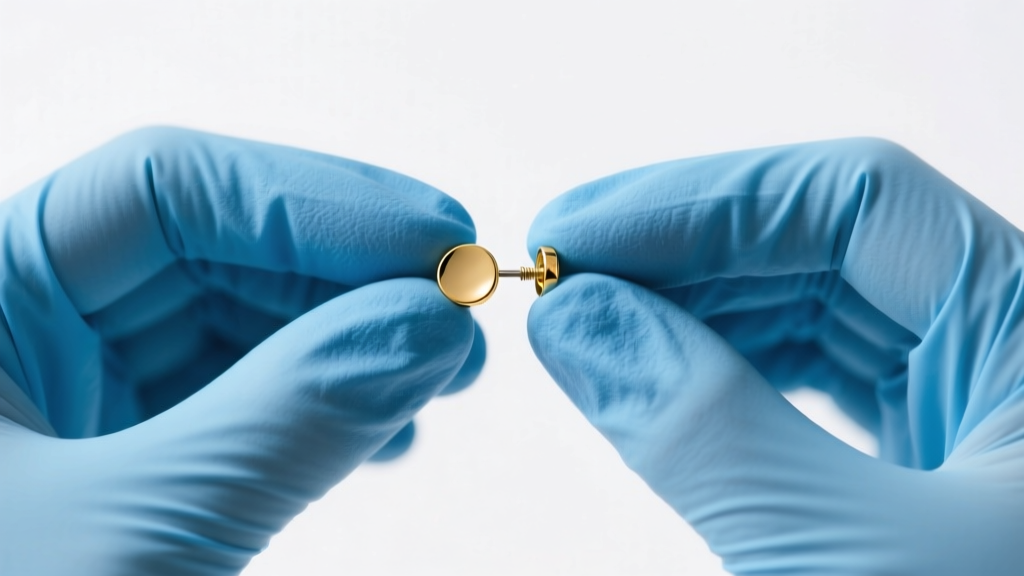
Step 1: The Nitrile Glove Grip Method
Human skin naturally produces oils that make gripping tiny metal components nearly impossible, especially when applying the torque needed to break a cross-threaded seal. Put on a pair of powder-free nitrile medical gloves. Nitrile provides immense friction against metal. Grip the flat back disc firmly with one hand, and the decorative top with the other. Apply steady, gentle counter-clockwise pressure. Do not jerk or twist rapidly; slow, sustained pressure often allows the threads to pop back into their natural groove.
Step 2: The Warm Saline Soak
If the glove method fails, biological glue is likely the culprit. Soak a clean cotton pad or sterile gauze in warm, sterile saline solution (0.9% sodium chloride). Press this firmly against the front and back of the earring for 5 to 10 minutes. The warmth will soften any trapped sebum, while the saline will gently dissolve dried lymph crusts hidden deep within the threading. Dry the area completely with a paper towel and attempt the nitrile glove grip again.
Step 3: Controlled Mechanical Leverage
For severely jammed pieces, you may need mechanical assistance. Wrap the decorative end of the earring in a small piece of medical tape or a microfiber cloth to protect the metal finish and any set gemstones. Using a pair of clean, flat-nose jewelry pliers or hemostats, grip the protected top. Use your other hand (still wearing a nitrile glove) to hold the back disc. Apply slow, even counter-clockwise torque. Warning: Never use standard hardware pliers without a protective barrier, as the serrated teeth will instantly scratch and ruin precious metals.
Material Matters: Threading Durability and Hardness
The likelihood of your earrings permanently stripping when cross-threaded depends heavily on the metallurgy of the jewelry. As of 2026, reputable jewelers and piercers rely on specific alloys that balance biocompatibility with mechanical strength. Softer metals will strip much faster under torsion stress.
| Material | Vickers Hardness (HV) | Common Threading Type | Cross-Thread Stripping Risk |
|---|---|---|---|
| 316L Surgical Steel | 150 - 190 HV | External (Usually) | High (Threads easily warp) |
| Implant-Grade Titanium (ASTM F136) | 310 - 350 HV | Internal | Low (Highly resilient threads) |
| 14k Yellow/White Gold | 130 - 170 HV | Internal | Medium (Softer, requires care) |
| 18k Yellow Gold | 110 - 130 HV | Internal | High (Very soft, strips easily) |
As noted by premium body jewelry manufacturers like BVLA, 14k and 18k gold are inherently softer than titanium. When working with high-karat gold labrets or cartilage studs, you must be exceptionally gentle. If an 18k gold earring cross-threads, the male screw will often sheer off or strip completely before the titanium post does.
Prevention: Mastering the Thread Alignment
Preventing cross-threading is vastly superior to troubleshooting a stuck earring. Adopting proper handling techniques will extend the life of your fine jewelry indefinitely.
The Golden Rule of Threading: Never force a screw. If you feel resistance before the top is fully seated, stop immediately. Back it out, realign, and try again.
The "Backward Turn" Technique
Professional piercers use a specific method to ensure perfect thread engagement. Place the decorative top into the post and begin turning it counter-clockwise (lefty-loosey). As you turn, you will eventually feel a tiny physical "click" or drop. This is the exact moment the male and female threads align perfectly. Once you feel that drop, immediately reverse direction and turn clockwise to tighten. This guarantees the threads engage on the correct plane every single time.
Routine Thread Maintenance
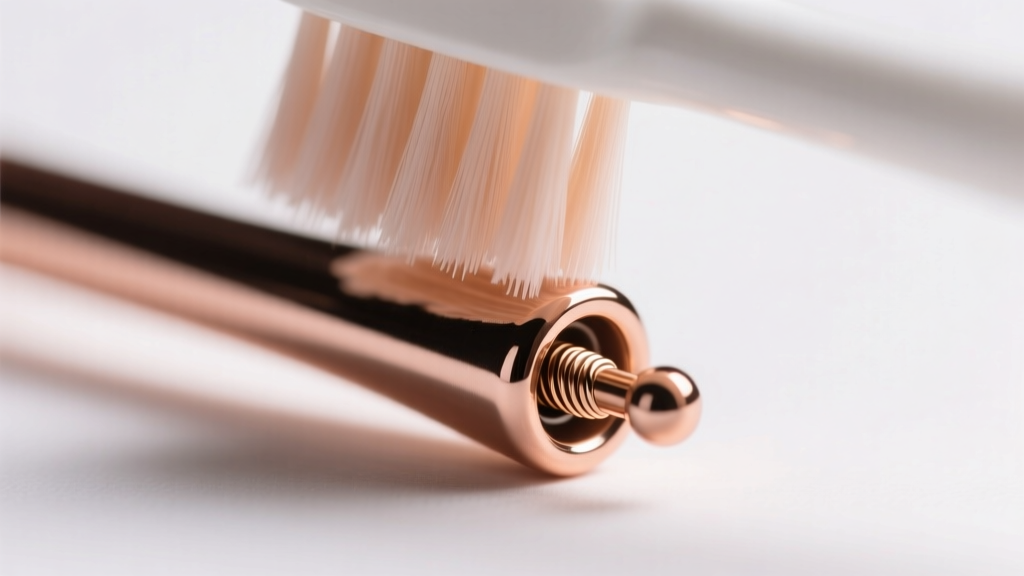
Once a month, remove your flat-back earrings and inspect the threads. Use a brand-new, ultra-soft baby toothbrush dipped in warm water and a drop of mild, fragrance-free liquid soap to gently scrub the inside of the female receiver and the male screw. Rinse thoroughly and dry completely before reinserting. This removes microscopic debris that causes the initial friction leading to cross-threading.
When to Seek Professional Piercer Assistance
While most cross-threaded earrings can be removed at home with patience and the right grip, there are specific scenarios where DIY troubleshooting becomes dangerous.
- Embedding and Swelling: If the piercing is highly irritated, swollen, and the tissue is beginning to swallow the flat back disc, do not attempt to twist the jewelry. The pressure will cause severe tissue damage. Visit a professional piercer or a doctor immediately.
- Bent Posts: If the earring post has been bent (common with softer 18k gold or thin 18-gauge wires), the internal threading is likely misaligned from the inside out. A piercer has specialized tools, such as taper pins and jeweler's vises, to safely extract the piece and straighten or replace the hardware.
- Completely Stripped Screws: If the decorative top simply spins endlessly in both directions without catching, the internal threads have been entirely stripped out. A piercer can use a specialized extraction tool to grip the inside of the hollow post and back it out safely.
By understanding the mechanical realities of your jewelry and treating the threading with the precision it requires, you can ensure your favorite studs remain secure, comfortable, and easy to change for years to come.


