Fixing a Beaded Earring Pattern: Troubleshoot Wire & Tension Failures
Struggling with a beaded earring pattern? Learn how to troubleshoot wire snapping, bead tension loss, and structural failures in DIY dangles.


The Hidden Pitfalls of Commercial Beaded Earring Patterns
There is a distinct frustration that comes with following a beautifully photographed beaded earring pattern, only to have the final piece fail structurally. You string the beads, close the loops, and attach the ear wires, but within hours of wear, the loops pull open, the wire snaps, or the dangle sits awkwardly against the neck. The issue rarely lies in your craftsmanship; rather, it stems from a fundamental disconnect between the pattern’s material list and the physics of jewelry wear.
Many independent designers publish patterns that list generic materials like “craft wire” or “headpins” without specifying crucial metallurgical details such as wire hardness, tensile strength, or exact gauge tolerances. When you substitute a dead-soft 26-gauge wire for a half-hard 24-gauge wire, the structural integrity of the entire beaded earring pattern collapses under the kinetic weight of the dangle. This guide serves as your master troubleshooting manual to identify, diagnose, and fix the most common structural failures in beaded earring designs.
Troubleshooting Wire Gauge and Tension Mismatches
The most frequent point of failure in any beaded earring pattern is the wrapped loop or the simple loop connecting the dangle to the ear wire. If your loops are pulling open like fishhooks, you are experiencing a tension mismatch. Wire hardness dictates how well a loop holds its shape under stress. According to the International Gem Society, wire is tempered into different hardness levels: dead soft, half-hard, and full hard.
The 24-Gauge vs. 28-Gauge Dilemma
A common mistake is using 28-gauge wire because it easily passes through the tiny holes of freshwater pearls or micro-faceted gemstones. However, 28-gauge wire lacks the tensile strength to support anything heavier than a single seed bead. If your pattern calls for 8mm glass beads or crystal bicones, the weight will instantly distort a 28-gauge loop. You must upgrade to a 24-gauge or 22-gauge wire. If the bead holes are too small for a thicker wire, the pattern itself is flawed and requires re-engineering using bead caps or wire guards to bridge the gap.
| Wire Gauge | Hardness | Best Application in Patterns | Tension Limit |
|---|---|---|---|
| 28g (0.32mm) | Dead Soft | Weaving, knitting, securing lightweight pearls | Very Low (Snaps under 2 lbs) |
| 24g (0.51mm) | Half-Hard | Standard wrapped loops, linking crystal beads | Medium (Holds up to 15 lbs) |
| 22g (0.64mm) | Half-Hard | Heavy dangles, structural frames, large holes | High (Holds up to 25 lbs) |
| 20g (0.81mm) | Full Hard | Ear wires, heavy load-bearing clasps | Very High (Spring-tempered) |
Solving Crimp Bead and Clasp Slippage
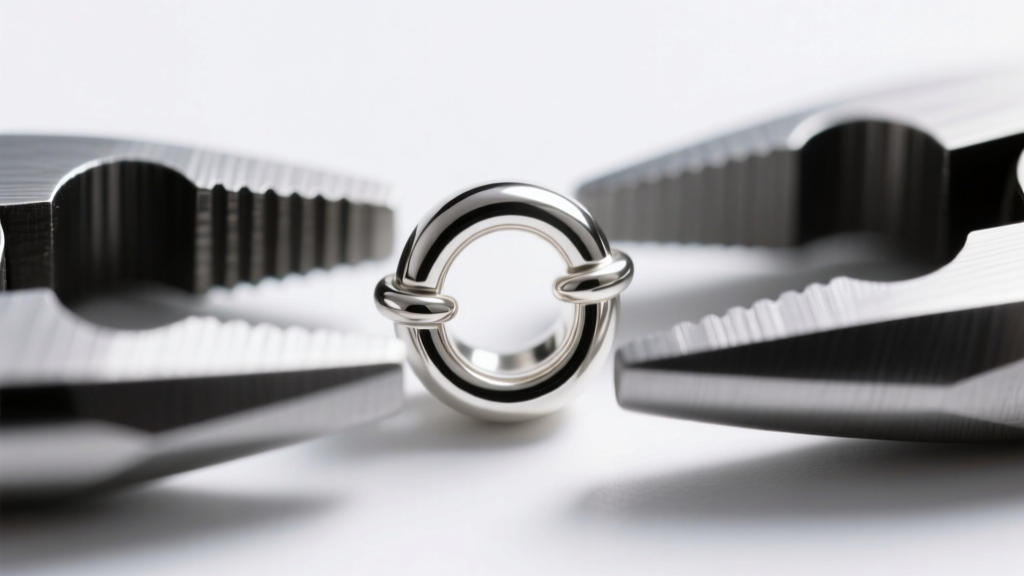
If your beaded earring pattern utilizes flexible beading wire (like 49-strand Soft Touch) rather than solid wire, you are likely relying on crimp beads to secure the ends. A pervasive failure mode is the crimp bead sliding down the wire, causing the dangle to lose its tension and the beads to rattle loosely. This happens for two reasons: using round crimp beads instead of tube crimps, or flattening the crimp with standard flat-nose pliers instead of folding it.
Flattening a crimp bead merely pinches the metal, leaving a smooth interior that slides easily over the nylon-coated wire. To fix this, you must use a specialized crimping plier to fold a 2x2mm tube crimp into a U-shape, and then compress it into a tight, rounded bead. As detailed in the Fire Mountain Gems Crimping Guide, this folding action creates internal teeth that bite into the flexible wire, locking it permanently in place. If your pattern features heavy stone beads, add a drop of flexible jewelry adhesive (like E6000) inside the crimp tube before folding for a secondary mechanical bond.
Weight Distribution: Preventing Lobe Drag and Ear Wire Bend
A beaded earring pattern might look stunning on a velvet display pad, but gravity behaves differently on the human ear. The average earlobe can comfortably support between 7 and 10 grams of weight before experiencing “lobe drag”—the painful stretching and downward pulling of the piercing. Furthermore, heavy beaded dangles will bend standard 22-gauge ear wires out of their French hook shape, causing them to slip out of the piercing entirely.
Calculating Dangle Drop and Pivot Points
To troubleshoot a heavy pattern, you must analyze the pivot point. If a 3-inch dangle is attached to a rigid, closed jump ring, the kinetic swinging will create immense leverage on the ear wire. To fix this, modify the pattern to include a floating pivot point. Use a 21-gauge or 20-gauge open French ear wire, and attach the dangle via a small, rounded wire-wrapped loop rather than a stiff jump ring. This allows the earring to swing freely from the base of the ear wire, dissipating kinetic energy rather than transferring it to the earlobe. Always pair heavy beaded patterns with silicone earring O-rings or secure-lock ear nuts to prevent accidental loss.
Advanced Pattern Corrections for Structural Integrity
Sometimes, the beads specified in a pattern have sharp, unpolished holes—a common issue with lower-grade crystal bicones or natural stone nuggets. These sharp interior edges act like microscopic saws. As the wearer walks, the friction will eventually slice right through a 24-gauge silver wire, causing the earring to break and the beads to scatter.
To troubleshoot this without abandoning the pattern, you must introduce a protective barrier. Incorporate 2mm metal rondelle spacer beads at the top and bottom of the sharp bead strand. The metal rondelles act as sacrificial buffers, taking the friction instead of your structural wire. Alternatively, if the pattern allows, thread a small piece of French wire (also known as bullion) over your wire right where it passes through the sharp bead. For more on selecting the right protective findings, consult the Beadaholique Wire and Findings Chart.
Summary Checklist for Flawless Execution
Before you cut your wire and commit to a new beaded earring pattern, run through this diagnostic checklist to ensure structural longevity:
- Verify Wire Hardness: Ensure you are using half-hard wire for any loop that will bear the weight of a dangle.
- Check Headpin Length: Calculate the total millimeter length of your beads. Add at least 15mm to accommodate the wrapped loop. If the total exceeds 38mm, standard 1.5-inch headpins will fail; switch to 2.5-inch or 3-inch pins.
- Assess Bead Hole Friction: Run a piece of wire through the beads. If you feel grinding or catching, add metal spacer beads or a wire guard to prevent shear failure.
- Weigh the Final Prototype: Use a digital jewelry scale. If a single earring exceeds 8 grams, upgrade the ear wire to 20-gauge and mandate the use of silicone security backs.
- Stress Test the Loops: Gently pull the wrapped loops with nylon-jaw pliers before attaching the ear wire. If they yield or stretch, your wire is too soft or too thin.
By treating a beaded earring pattern not as a rigid set of rules, but as a structural blueprint that requires engineering oversight, you elevate your jewelry from fragile crafts to durable, wearable art. Understanding the interplay between wire gauge, hardness, and kinetic weight ensures that your beautiful designs will survive the realities of daily wear.


